This article contains
Introduction
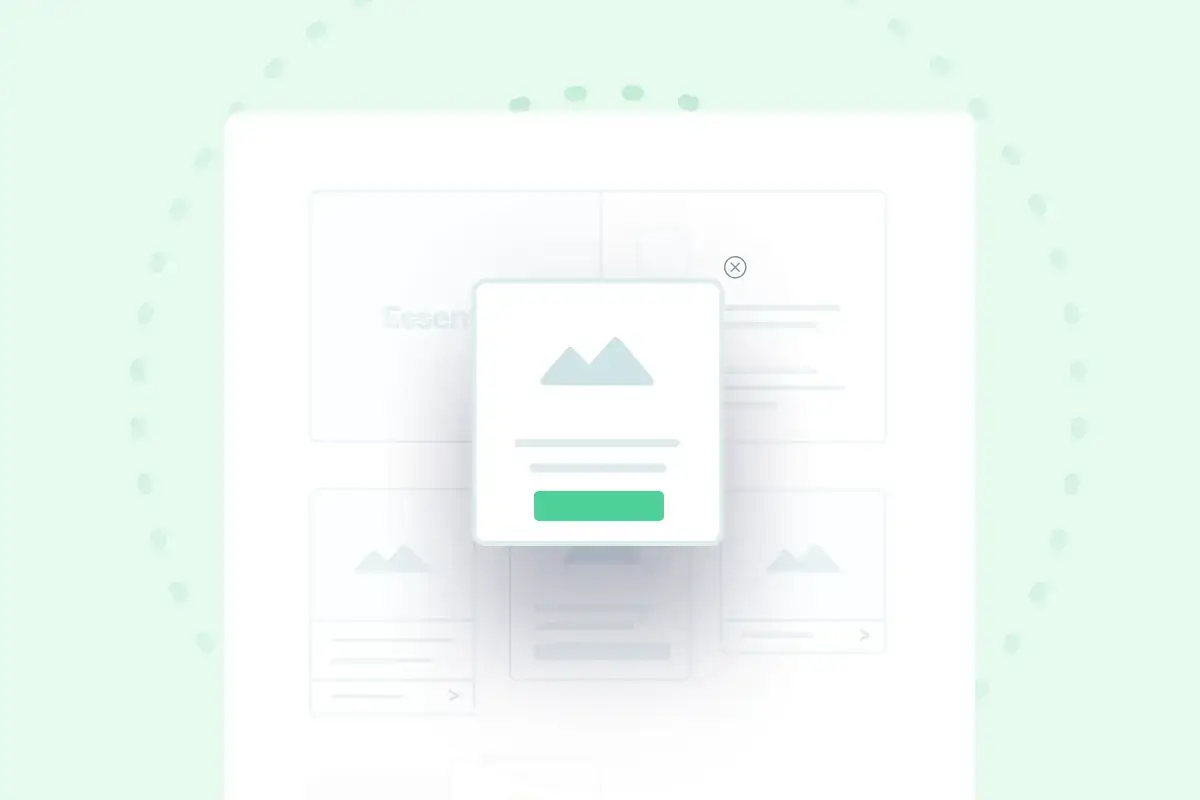
In order to start using Popups, you can either import one of the available premade popups using the Demo Importer and then edit it, or you can create your own popup from scratch.
You can find the available popups in your website from WordPress Admin Panel → Popups, for example:
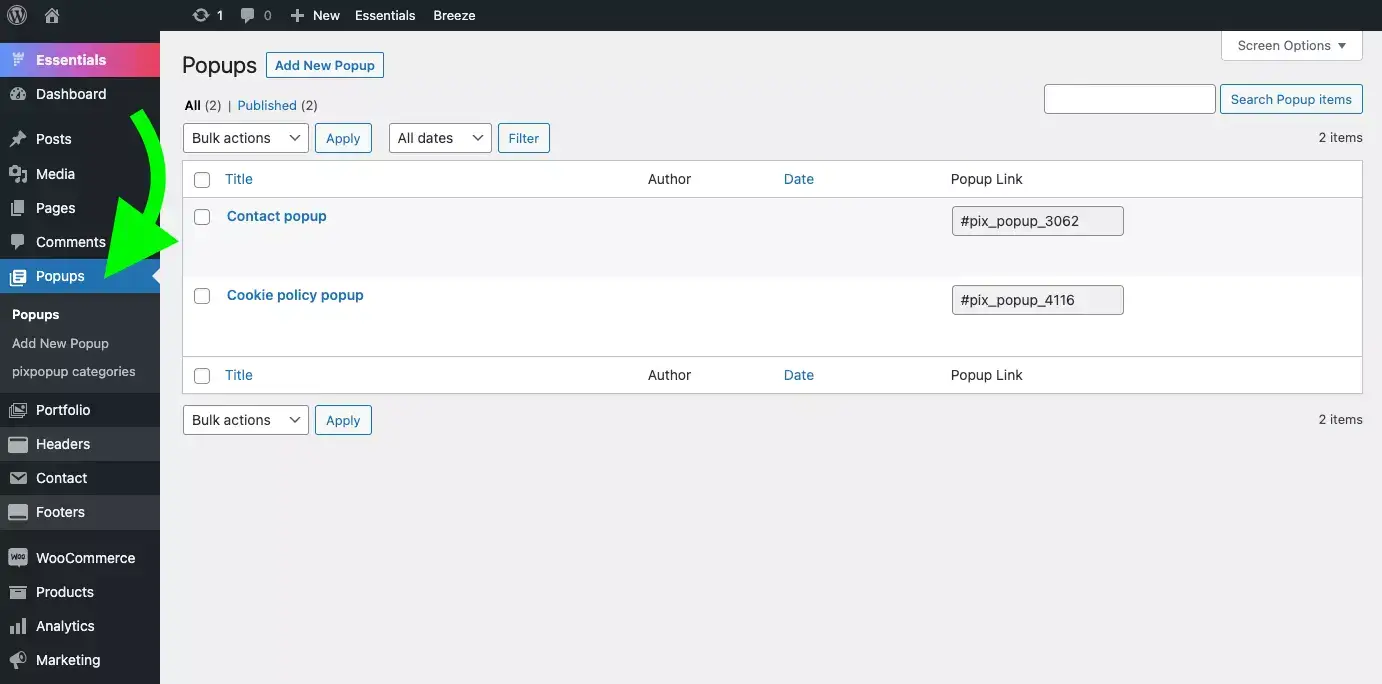
WordPress Admin Panel → Popups
Importing a premade popup
Importing a premade popup is very easy, just go to Essentials → Demo Import → Popups tab, then choose the popup you want, make sure to import the right popup version depending on the page builder you are using (WPBakery or Elementor).
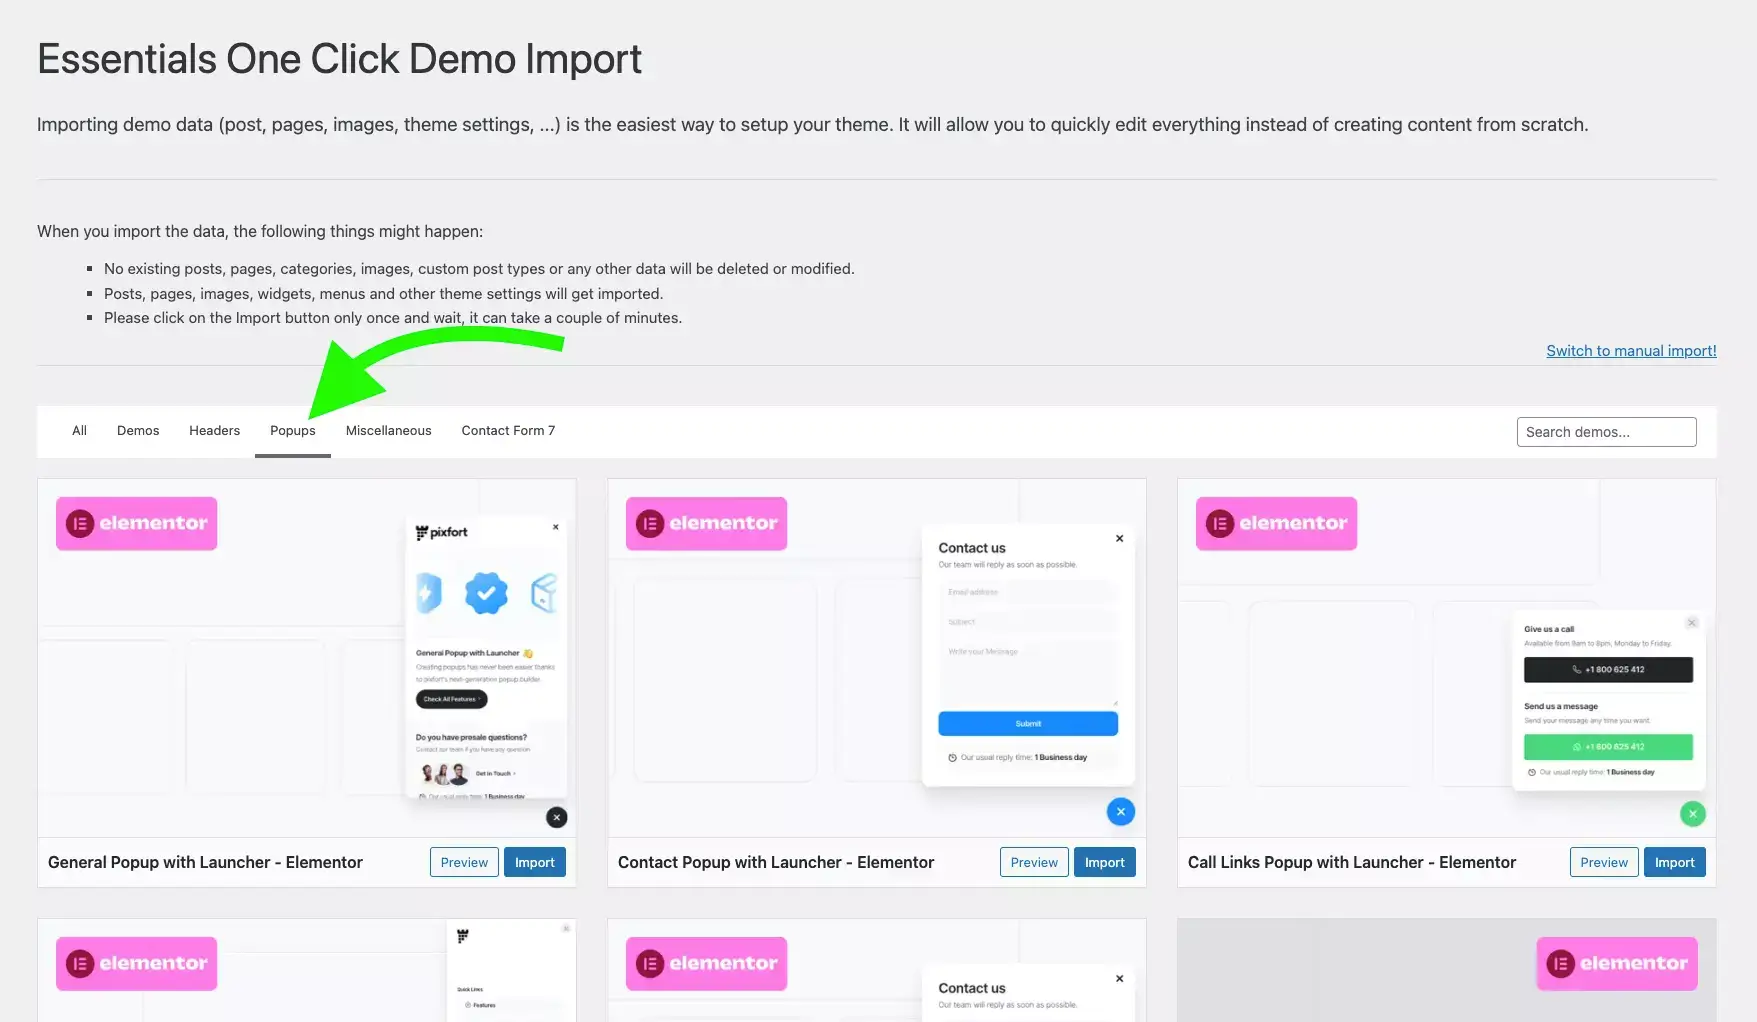
Essentials → Demo Import page (Popups tab)
Create and edit popup
To create a new popup, go to Popups > Add New Popup, then enter a name for the new popup.
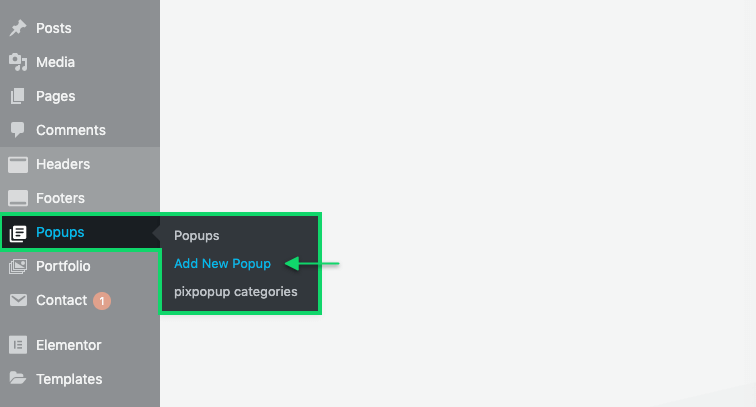
Popups > Add New Popup
After that, you can find the pixfort Popup Options which allows you to control the popup options like (Display Conditions, Popup Design, Popups Triggers, Popup Launcher, etc…).
For more information about pixfort Popup Options you can jump to this section.
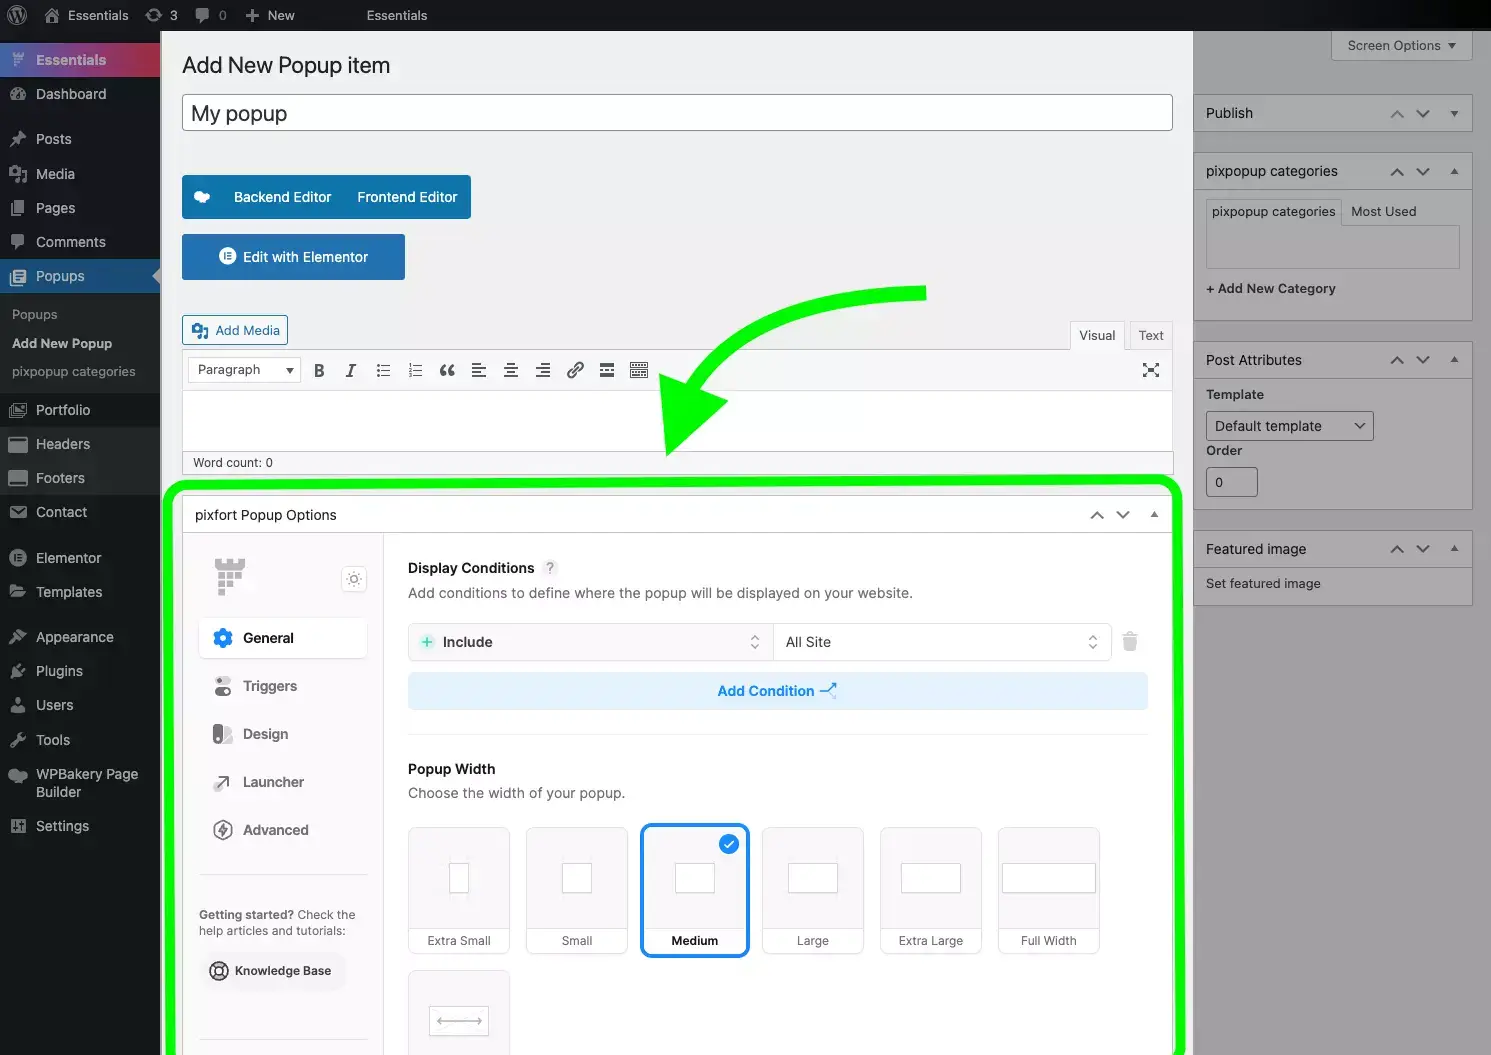
pixfort Popup Options
To add and edit the content of your popup you can open WPBakery or Elementor (depending on the page builder you are using on your website) by clicking on the page builder button:
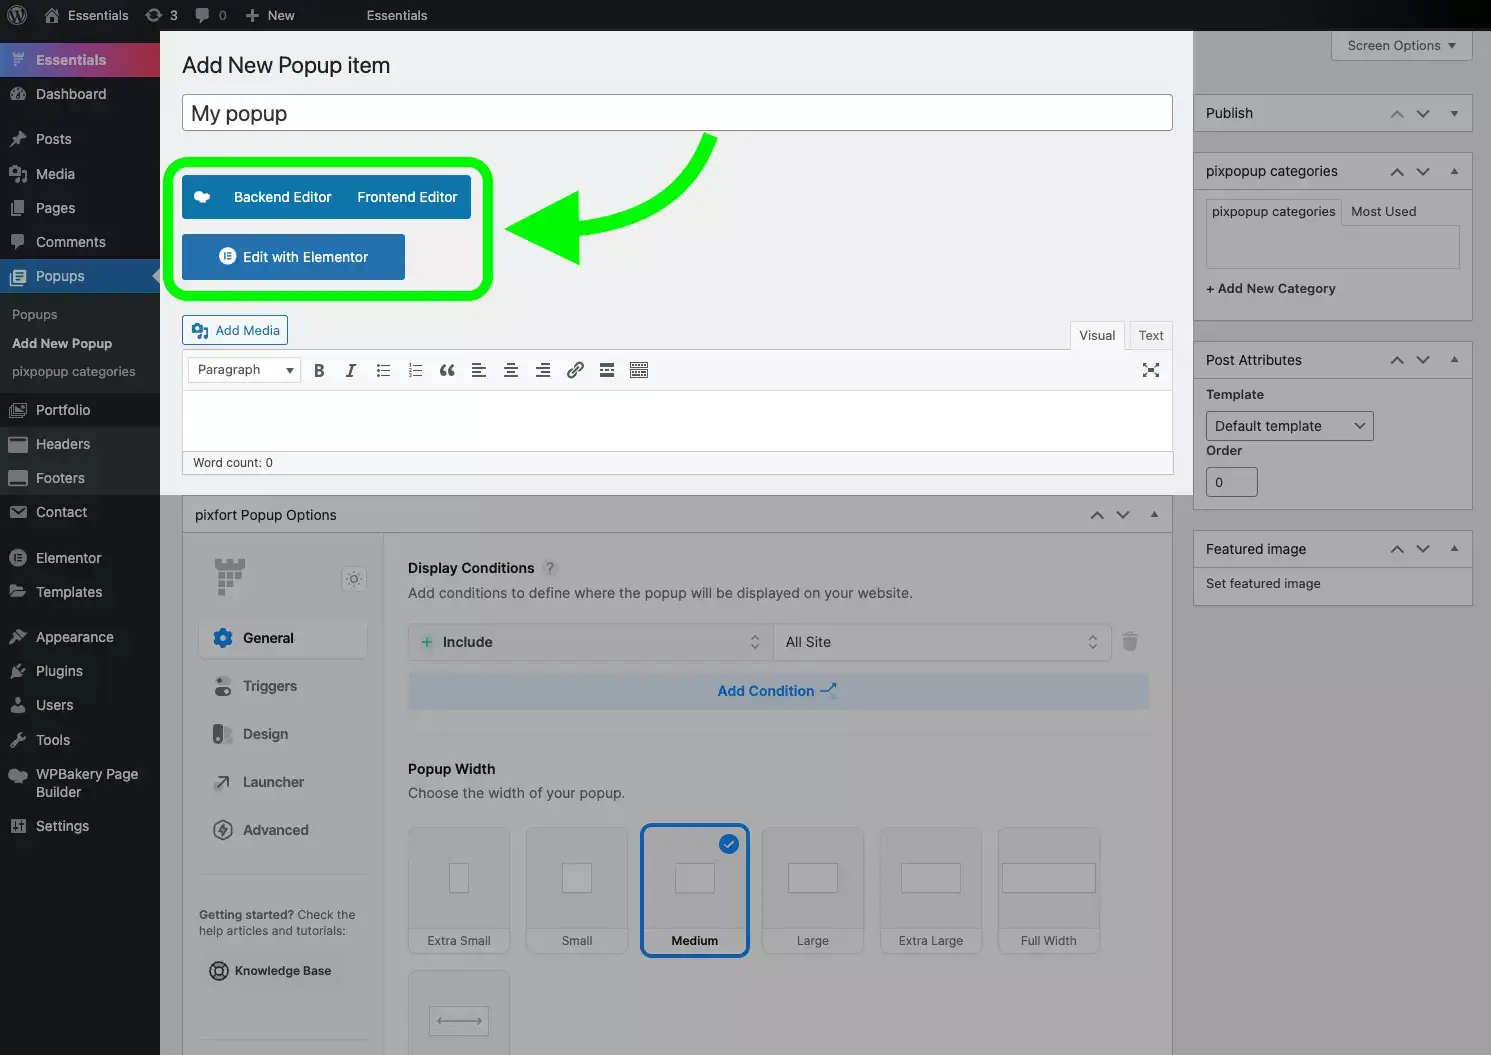
Edit popup content using the page builder (WPBakery or Elementor)

Edit popups with WPBakery page builder
You can edit the the content of your popup using WPBakery page builder (Frontend or Backend editor), where you can add any element you want from the Elements Library, the same way as building normal pages using WPBakery page builder.
WPBakery page builder (Frontend editor)
- Note: For better experience while using WPBakery page builder to build your popup, it’s recommended to use Rows instead of Sections.
- Note: You can choose a background color for your popup from:
pixfort Popup Options → Design tab → Background Color

Edit popups with Elementor page builder
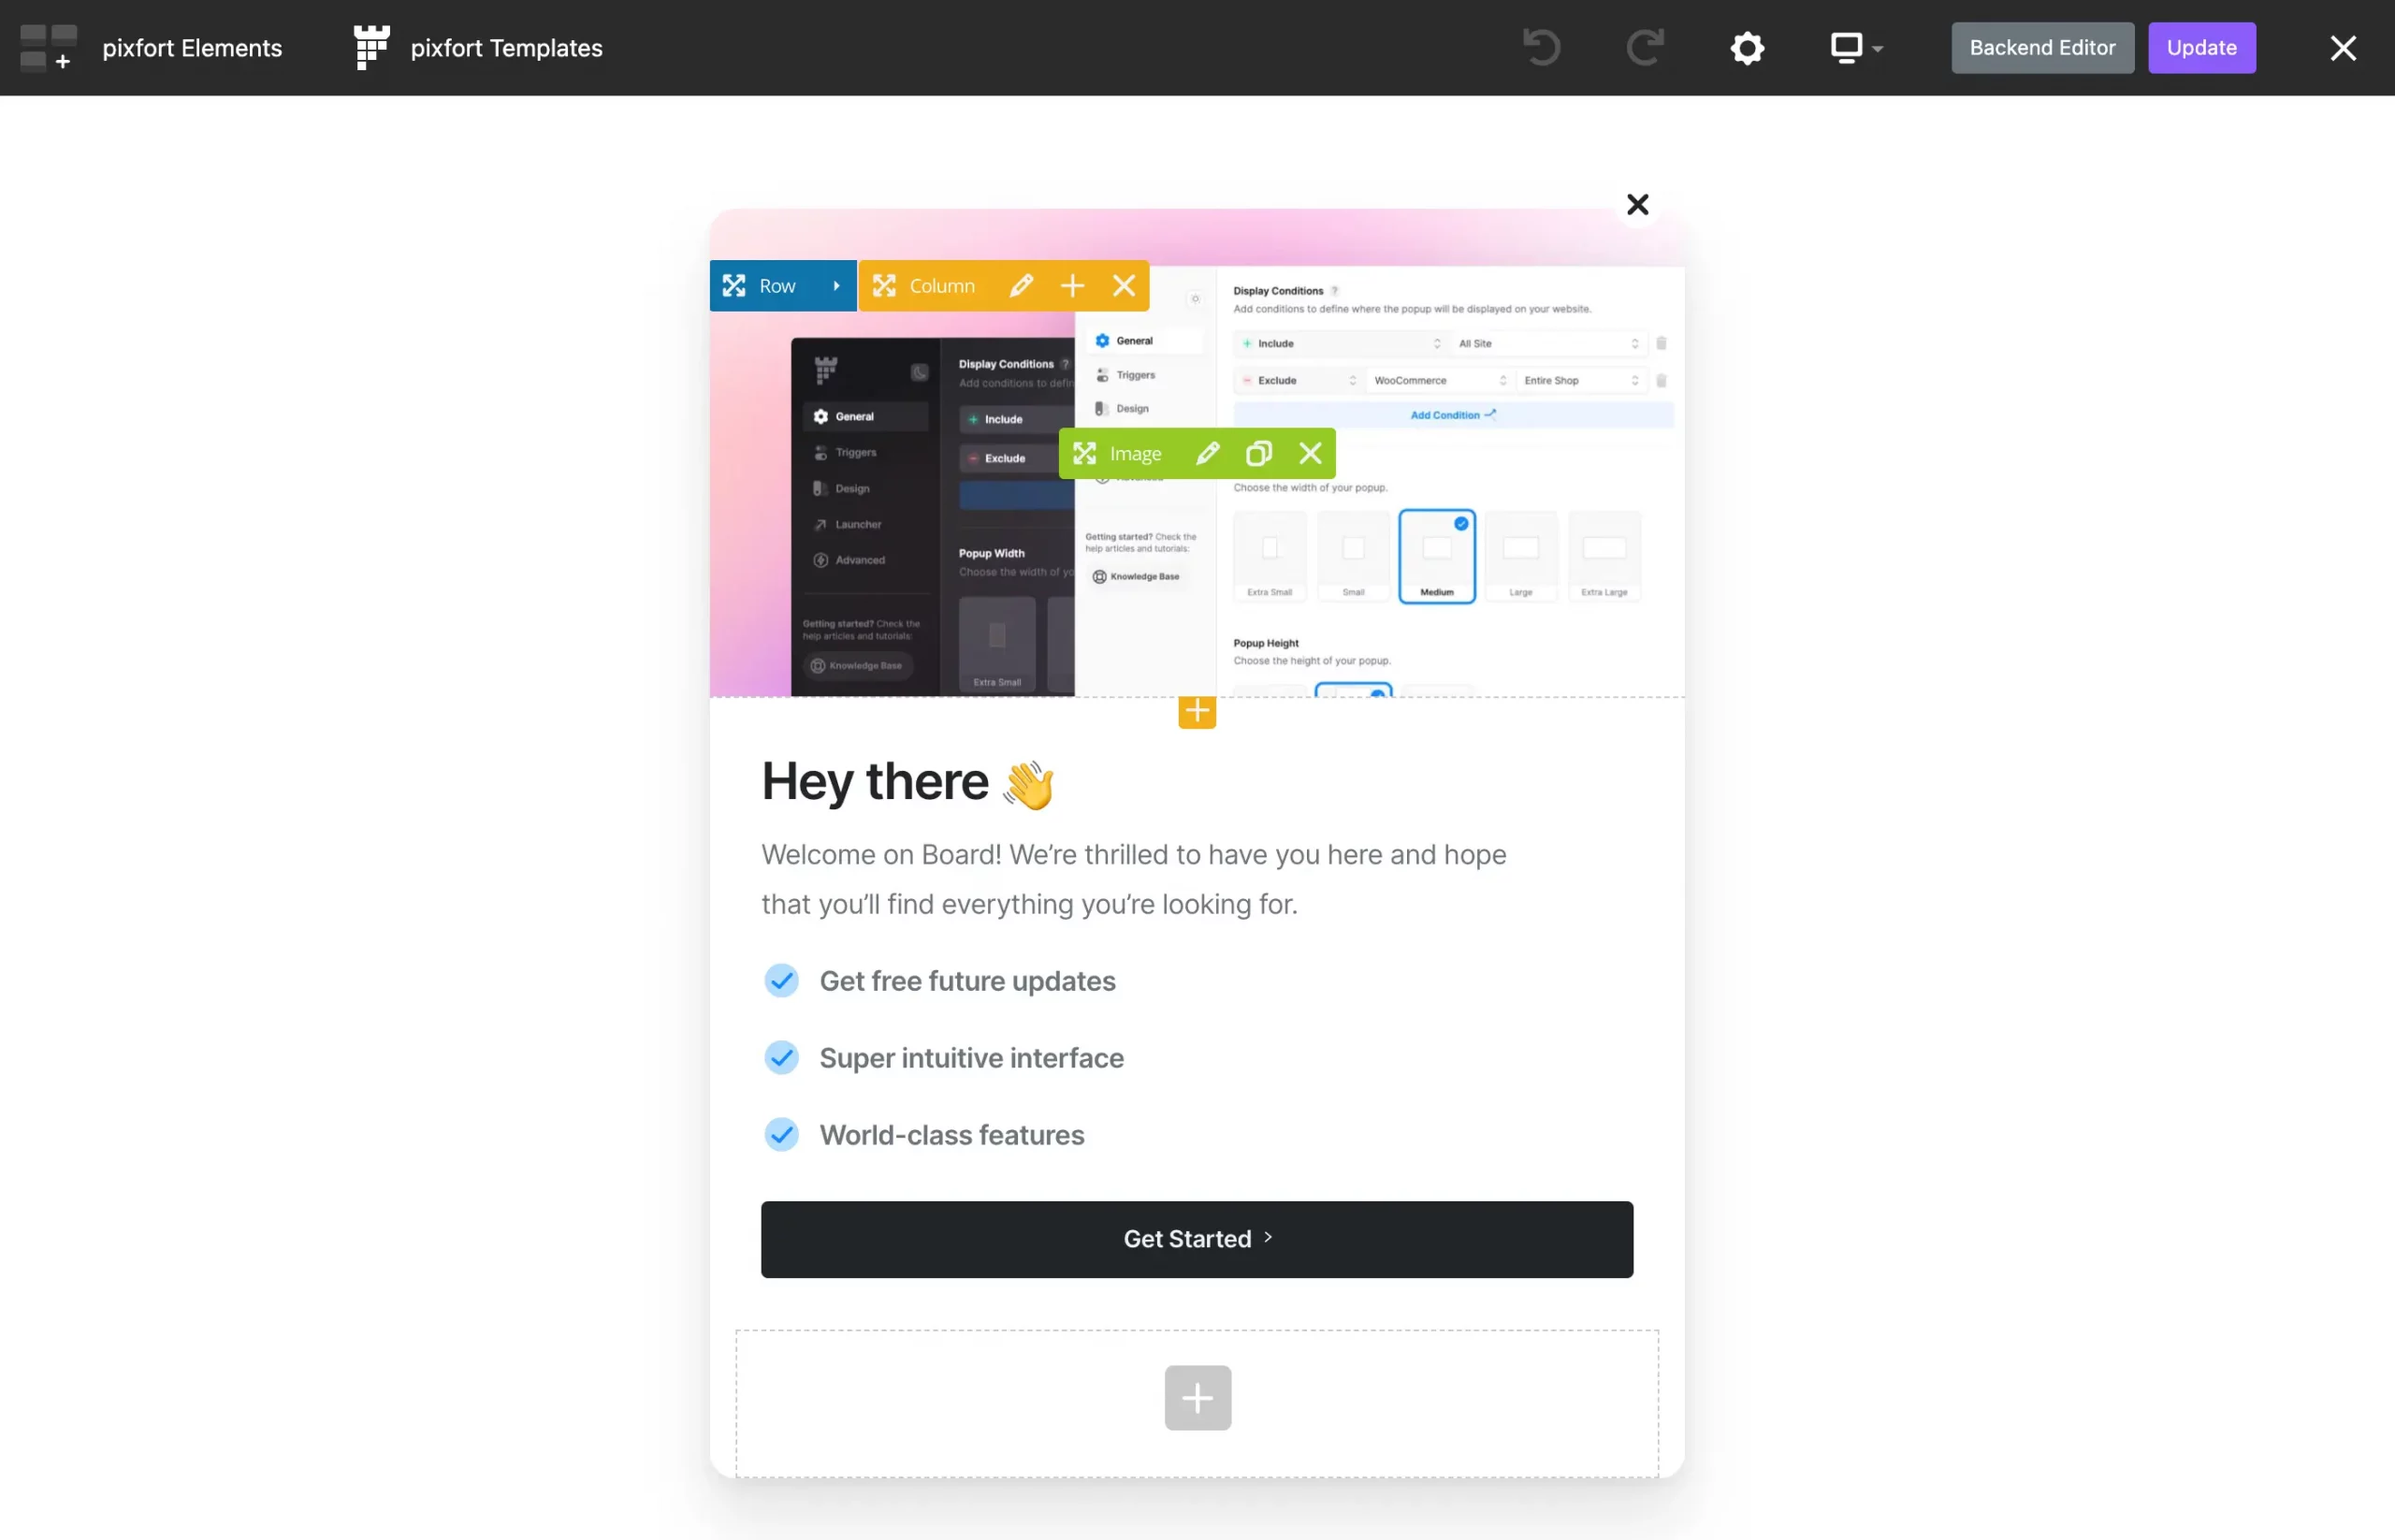
After creating a new popup, you can start editing it using Elementor page builder (Frontend editor), where you can add any element you want from the Elements Library, the same way as building normal pages using Elementor page builder.
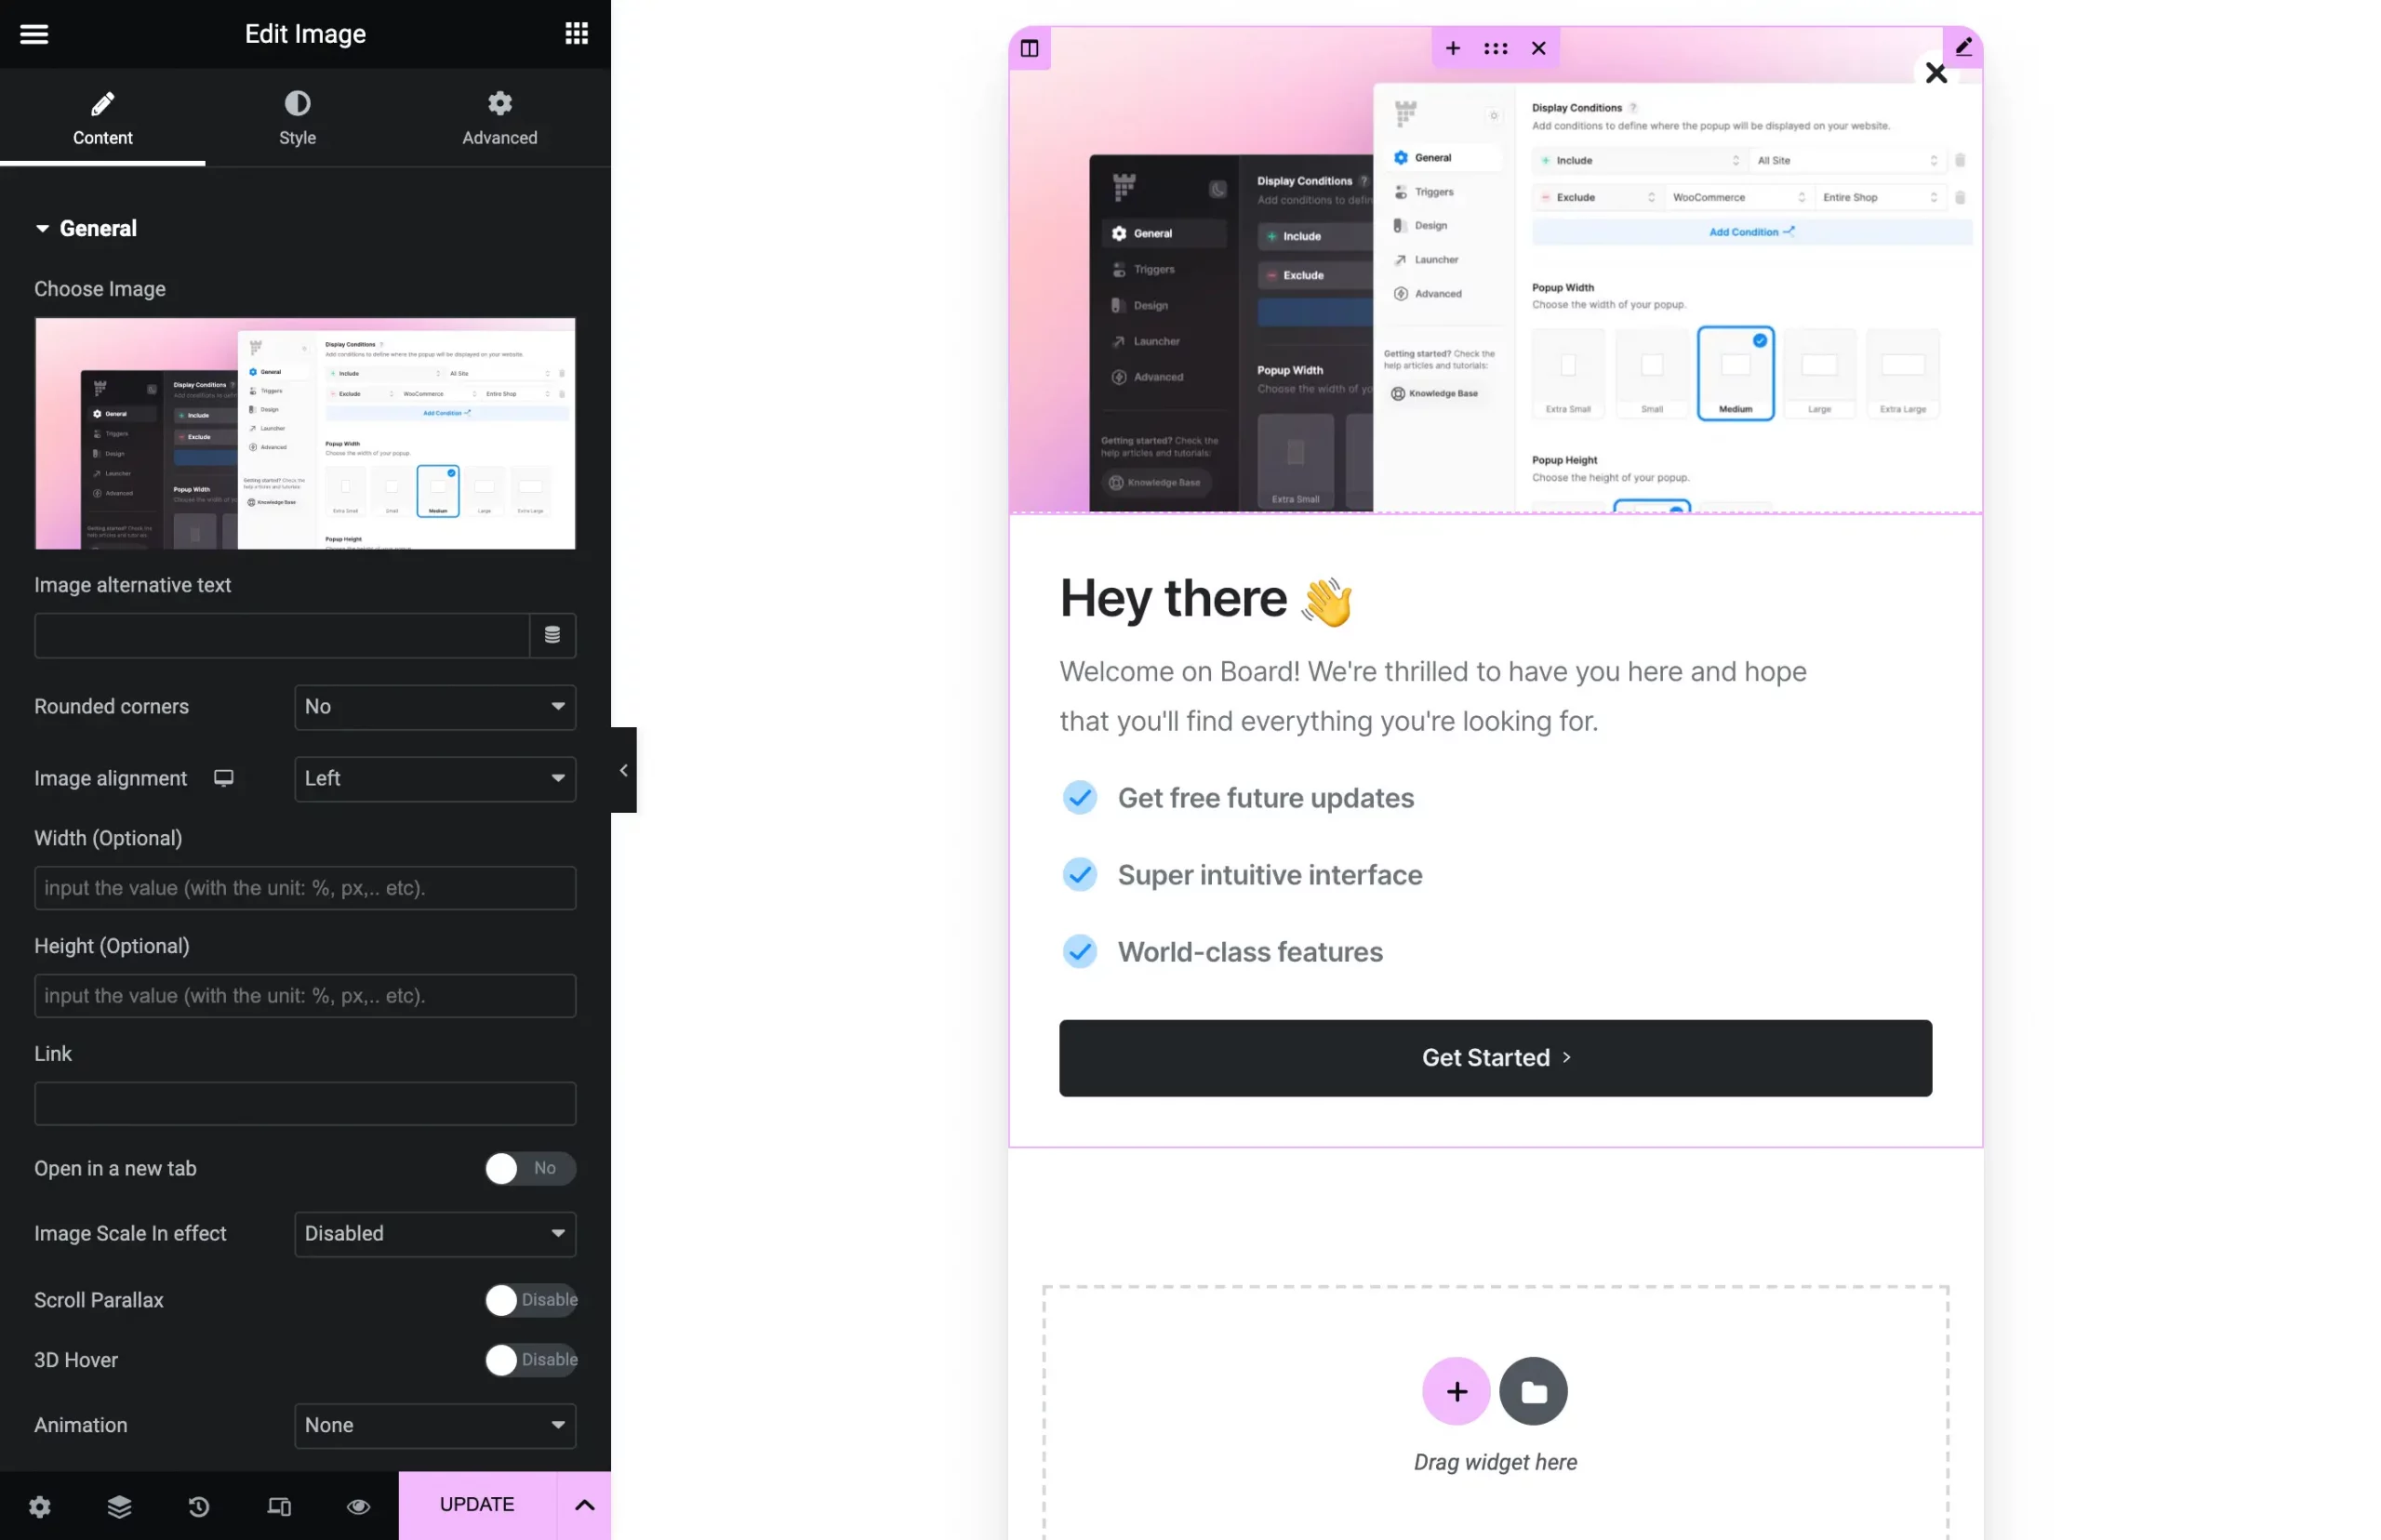
Elementor page builder
- Note: You can choose a background color for your popup from:
pixfort Popup Options → Design tab → Background Color
Link popup to a button in your page
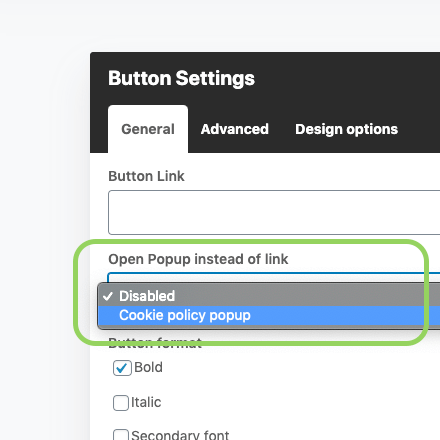
To link popup to a button in your page just open Button Settings and then choose from “Open Popup instead of link” the popup you want to link.
Button Settings in WPBakery
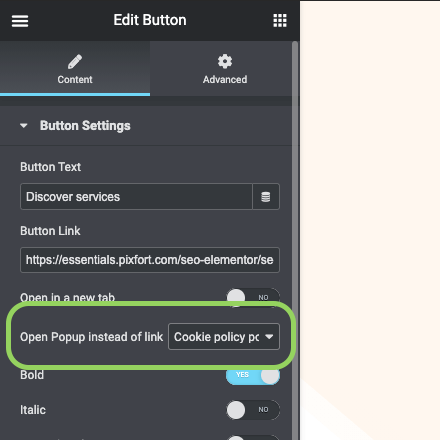
Button Settings in Elementor
You can also link popup to a button in the header, to do that open the button settings (by clicking on the button element) from the Header Builder, then choose from the option “Open a popup instead of a link” the popup you want to link:
Header Builder
- Note: make sure that you already have created popups in your website, otherwise, no popups will be available to choose from!
Open a Popup from any link
To open a popup from any link in your website, go to WordPress admin panel > Popups and then copy the Popup link:
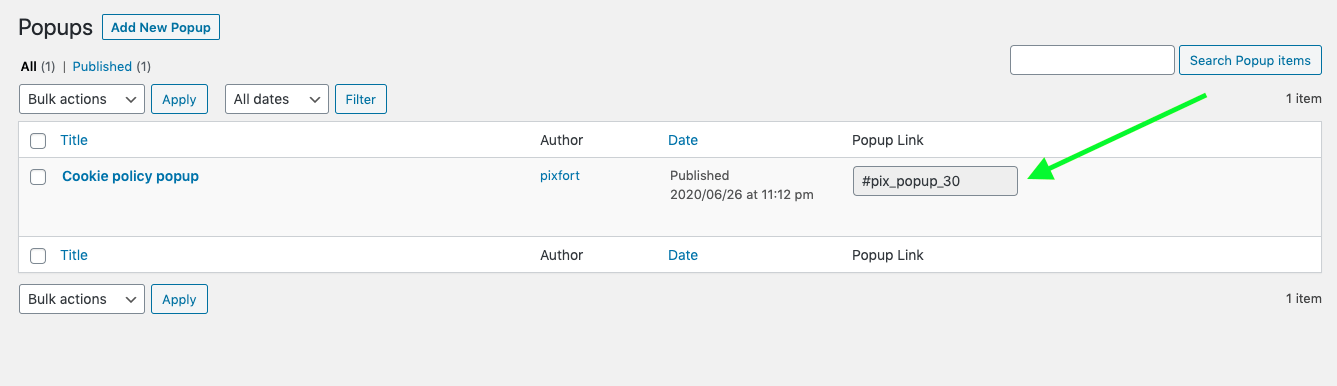
WordPress Admin Panel → Popups
You can also find and copy the Popup link from pixfort Popup Options of the popup → Triggers → Open from Link, for example:

Popup Edit page → pixfort Popup Options → Triggers → Open from Link
After that you can use this link in any link on your website (for example: in Feature element, clients element, Simple links,…etc).
Close a Popup from a custom button inside the popup
To close the Popup using a custom button inside the popup, first add a Button element inside the Popup, then add the class “pix-close-popup“ in the Extra Classes field (in WPBakery) or the CSS Classes (in Elementor) in the Button Settings and set the button link to #.

pixfort Popup Options
The pixfort Popup Options allows you to control the popup options like (Display Conditions, Popup Design, Popups Triggers, Popup Launcher, etc…).
You can find the pixfort Popup Options in the Popup Edit page, for example:
pixfort Popup Options
Useful Tips
Many elements in pixfort Interface has a help tooltip (next to the option title) to provide you with more information about the functionality.
Some options in pixfort Interface may have a Responsive dropdown that allows you to choose different values for the different viewports (Desktop, Tablet and Mobile).
Below you can check the main options available in pixfort Popup Options:
General Tab
In the General Tab, you can find the:
- Display Conditions: Choose where you want to show your popup.
- Popup Width
- Popup Height
pixfort Popup Options → General Tab → Display Conditions
Triggers Tab
In the Triggers Tab, you can find the following popup triggers:
- Show Popup on Page Load: Popup will show after loading the page.
- Show Popup on Page Exist: Popup will show when the user cursor exit the browser window.
- Show Popup on Scroll: Popup will show when scrolling the page.
- Show Popup on Scroll to Element: Popup will show when the user reaches a specific element in the page.
- Open from Link: Copy this popup link to open it from any link in your site.
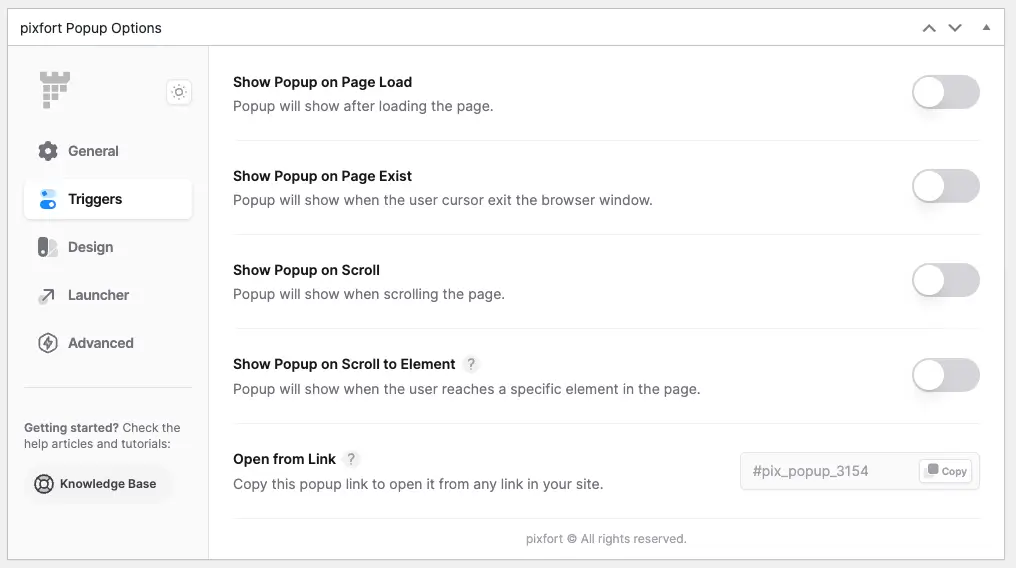
pixfort Popup Options → Triggers Tab
Display up to X times: This option will appear if you enable one of the triggers.
If you enable this option you will be able to set a Display count which represents how many times to display the popup for each user, you will also have the option to Reset the display count for all users.
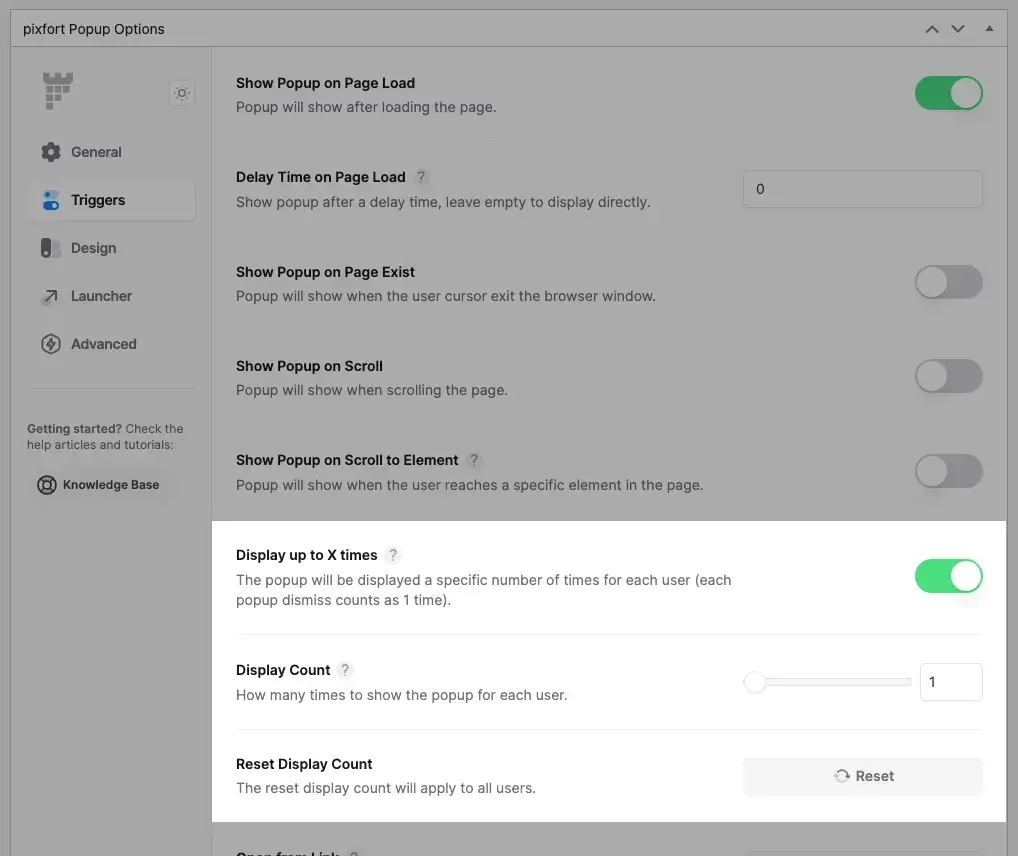
pixfort Popup Options > Triggers Tab > Display up to X times
Design Tab
The Design Tab offers extensive customization options for popups, including positioning, style, backdrop, and close button settings. Users can control the popup’s appearance, animation, backdrop color and blur effects, and the close button’s alignment, position, and icon. These features allow for a highly customizable popup experience.
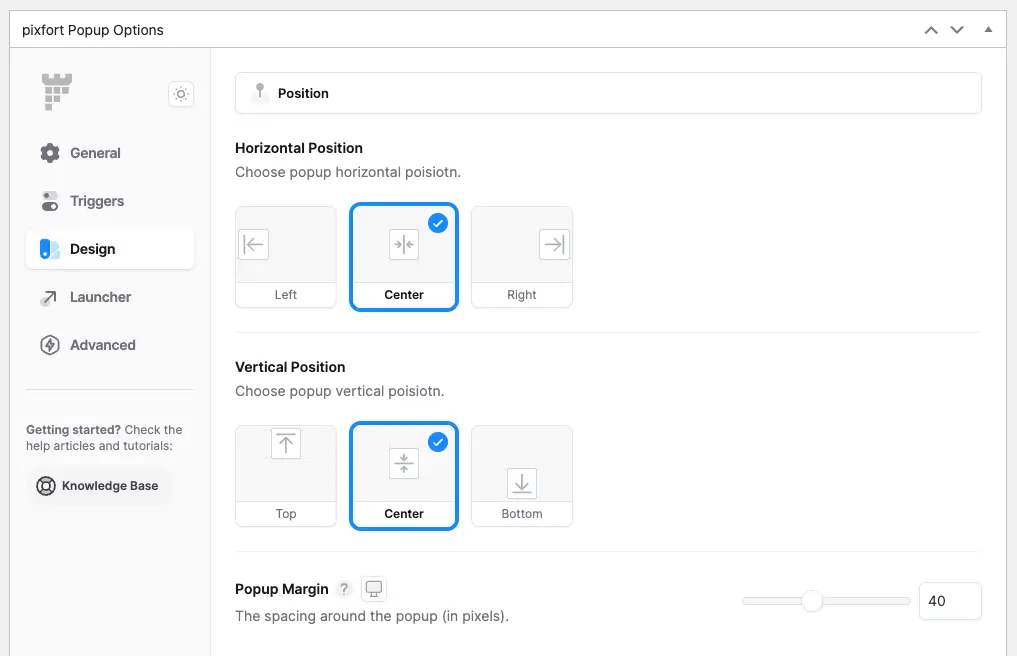
pixfort Popup Options → Design Tab
Launcher Tab
In the Launcher Tab, if you enable the popup launcher, you will have customization options for the popup launcher button, including positioning, style, and the launcher logo.
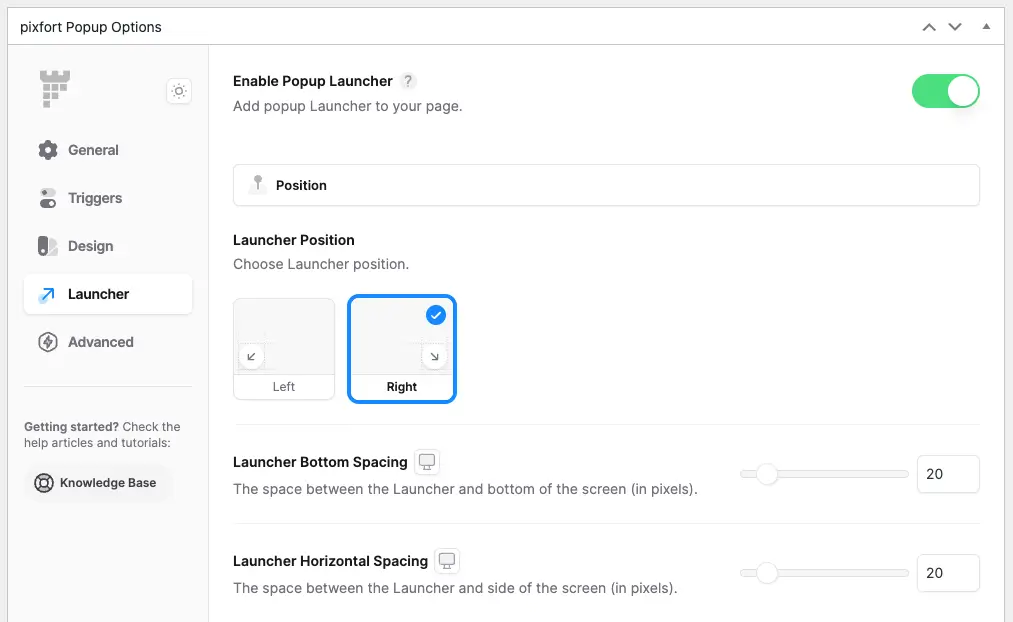
pixfort Popup Options → Launcher Tab
Advanced Tab
In the Advanced Tab, you can find the following options:
- Display on Devices: Customize the popup triggers to only execute on certain screen sizes (Desktop, Tablet and Mobile).
- Custom CSS: Add custom CSS to be loaded with the Popup.
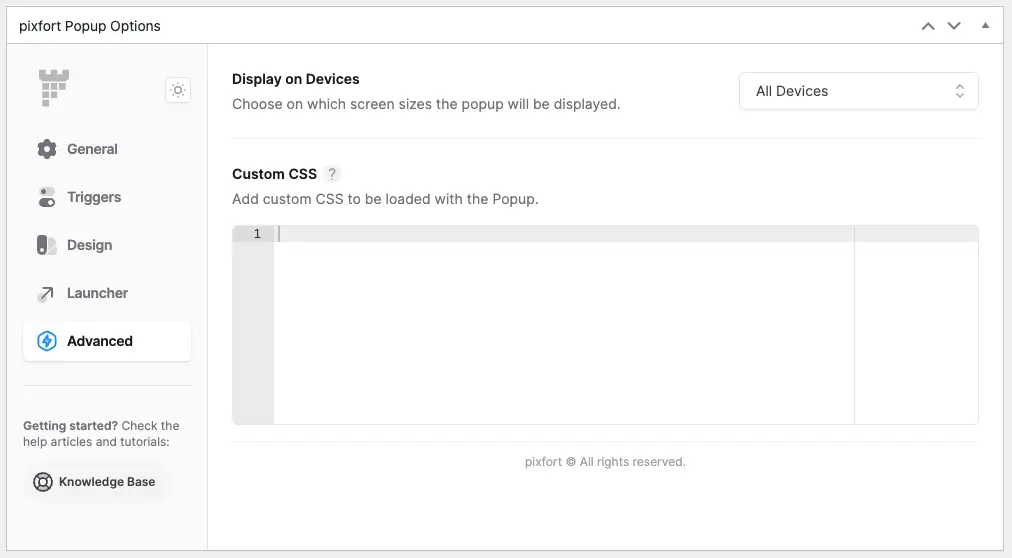
pixfort Popup Options → Advanced Tab
If you’re looking to customize the popup via CSS, you can check the article below for useful CSS Selectors and Variables for pixfort popups:
https://essentials.pixfort.com/knowledge-base/popup-custom-css/