Import Demo content
- Here’s a quick explanation on how Essentials demo content is structured, in fact all Essentials demos have Blog content (posts) by default, for Inner pages, Portfolio and Shop content it depends on each demo.
- Essentials Demo Importer allows you to import
- Full Demos.
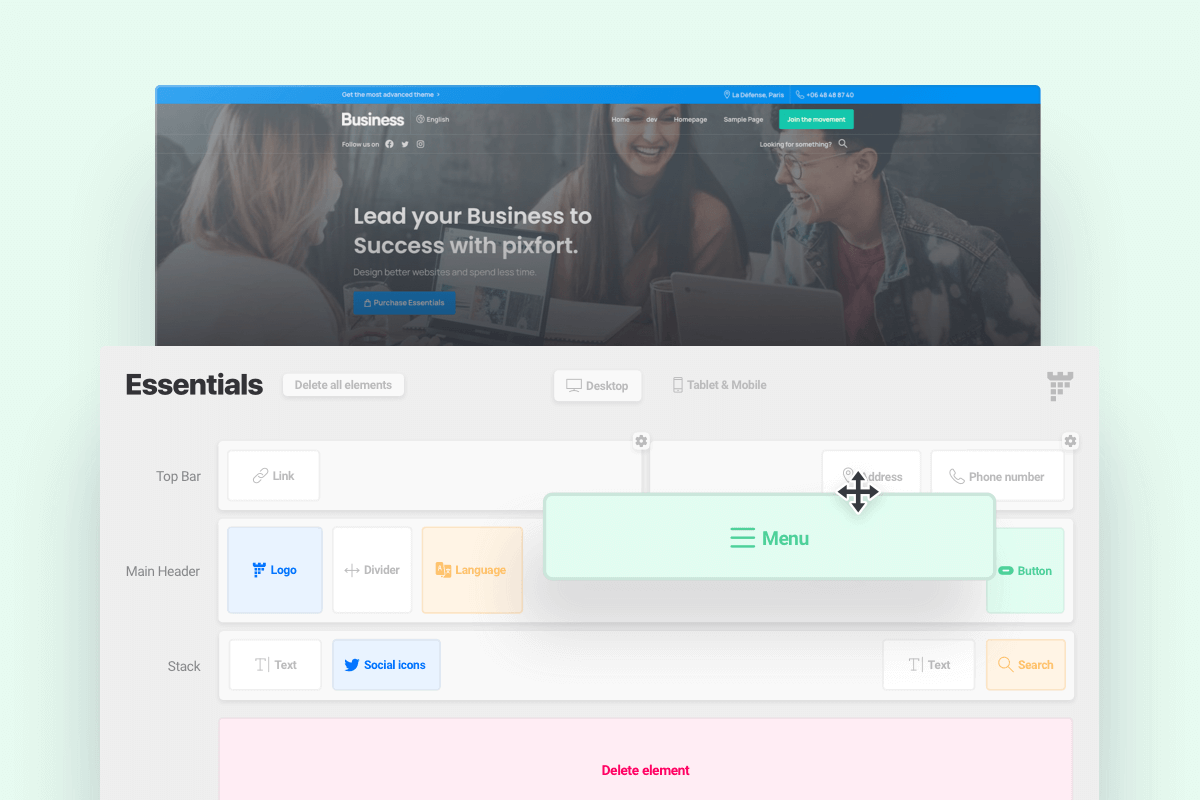
- Header templates
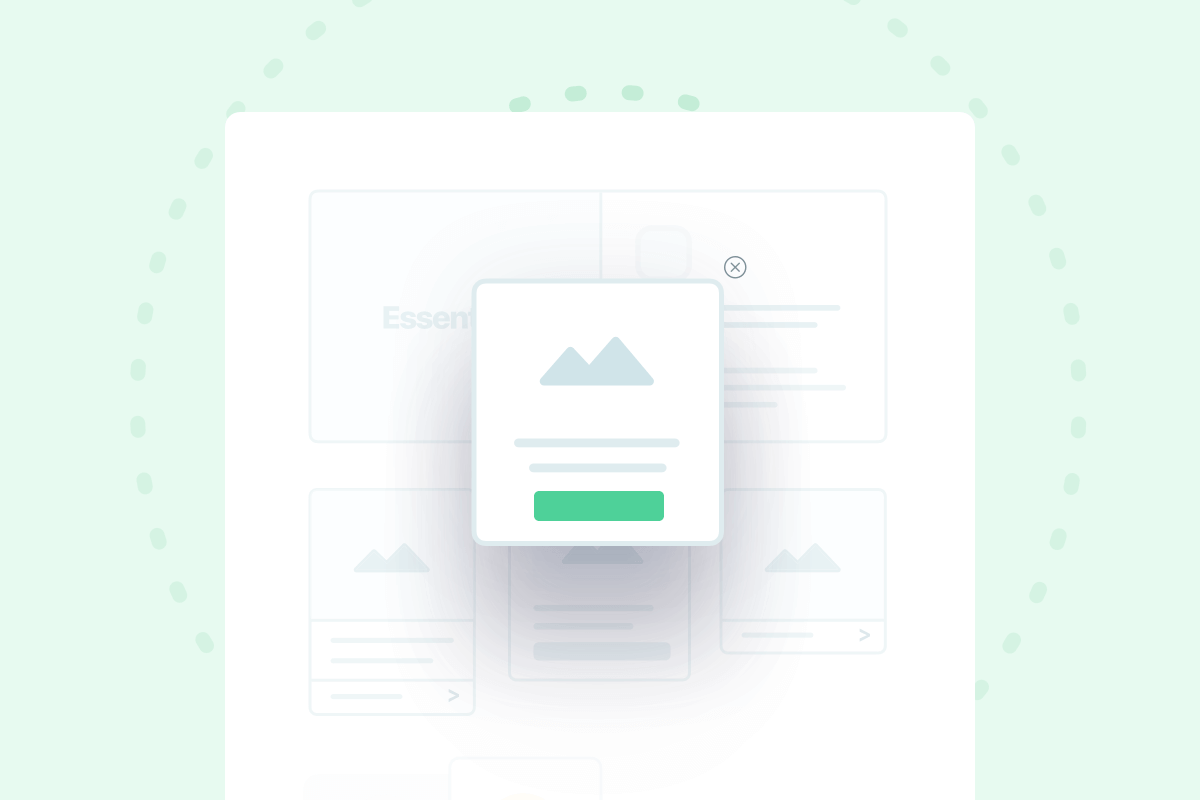
- Popups
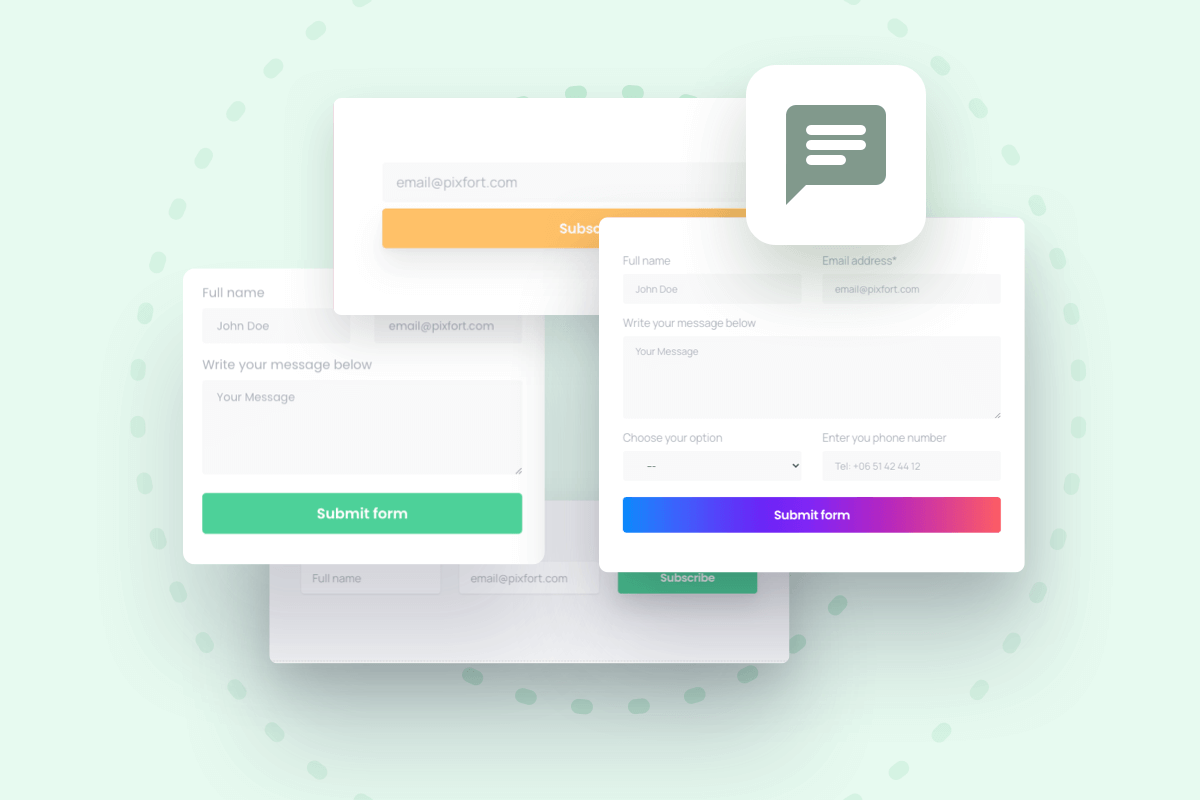
- Contact forms
- Menus
- Blog Posts and Widgets
- Portfolio items
- Shop Products and Widgets
Note: Footer templates can be imported directly from pixfort templates in WPBakery or Elementor Library while editing the Footer template.
- Original Demo contains Main Inner pages/Blog/Portfolio/Shop content.
- Check the Sections Below if you are looking to add Inner pages/Blog/Portfolio/Shop and other content to any demo you want.
To import a demo content, login to your WordPress admin panel then go to: Essentials → Demo Import
After that choose the demo that you want to import (WPBakery or Elementor) by clicking on “Import”, you can select the imported content to exclude specific parts (for example import only the content without the theme options), or you can import everything by clicking directly on “Yes, Import” button. The import may take some time (up to few minutes depending on the chosen demo content).
When the demo importer finishes importing the content you will see a success message and the website will be ready to be used after that 🎉
- Note: we recommend you to install the demo content on a fresh WordPress install without content in it since the existing content may cause conflicts with look of the demo website.
For more information check How to reset your WordPress website article.
Import Inner pages

Add new page
To import inner pages to your demo from other demos, first you need to create a new page in your website, to do this Go to your :
- WordPress Panel > Pages > Add New
(you can skip this step if you already have a page).

WordPress Panel > Pages > Add New
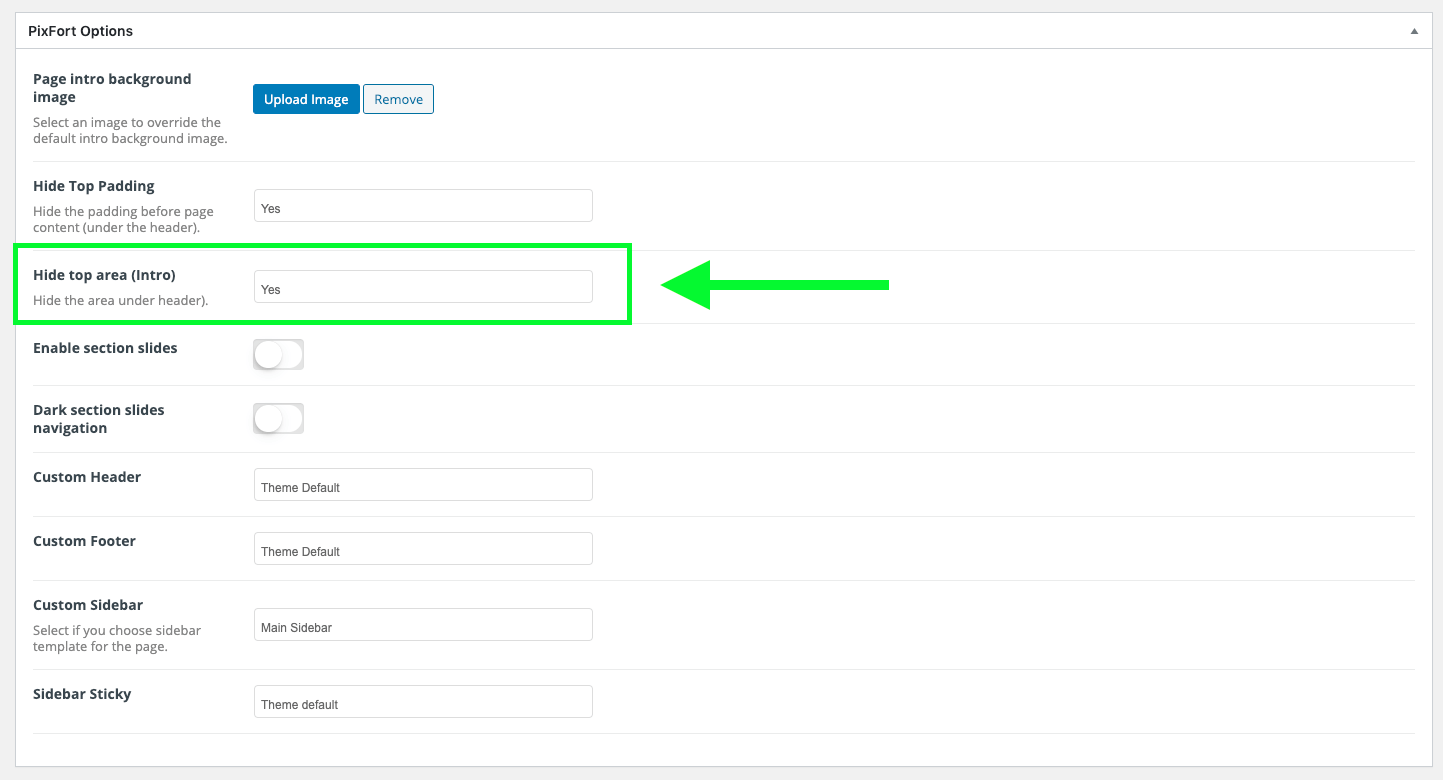
- Quick note (optional): You can hide the page intro by changing the option Hide top area (intro) to Yes.

Add an inner page template to your page inside the page builder
After creating your page, edit it using your favorite page builder WPBakery or Elementor and follow the instructions below:

Adding inner pages in WPBakery
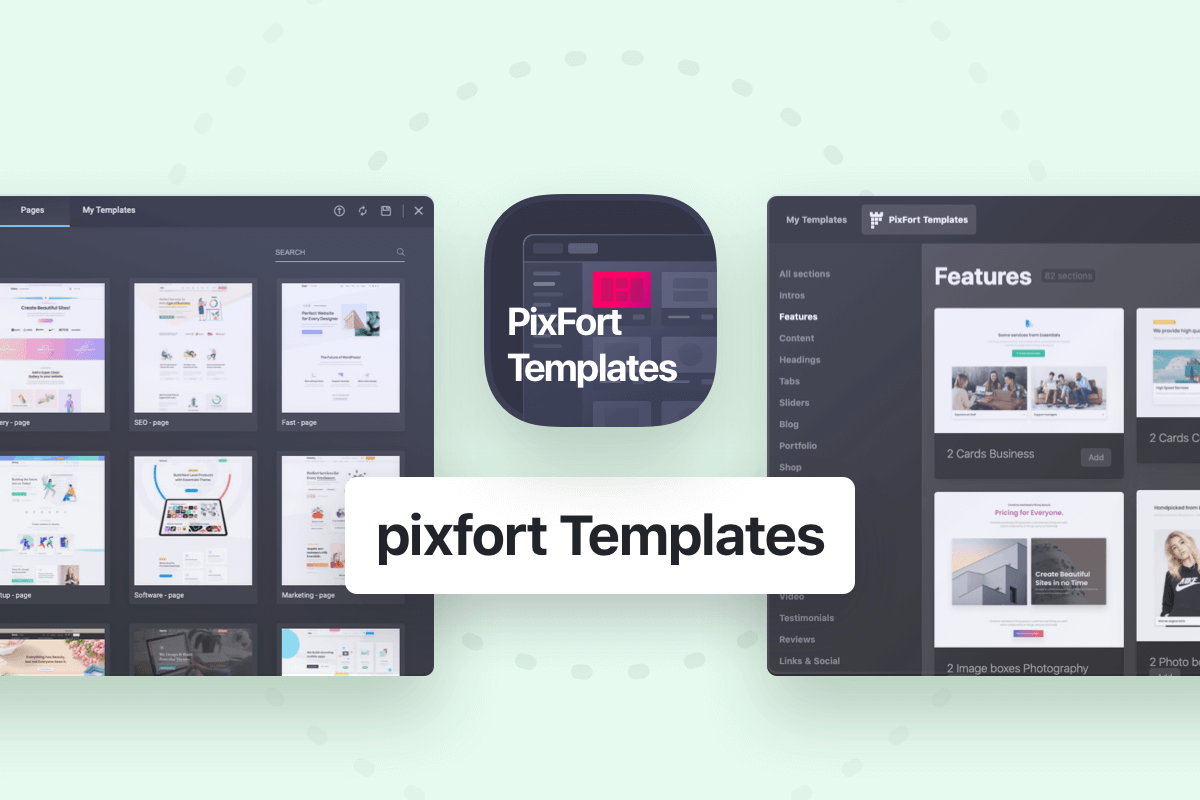
To add inner page to your page in WPBakery, you just need to open pixfort Templates and then from Pages in the left sidebar choose the desired inner page.
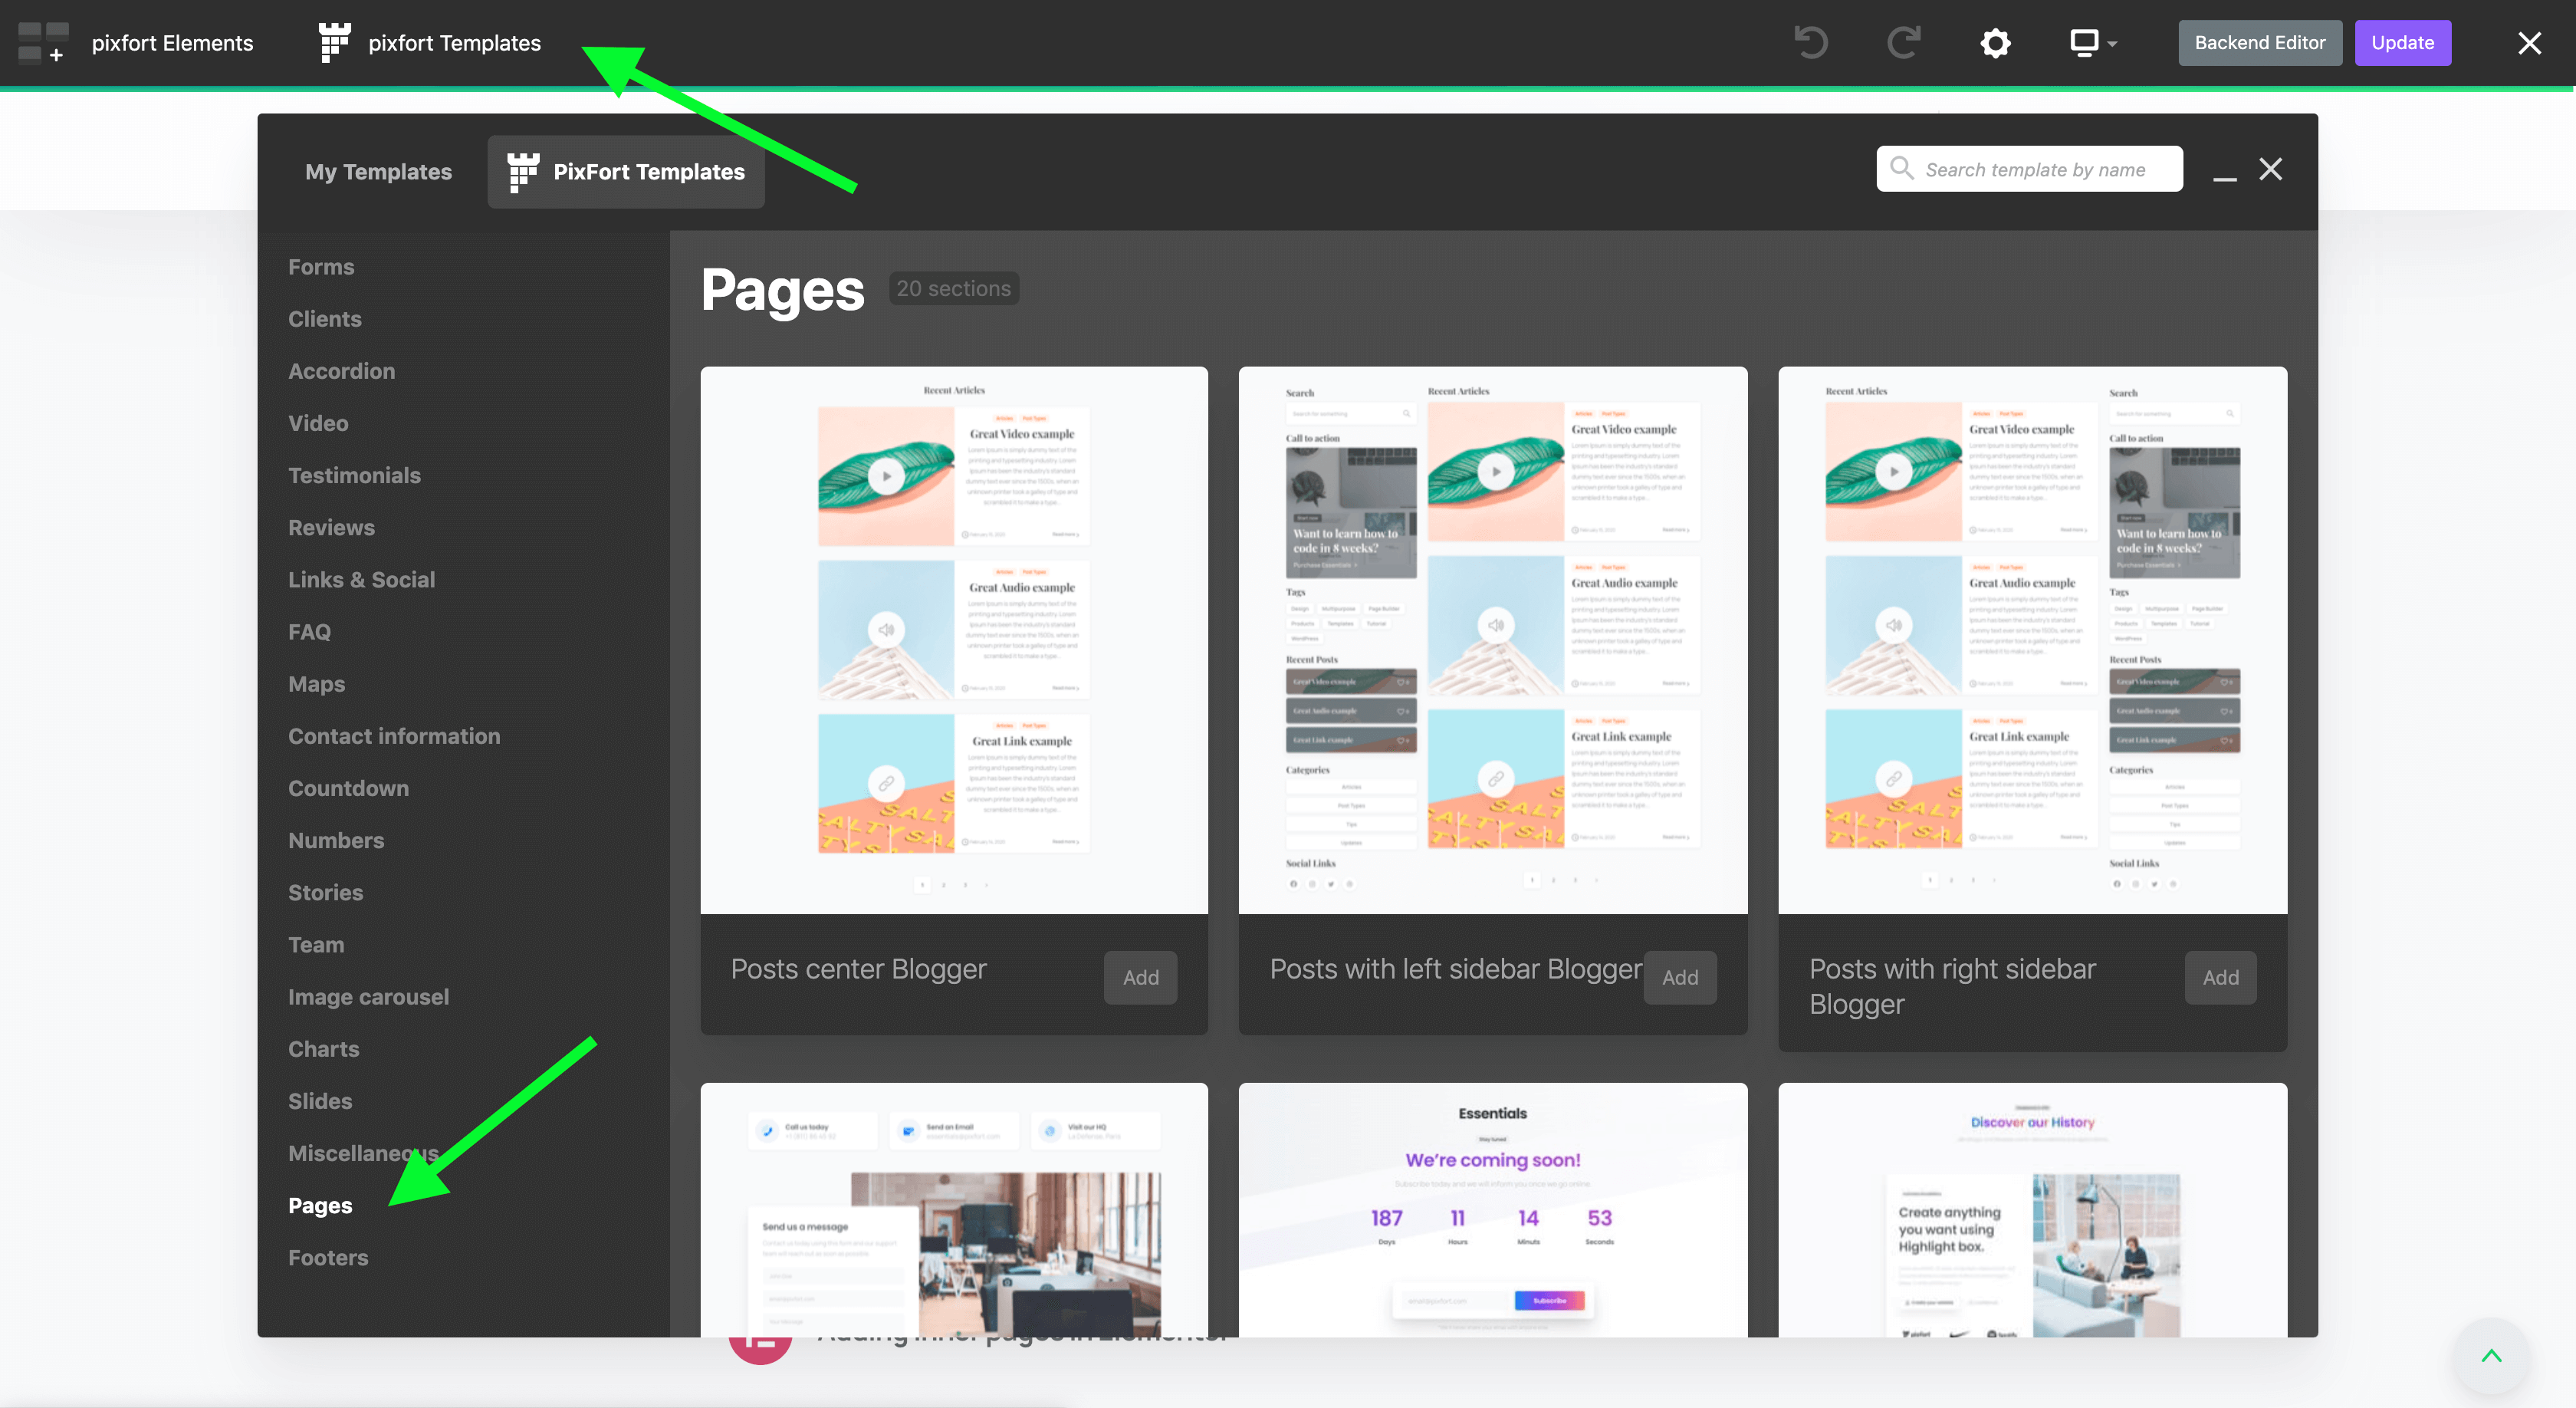
WPBakery editor > pixfort Templates > Pages

Adding inner pages in Elementor
To add inner page to your page in Elementor, you just need to open the Elementor Library and then from Pages Tab you can choose the desired inner page.
- Note: When inserting a template from the Library for the first time, Elementor will ask you to connect to Elementor Template library since the demo content is added via the default Elementor Blocks library which requires connecting a free Elementor account to Elementor plugin.
A connection is required to enable Elementor plugin to add smart features to the library in the future including personalization features such as ‘favorites’, ‘recently used’, …, etc.Please note that this is a default behavior in Elementor plugin and it’s not related to the used theme, therefore you can create a free account with Elementor plugin and connect it inside Elementor Blocks library, for more information about connecting an account in Elementor plugin we recommend you to check this article from Elementor plugin website:
https://elementor.com/help/connect-library/