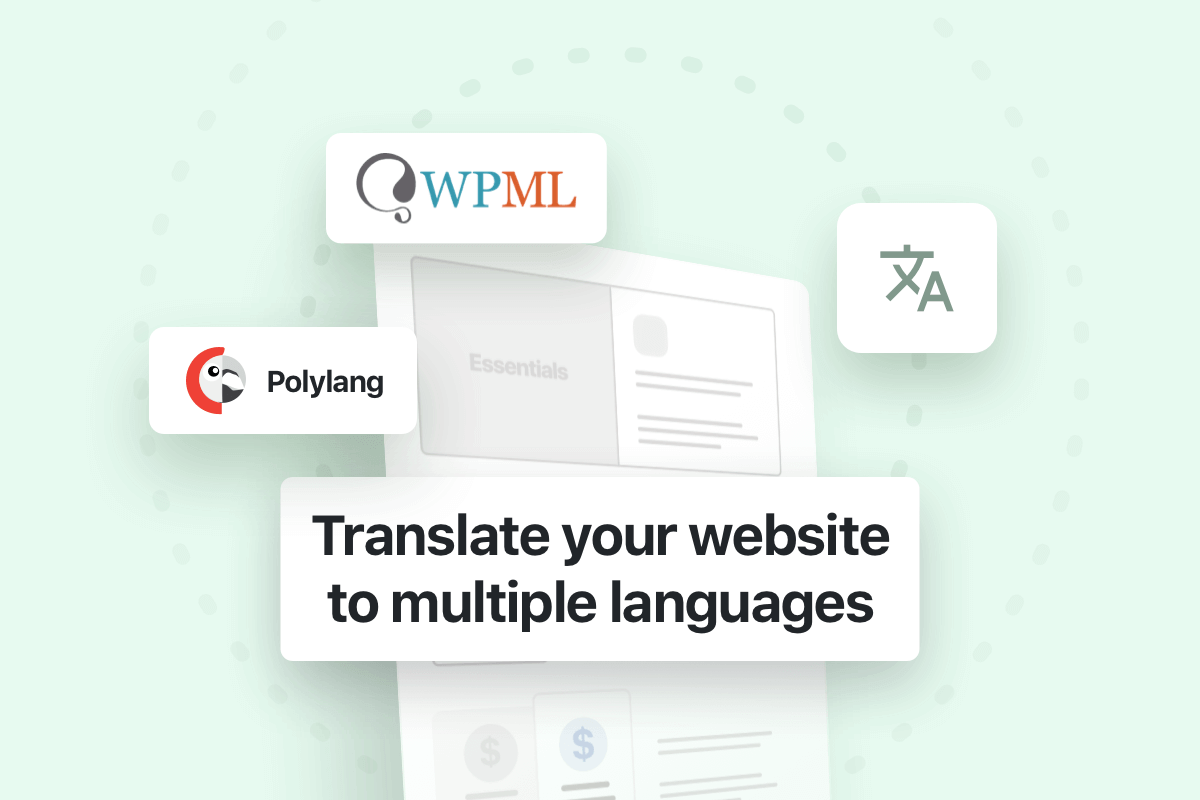
Easily expand your website’s reach by translating it into multiple languages. This guide shows you how to use popular plugins for a seamless multi-language translation process.
The required plugins to translate your website into multiple languages:
- Loco Translate: To translate the default static strings that can’t be changed in the text editor or website builders (for example default Blog post buttons, default Search widget, …, etc).
- WPML or Polylang: To translate entire webpages that you created on your site (for example the content created in Elementor or WPBakery plugins), including the translation of custom content added in the Headers, Footers, Popups, Portfolio, …, etc.
Step-by-Step Translation Process:
- Install Translation Plugins: Begin by installing WPML or Polylang, and Loco Translate for static strings.
- Translate Static Strings: With Loco Translate, translate default static WordPress strings into your chosen languages (for more information you can check this article).
- Translate Webpages: Use WPML or Polylang to duplicate your pages in the desired language, adit the text directly in the page builder (or use the translation editor in WPML plugin).
Adding a Language Switcher
Enhance navigation between languages on your site by including a language switcher in your website’s header:
- Install WPML or Polylang.
- Access the header builder.
- Add the Language Switcher element and save the changes.
Conclusion
By following these steps, you can showcase your content to a diverse audience, making your website accessible and user-friendly in multiple languages.
Using WPML Plugin
WPML plugin lets you translate all part of your site (Pages, Posts, Headers, Footers, Popups, Portfolio, …, etc), it also lets you choose who will translate it and how to do it.
For detailed information about installing WPML plugin and using its basic features you can check this getting started article from WPML plugin website:
https://wpml.org/documentation/getting-started-guide/
Translating custom website parts (Footer, Portfolio,Popups,…, etc)
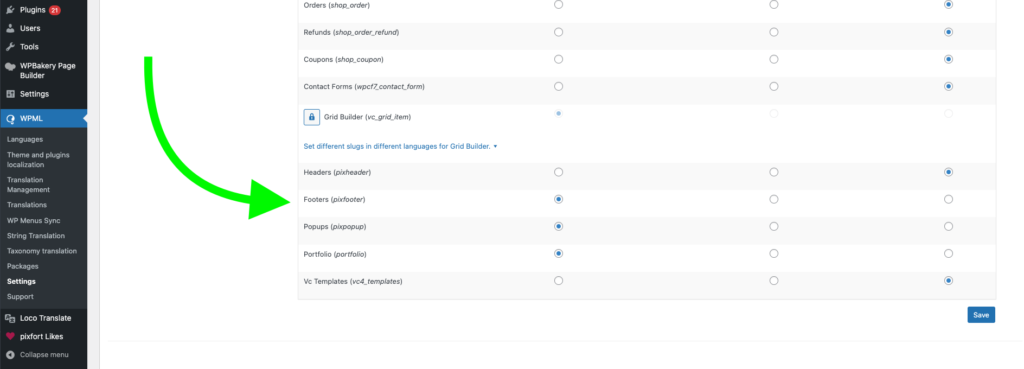
In order to translate the a custom website content part (for example the footer) automatically by WPML plugin in all items you just need to enable translation for website footers from WPML settings:
After that you will be able to create a translation of the footers of the website:
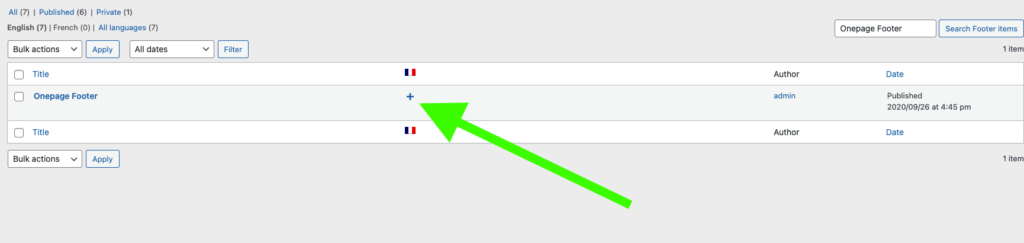
After that the footer language will change automatically depending the language of the website.
Translating taxonomies and menus
If the you choose to Translate Everything Automatically in WPML, taxonomies and menus will be translated automatically. Otherwise, if you are using the “What You Choose” translation mode in WPML plugin, you can check the articles translating taxonomies and translating menus from WPML plugin website.
Translating Slider Revolution
If you are using the bundled plugin Slider Revolution, the external slider plugin is compatible with WPML and you can check this tutorial from WPML plugin website about translating its slides with WPML: