
In order to add Tabs to your page, you can either import one of the available premade Tabs templates using pixfort Templates, or you can create your own Tabs using the Tabs element in the page builder you’re using.
Importing premade Tabs using pixfort Templates
You can easily import a premade Tabs template using pixfort Templates in the page builder you’re using. For detailed information on how to access pixfort Templates you can check this article:
Where to find pixfort Templates
 Important: Tabs are custom pixfort element in WPBakery. At the moment Elementor doesn’t support nested elements inside tabs, however, it has simple version of the tabs element.
View Tabs Element page
Create Tabs from scratch
You can add the Tabs element (Vertical and Horizontal Tabs) to your page from the elements list inside the page builder you’re using, after that you can edit the tabs as following:

Using WPBakery
Below we’re using WPBakery Front-End editor, the same process applies to the Backend editor.
Useful information:
- To add new content to your tab, just click on the desired tab then add new elements by clicking on the (+) icon in Pix Tab orange icons bar, or you can drag and drop elements from your page into the tab.
- If you want to create a new tab, you can either duplicate an existing tab or you can create a new one by clicking on the (+) icon in Horizontal/Vertical Tabs orange icons bar.
- To change Tab position, just drag and drop the tab title to change the order.
- You can edit the text of each Tab by clicking on the tab that you want to edit then open the Pix Tab settings:
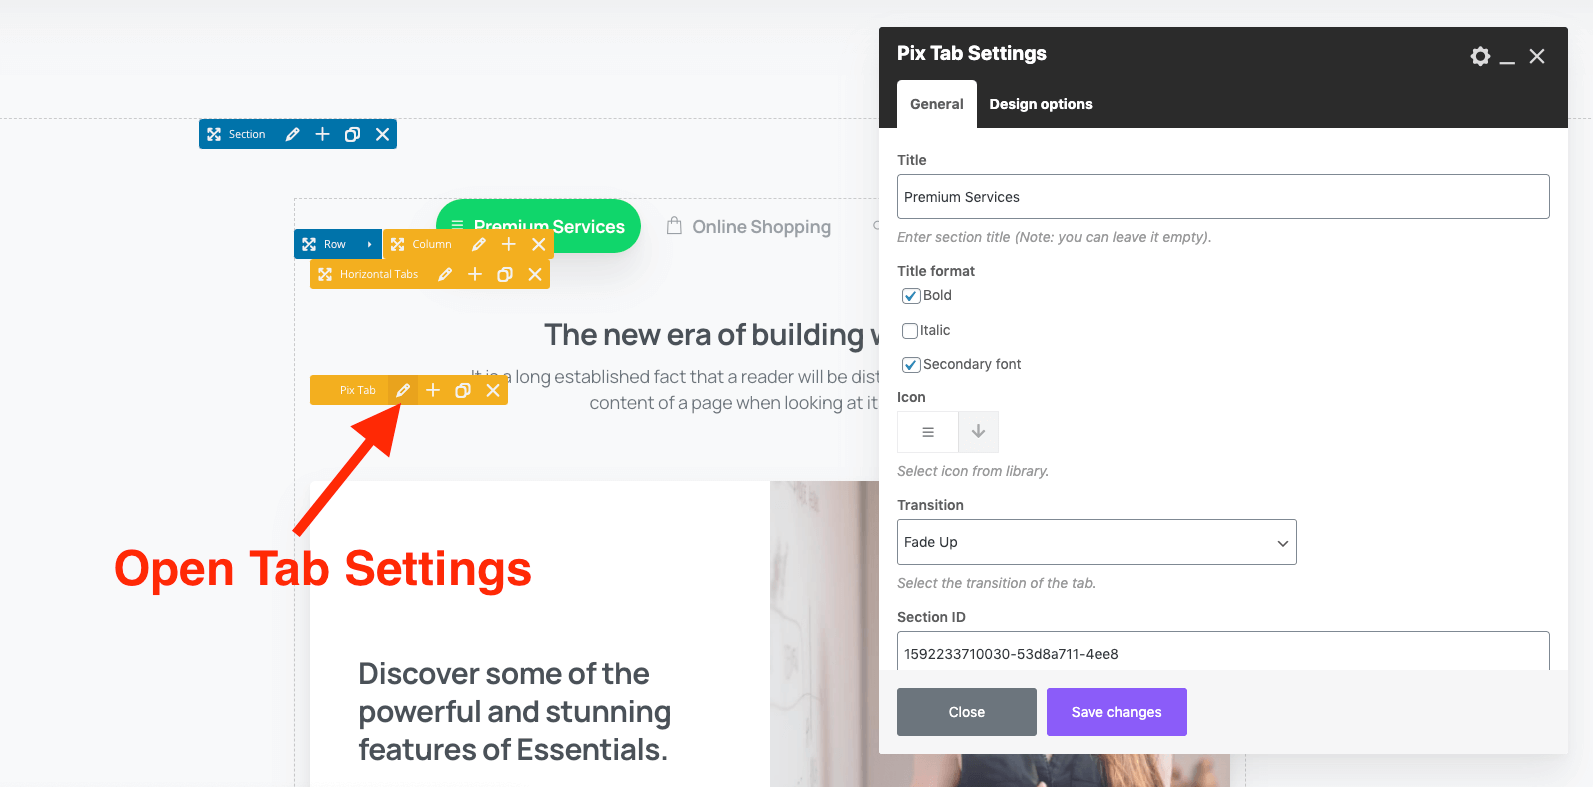
Open Single Tab Settings
If you want to edit the Tabs style and options, open Tabs Settings and change the style:
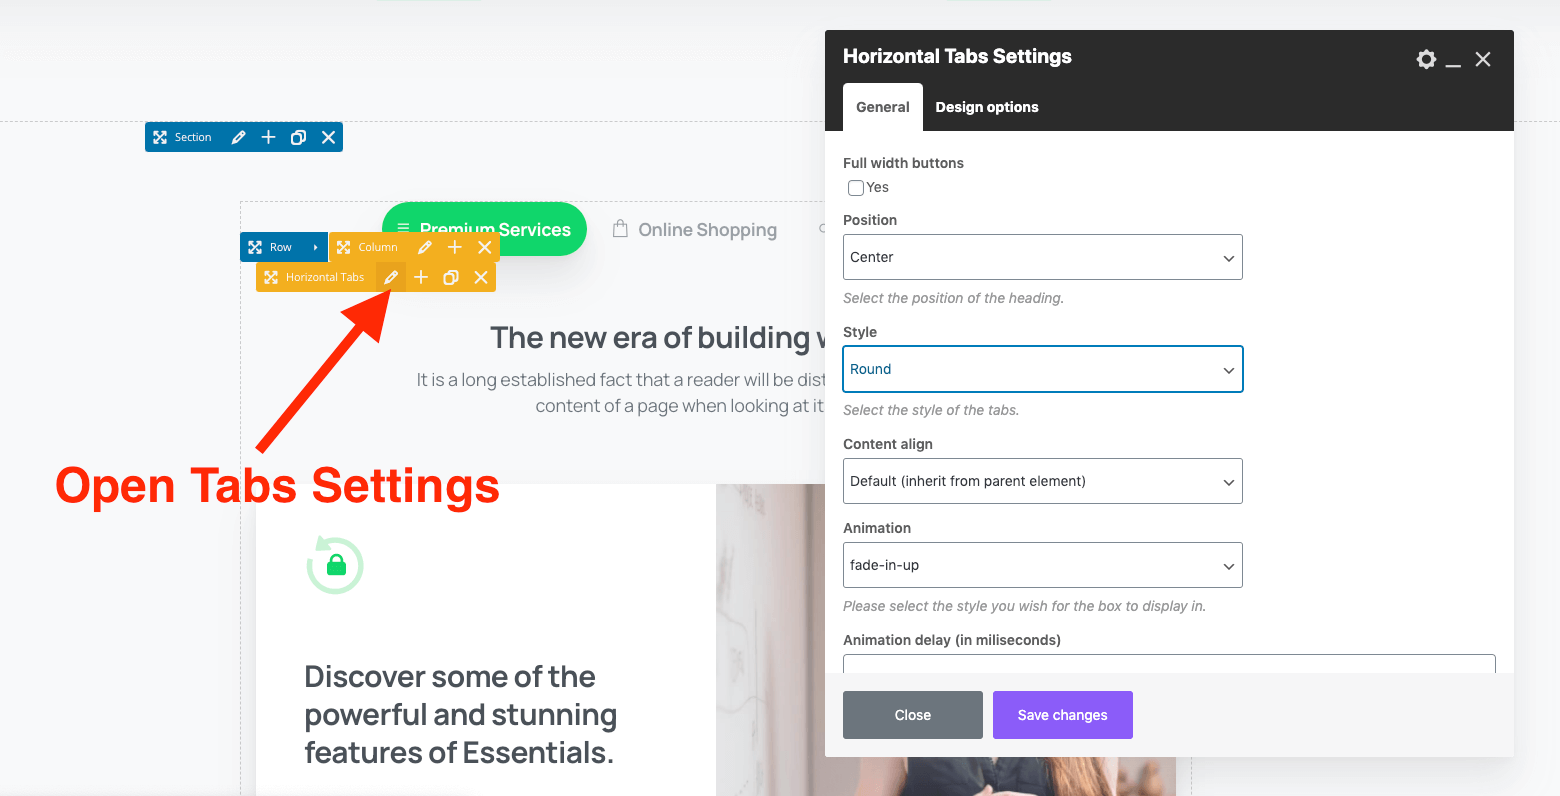
Open Tabs Settings
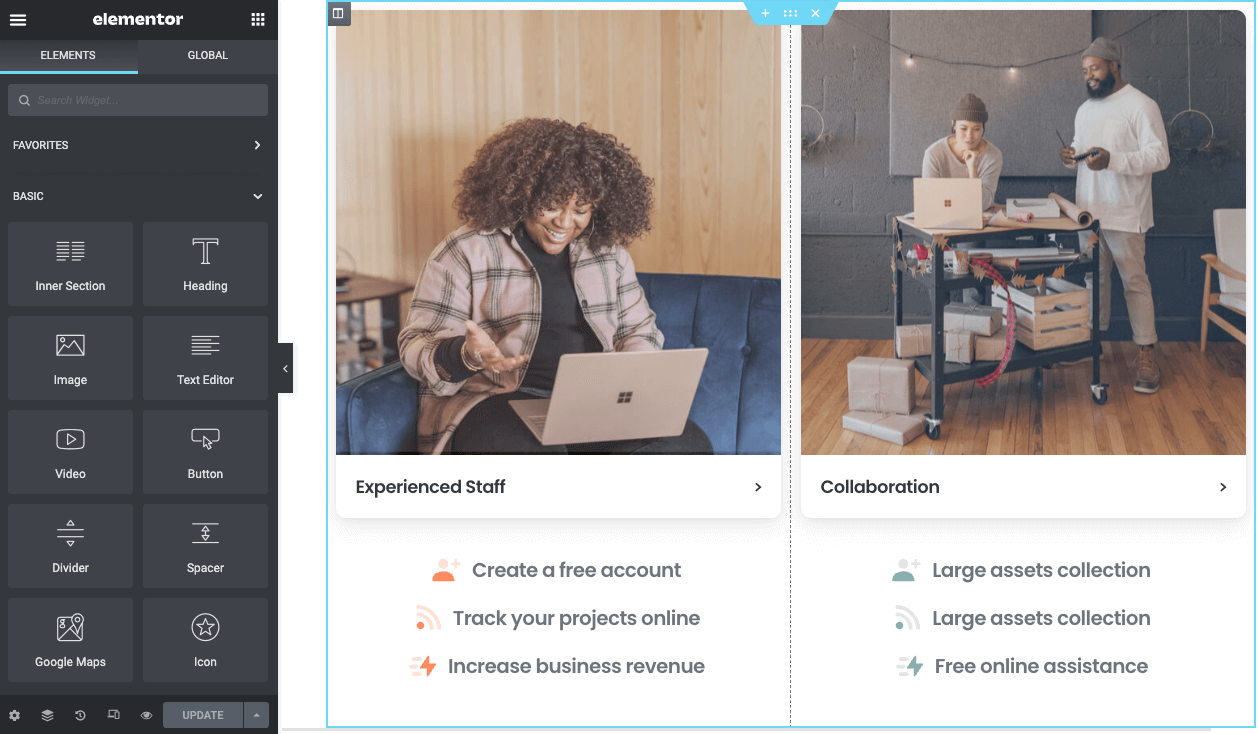
Using Elementor
Simple text Tabs
To edit the Tabs, just open the Tabs Settings and then from the left sidebar you will be able to edit tabs content and styling:
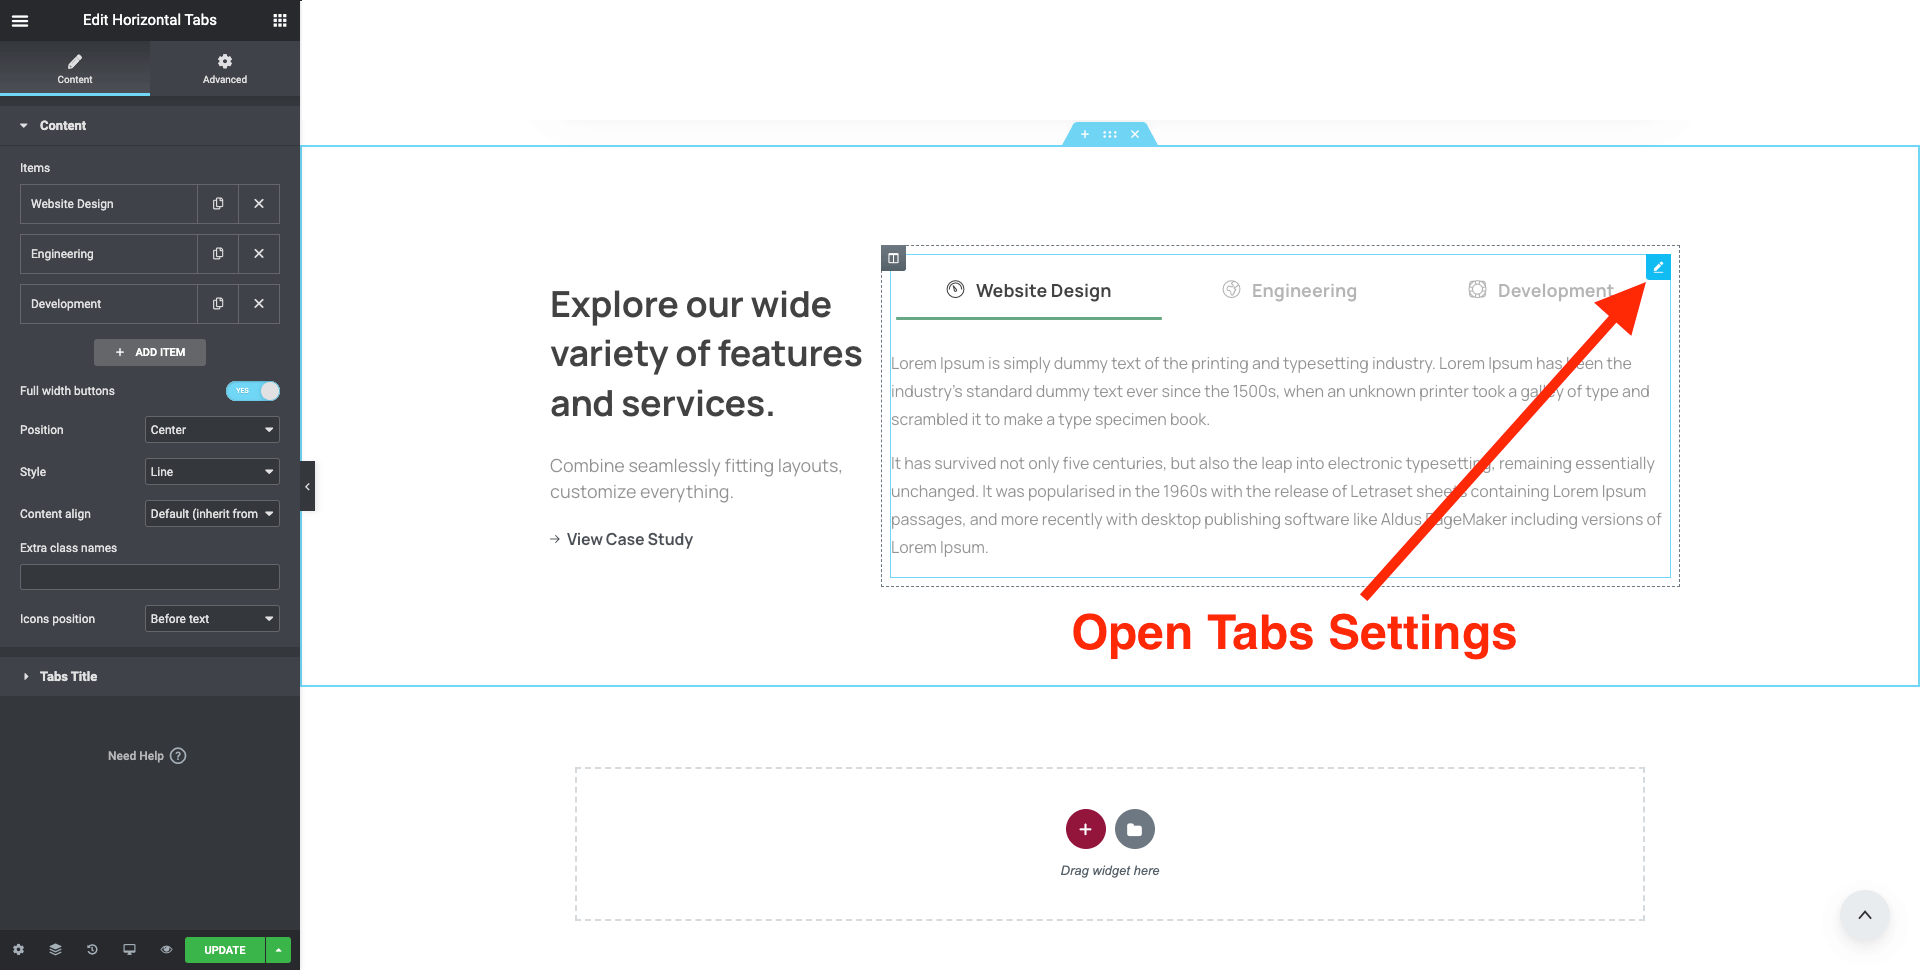
Open Tabs Settings in Elementor
Advanced Tabs using Elementor Templates
If you’re looking to add advanced layouts to your tabs you can create Elementor Templates and then add them to your tabs:
Add a new Elementor template
Open the Templates tab from the left sidebar in your WordPress Admin Panel then Add new Template:
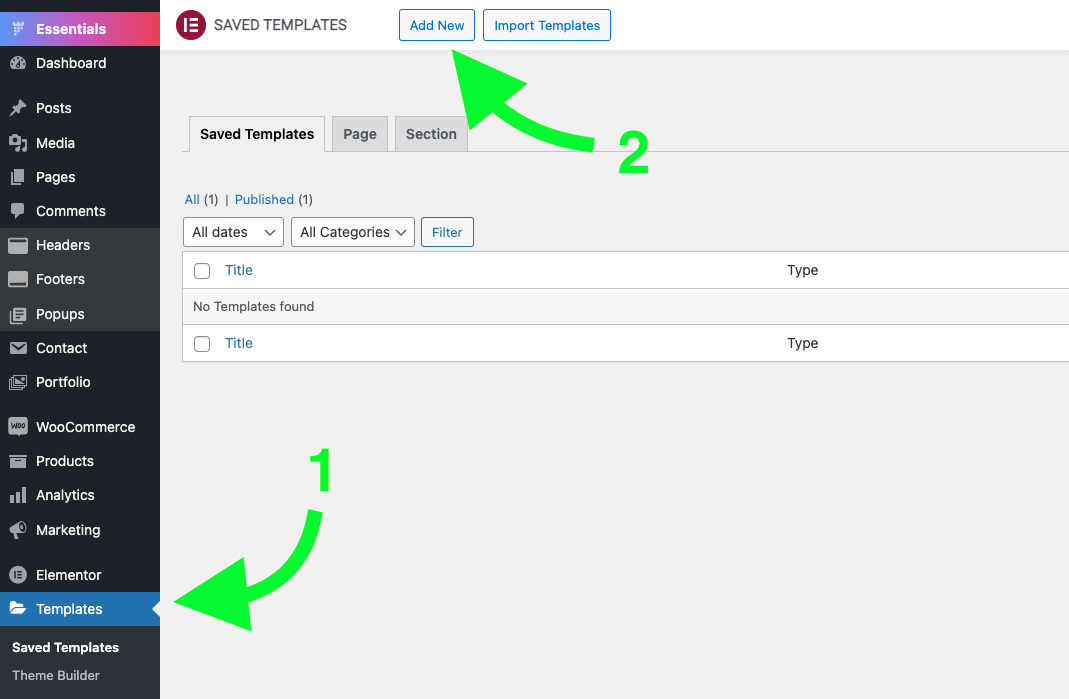
WordPress Admin Panel > Templates > Add New
Choose template type as Section
Select the type of the template as “Section” and choose a name for your template.
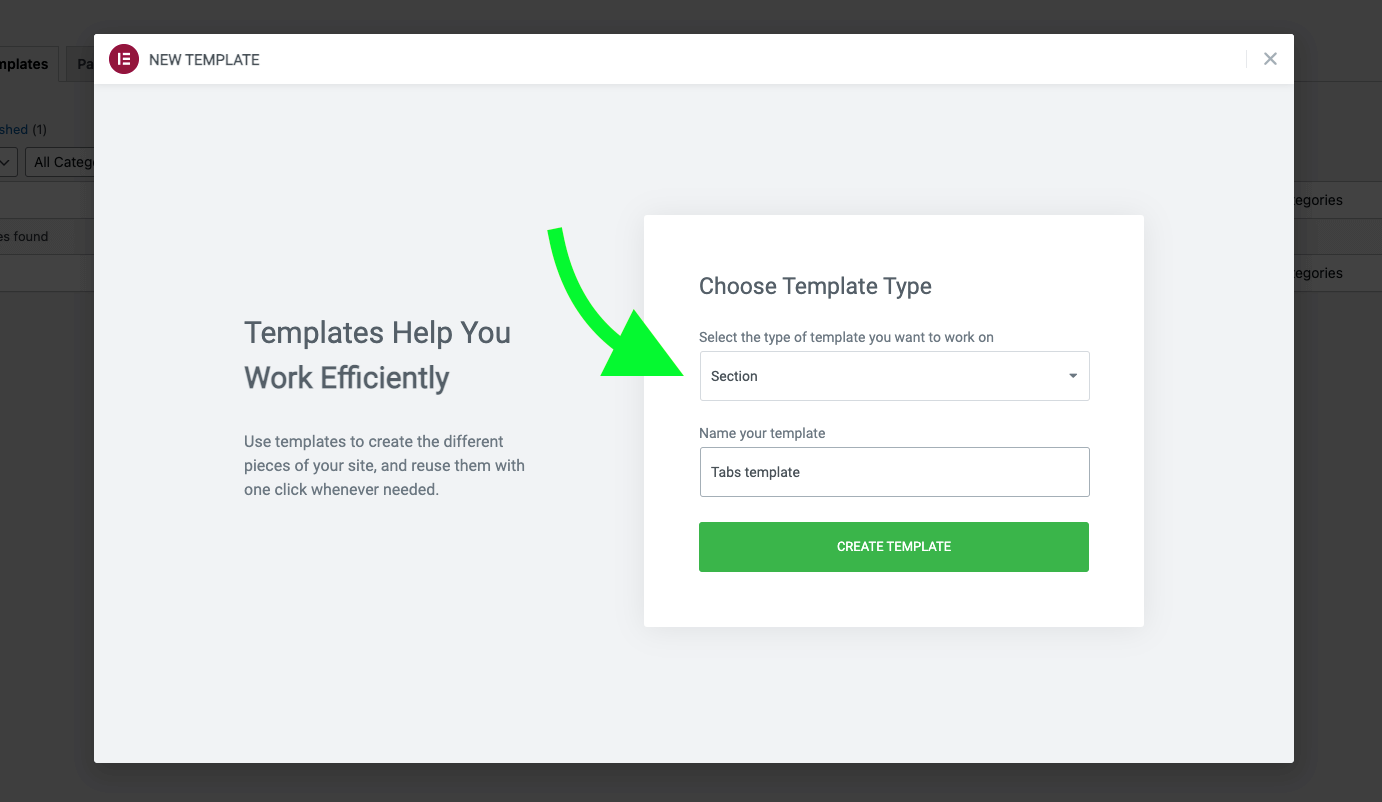
Choose template type and name
Add content to your template
Now in Elementor page builder you can add content to your template as usual.
Add content to your template
Choose your Template in the Tabs element
After you finish creating your template, go back to the page where you have the Tabs element and for each item in the tabs you can choose the Content type as Elementor Template, after that the list of available Templates will appear and you can choose the desired template to show.
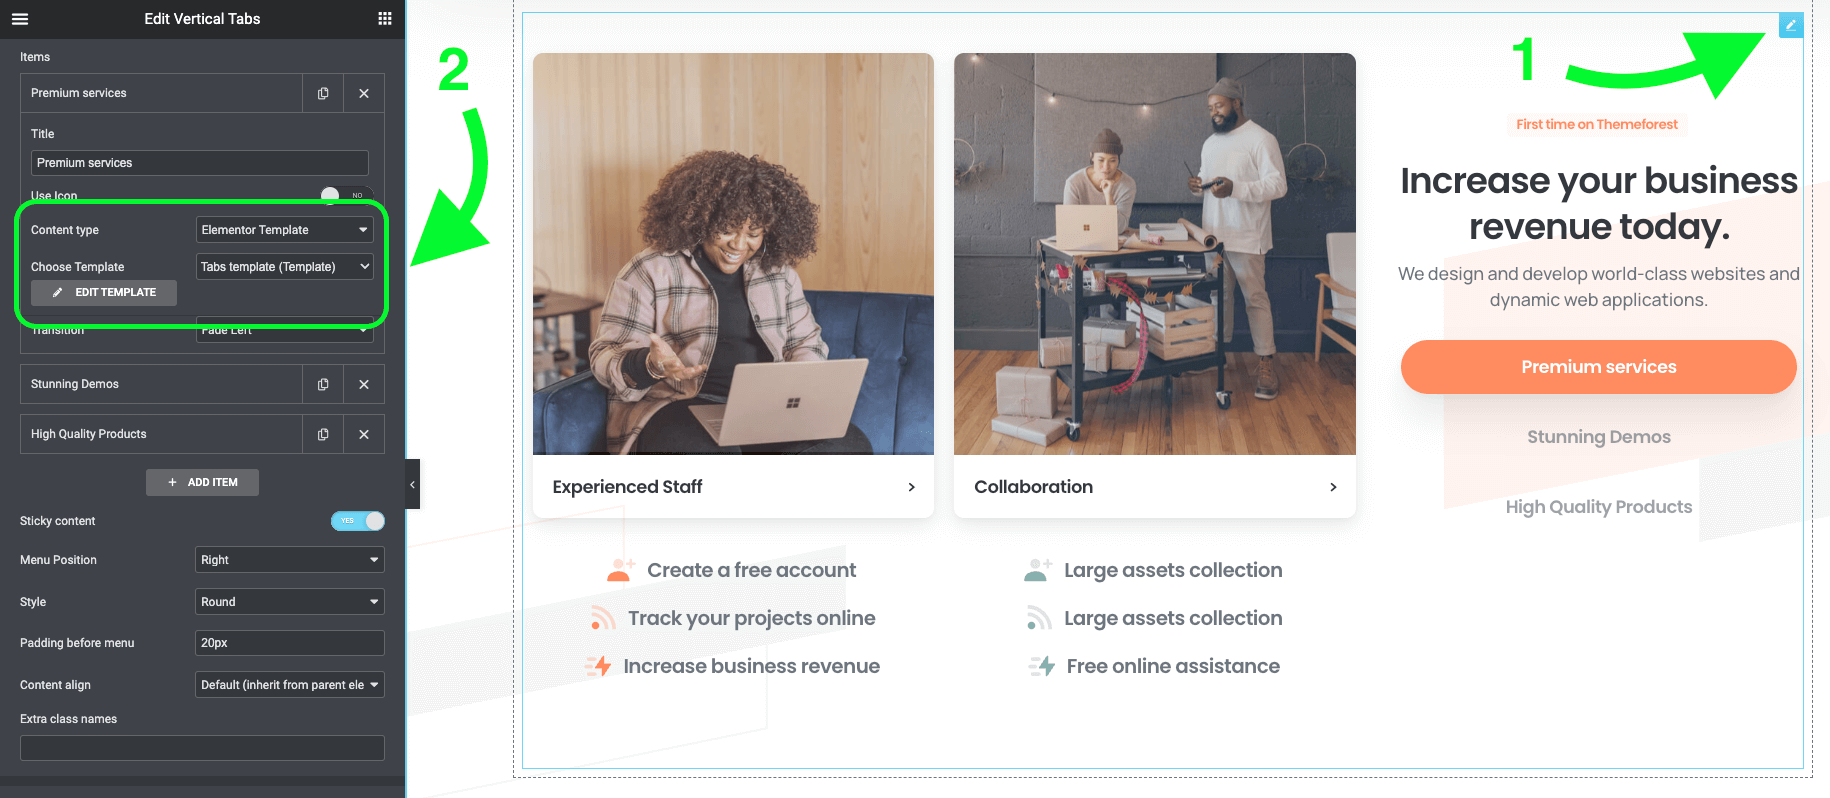
Choose the template you want to display in each tabs item