You can edit the available footers in your website from (WordPress Panel > Footers > your footer) where you can customize and modify the different elements in the footer using the same page builder you’re using for building your website (WPBakery or Elementor).
If you’re looking to create a new footer, you can check the video tutorial above or the instructions below:
Create a new footer
To create a new footer for your website, open your WordPress admin panel, then go to Footers » Add new footer and give the footer a name.
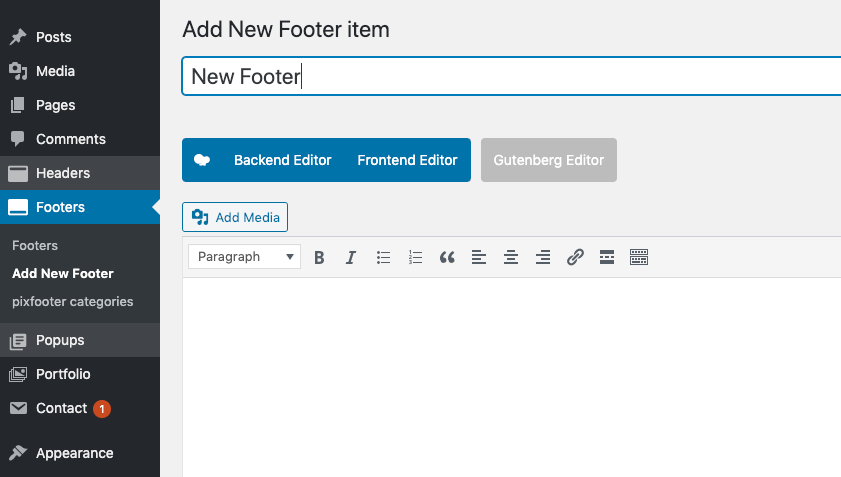
After that, start building the footer using the drag and drop page builder (WPBakery or elementor).
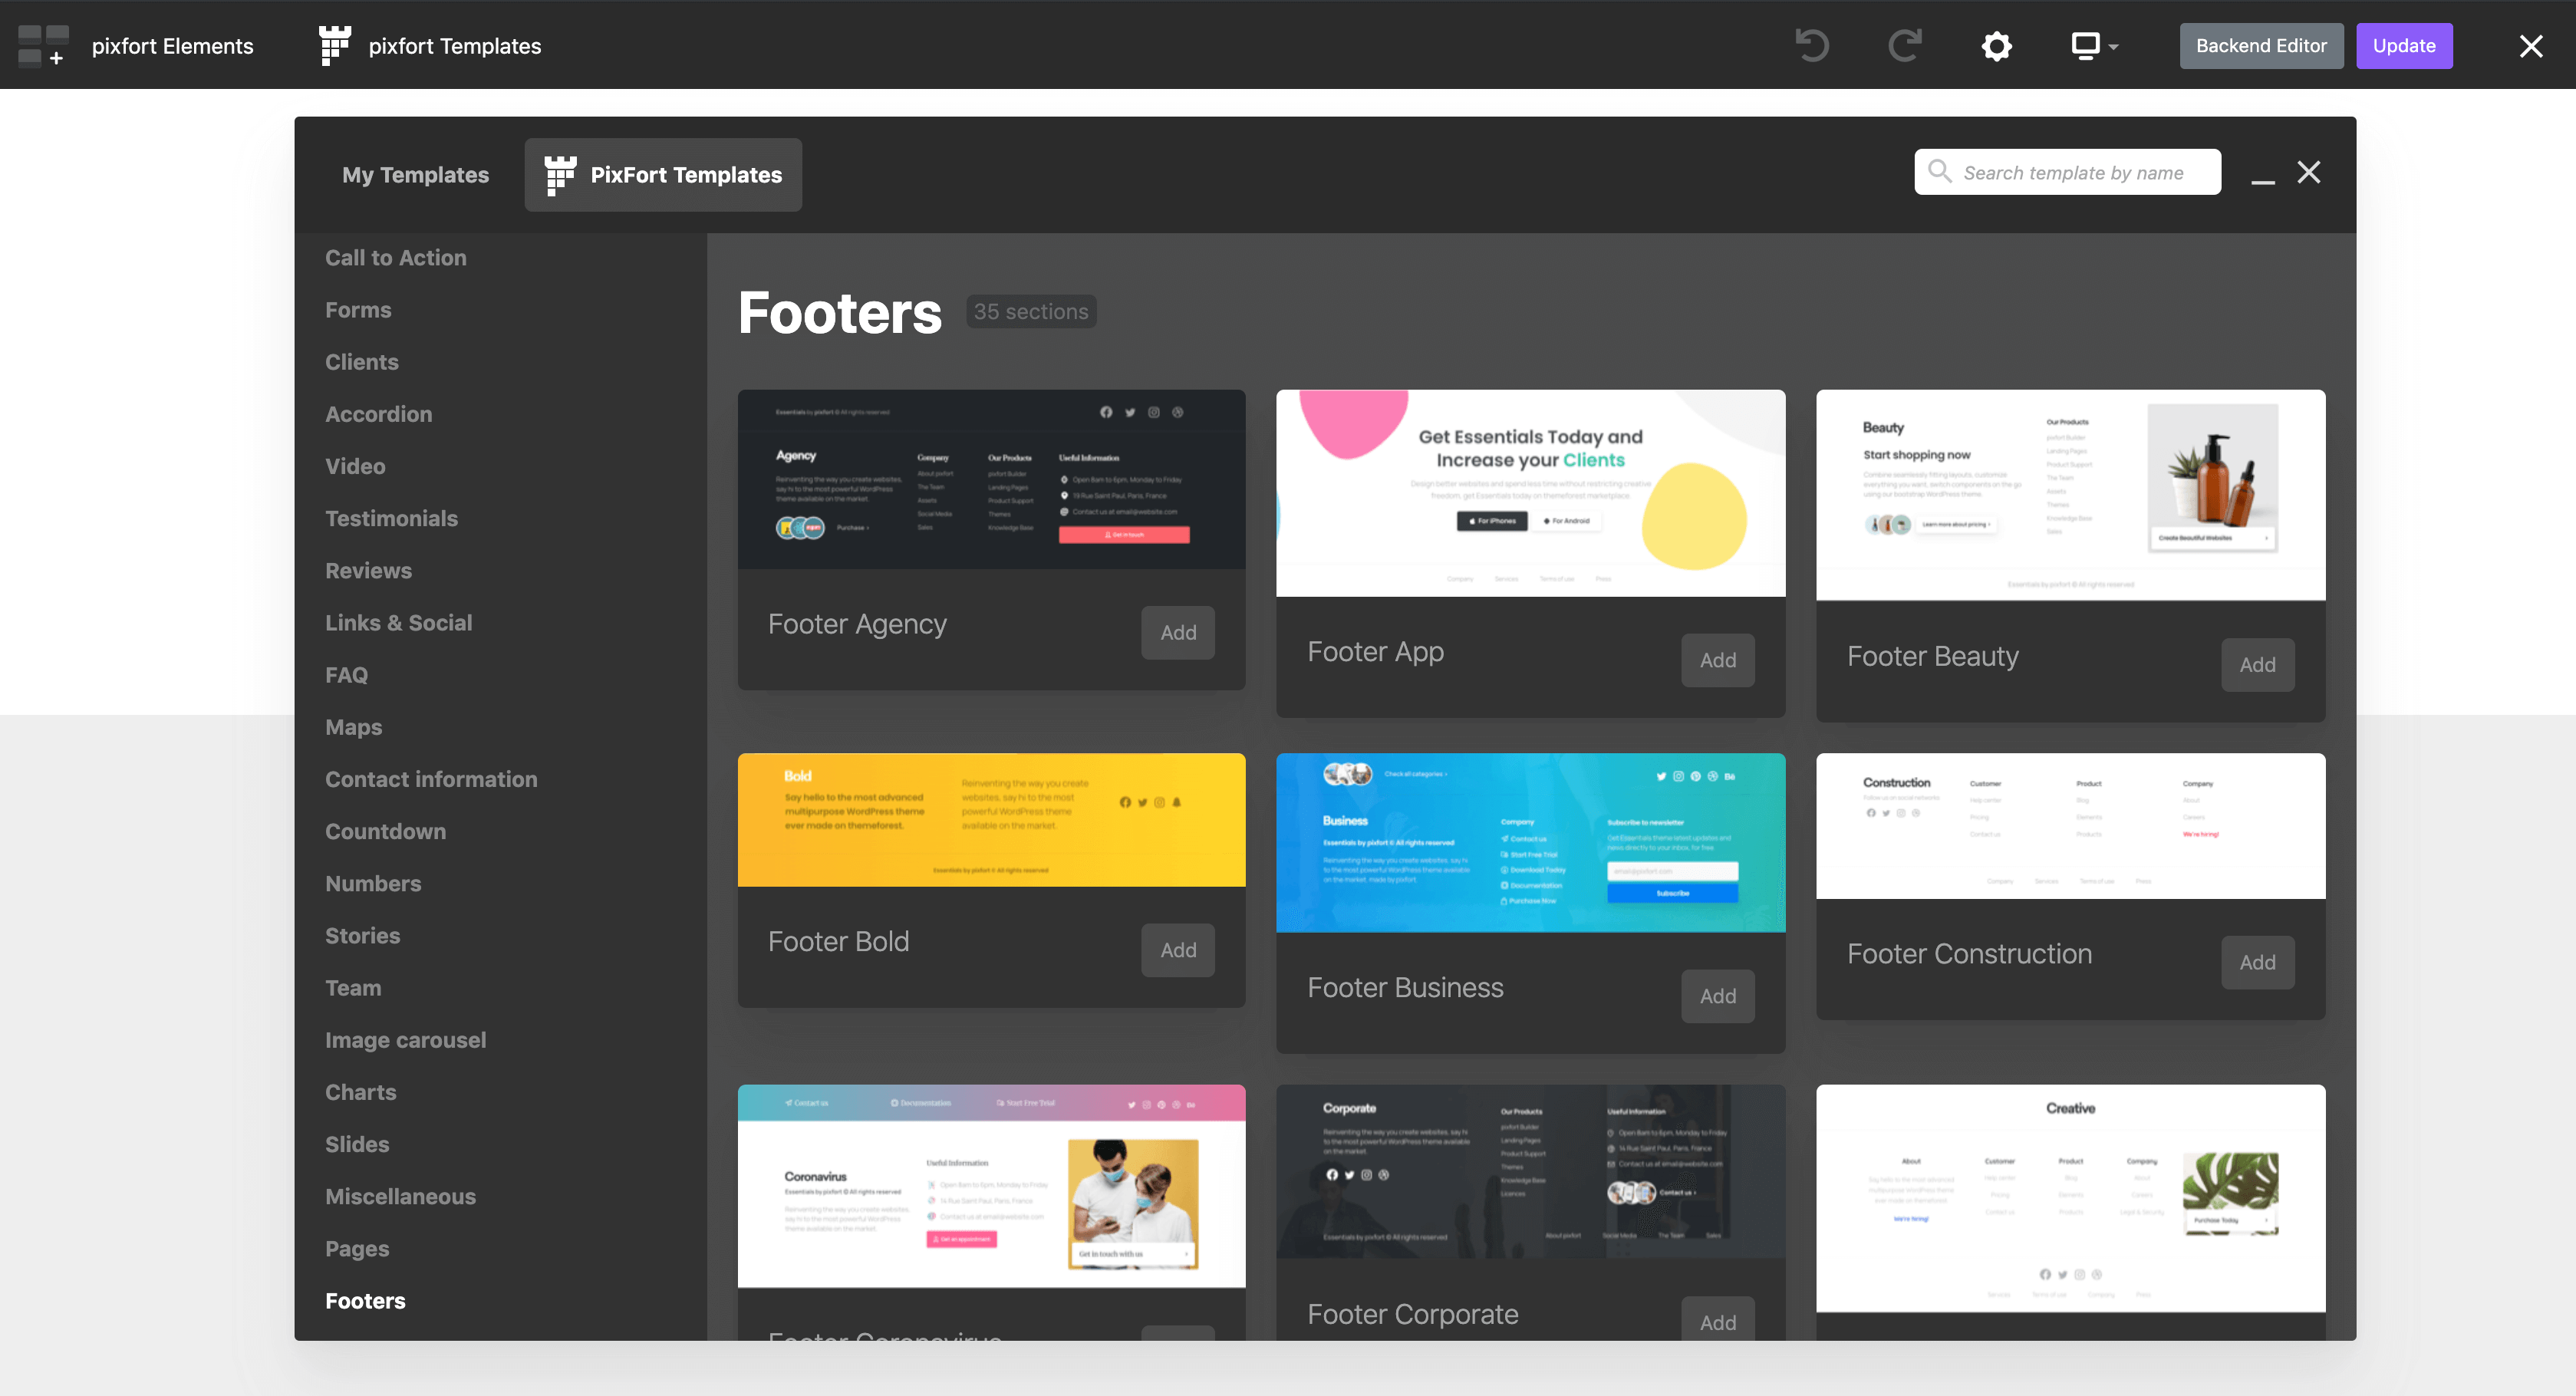
Import predefined footers
WPBakery: You can use the predefined footer sections that you can find in pixfort templates inside WPBakery.
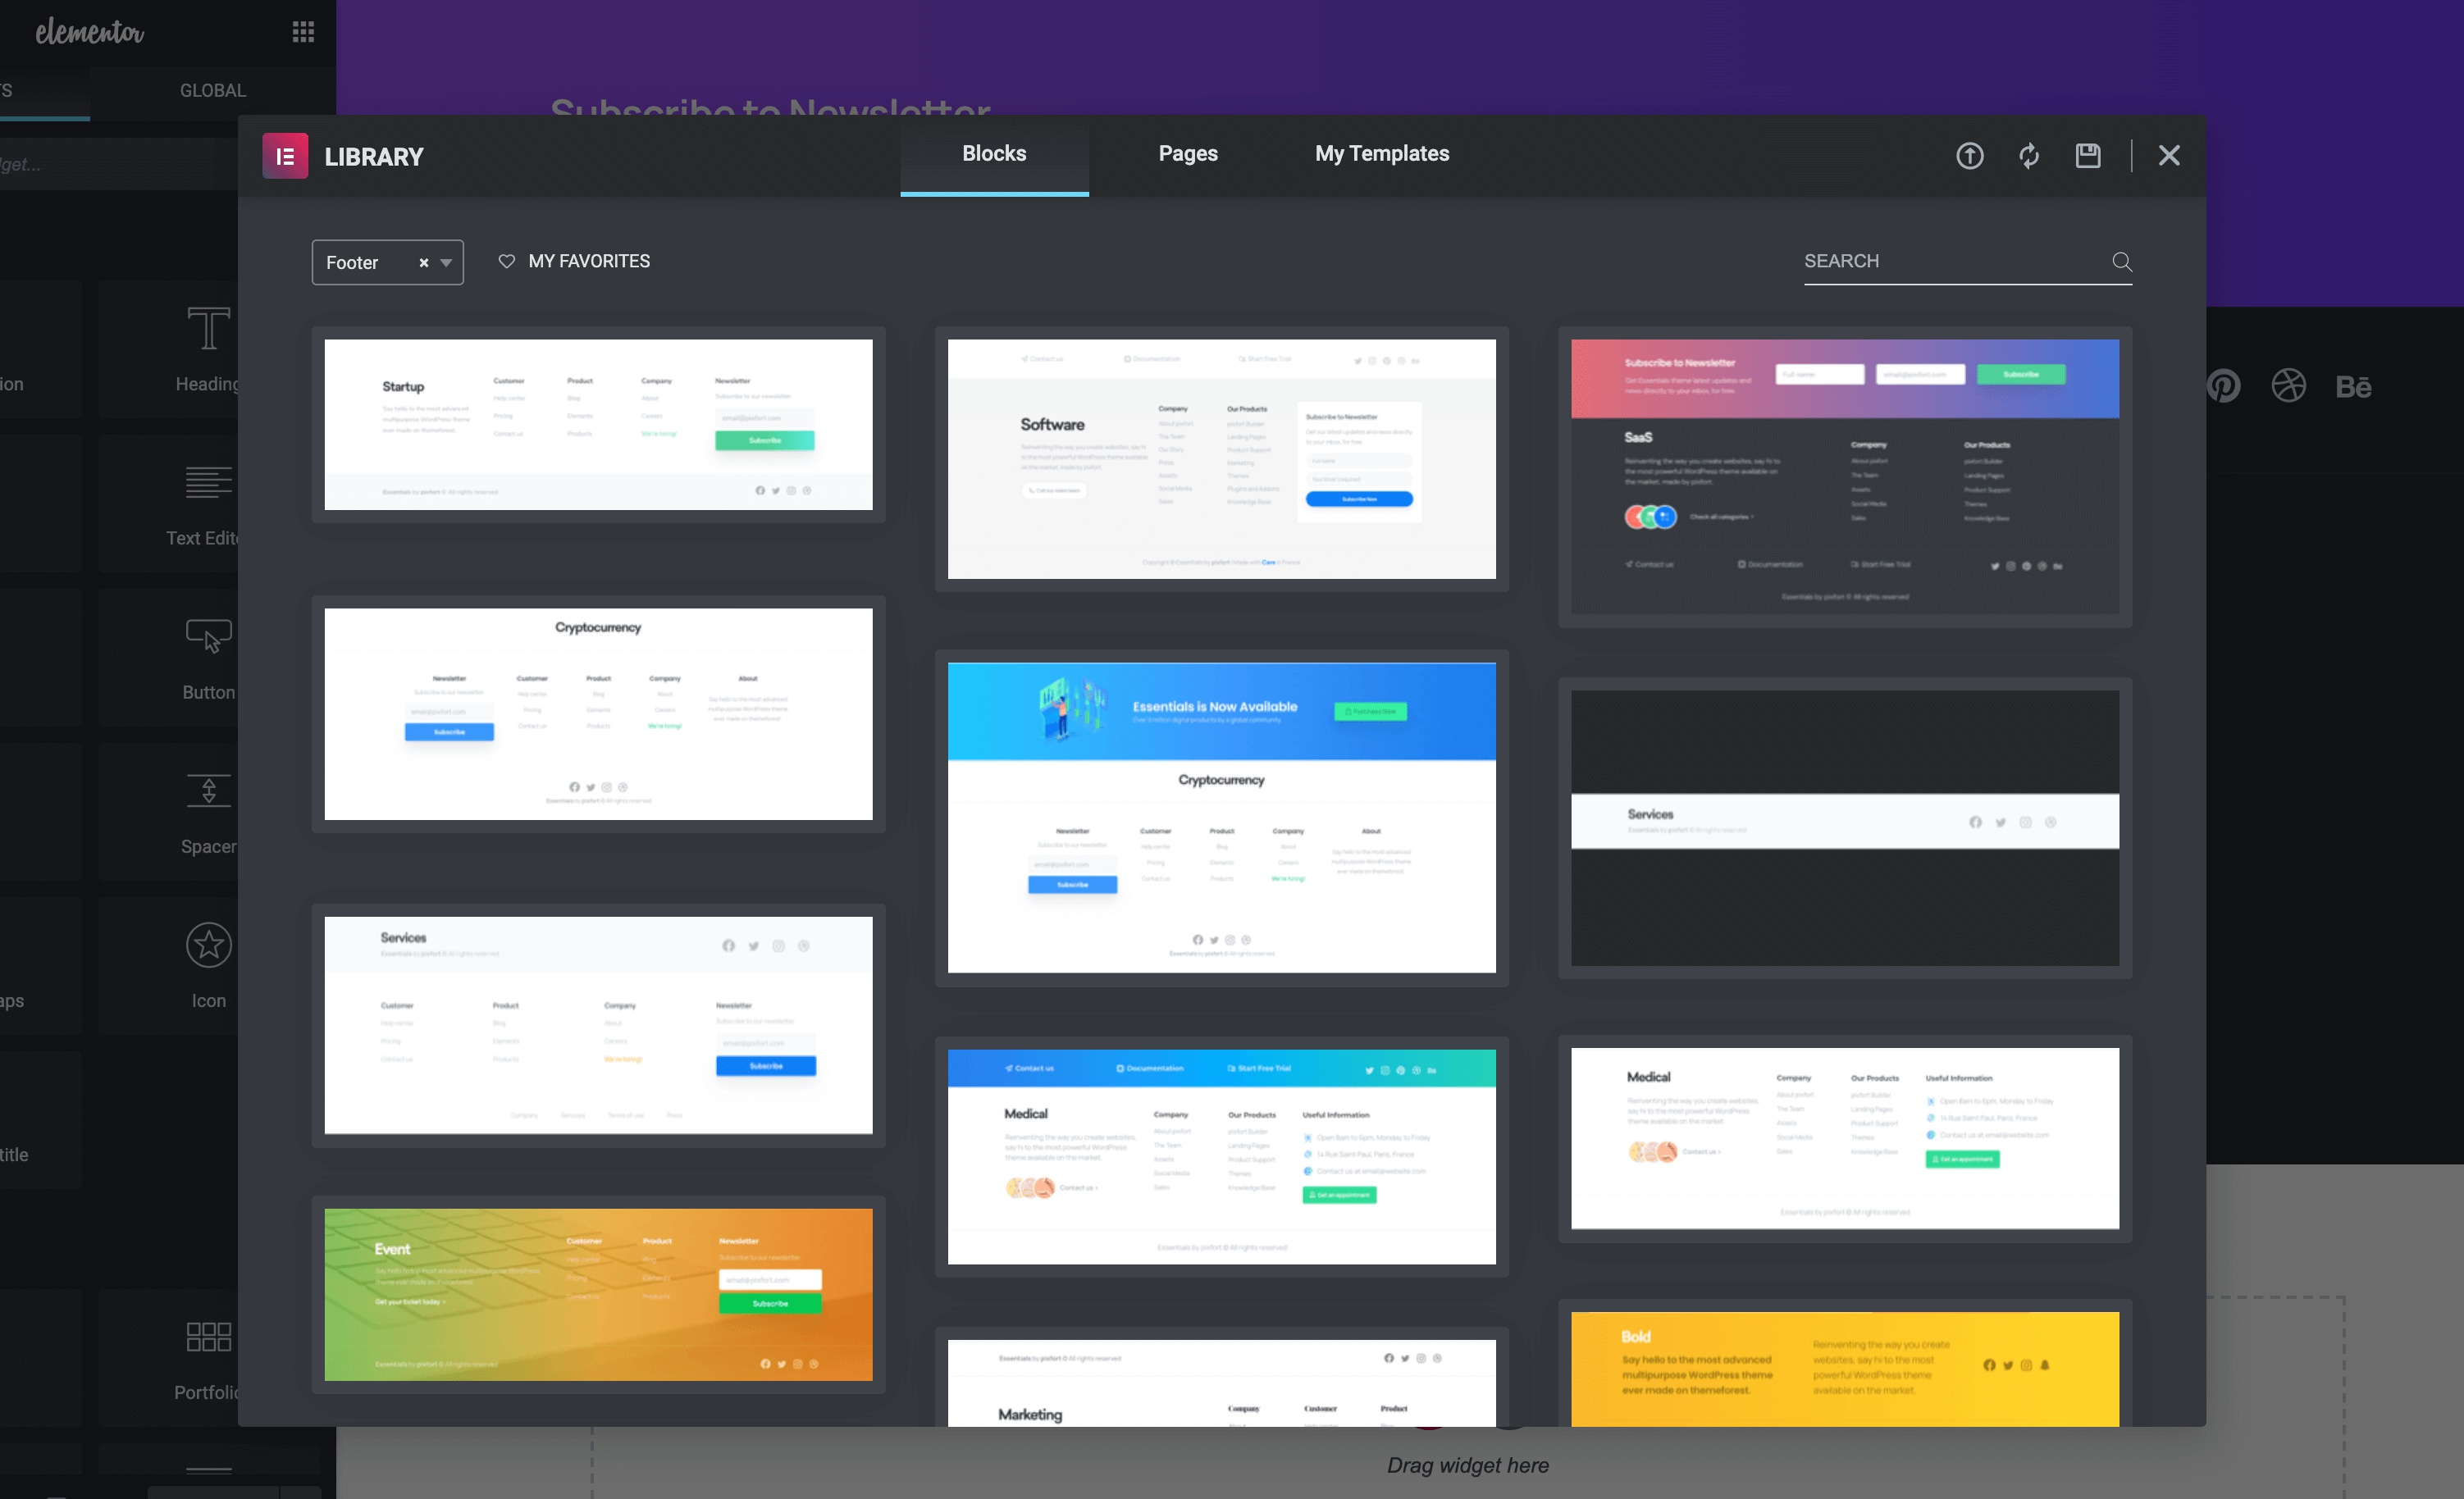
Elementor: You can find the premade footer blocks templates in Elementor Blocks library by searching for “footer“, you can also find the footer templates under the Footer blocks category:
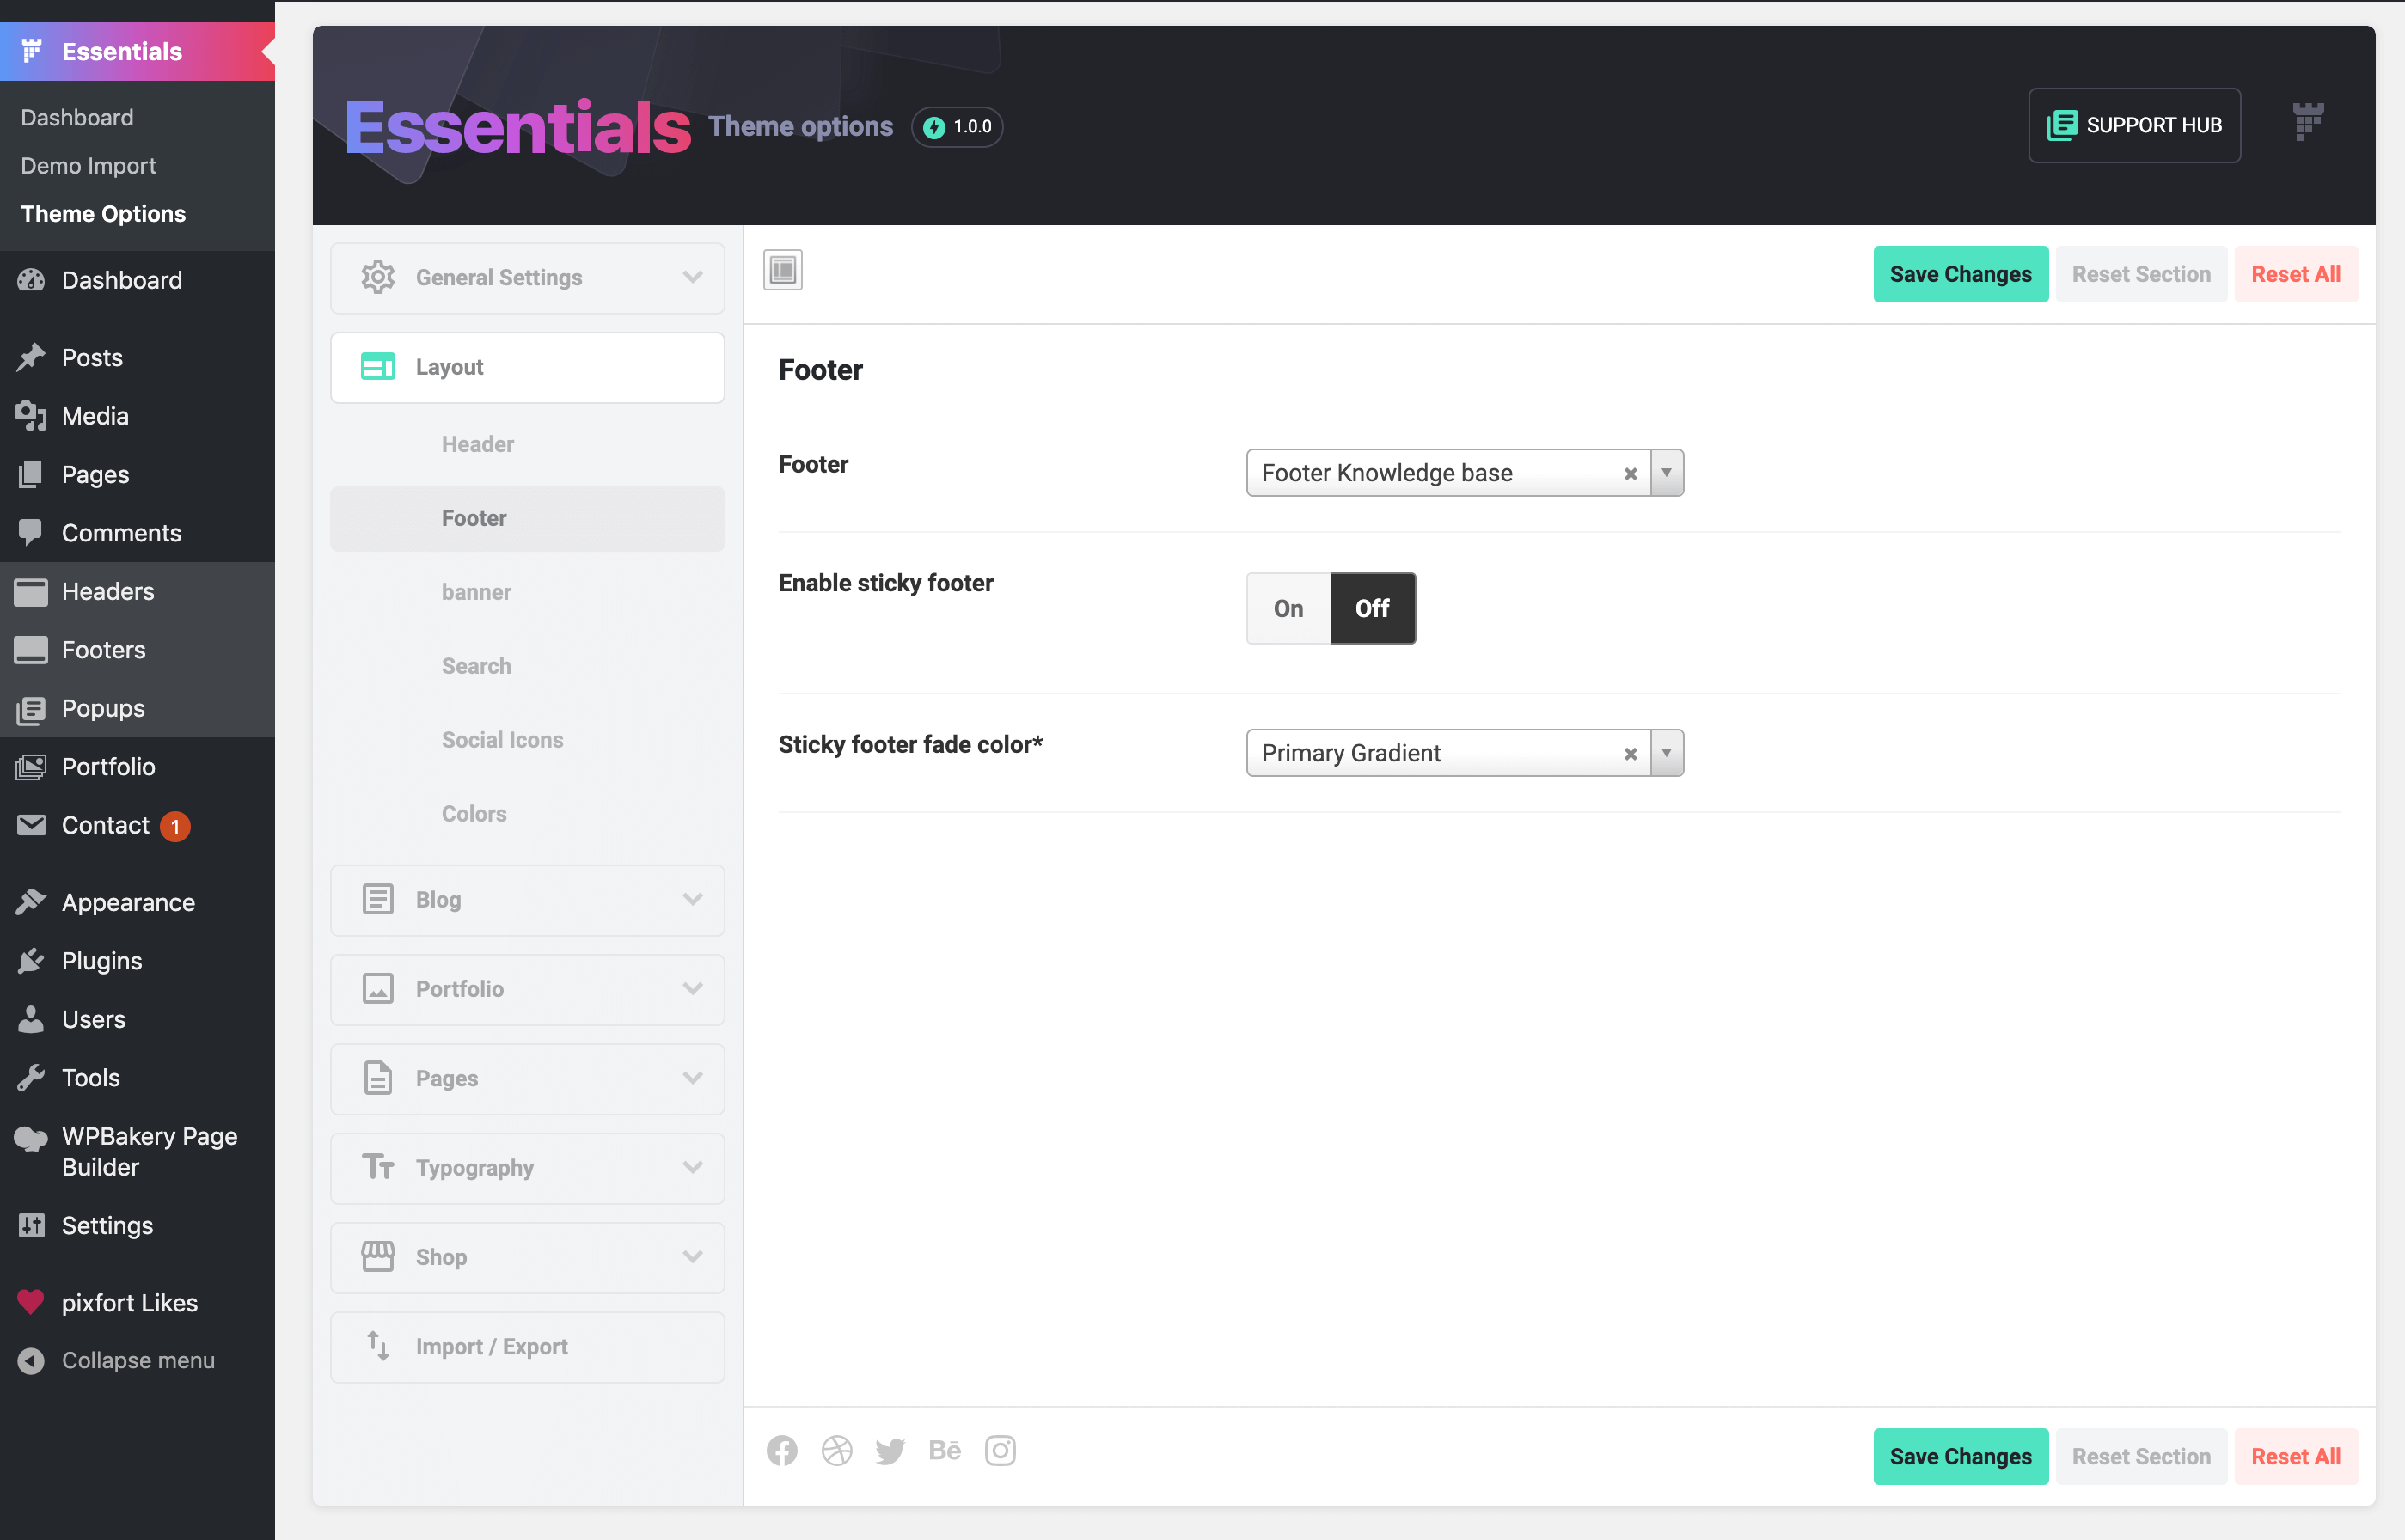
After you finish building the footer save the changes then go to Essentials theme options, and open Layout » Footer and choose the footer that you just created and save the changes, after that the footer will be set as default footer for your website.
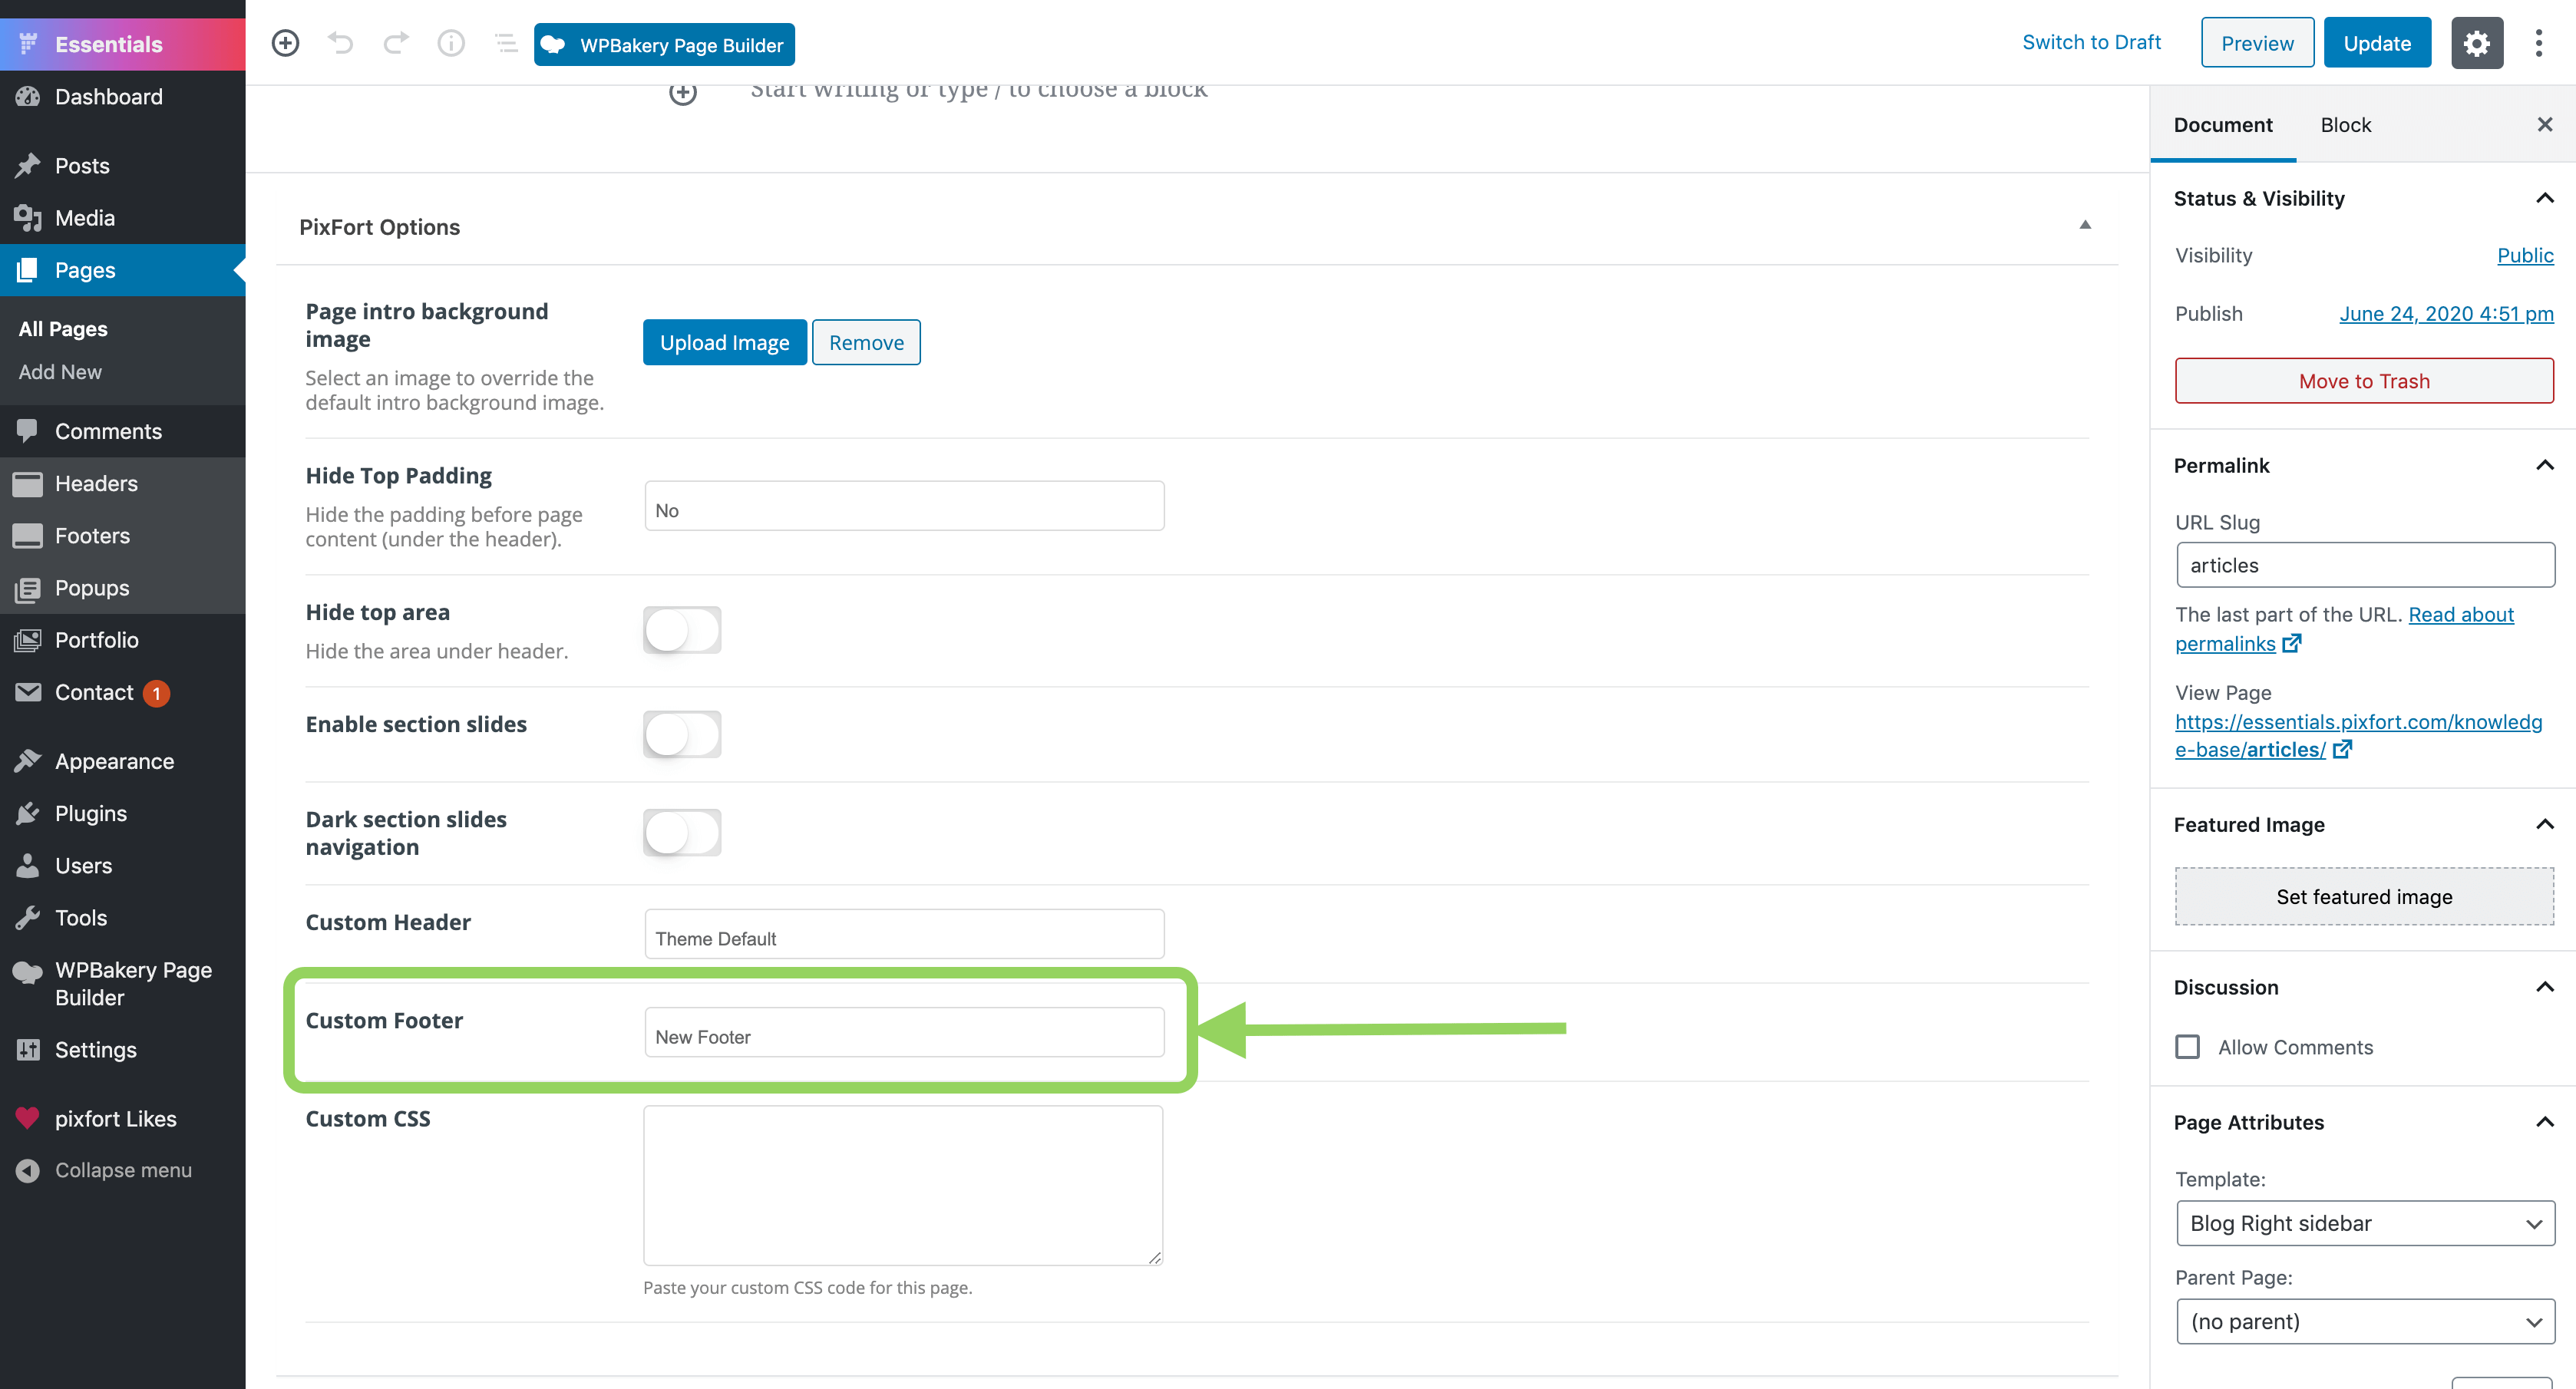
Note: if you want to use the footer in a specific page instead of setting it as default footer for the whole website just open the page that you want to use the footer in it (in the WordPress editing mode), then choose the footer from the “Custom Footer” option of the page and save the changes.