Import Premade Header Templates
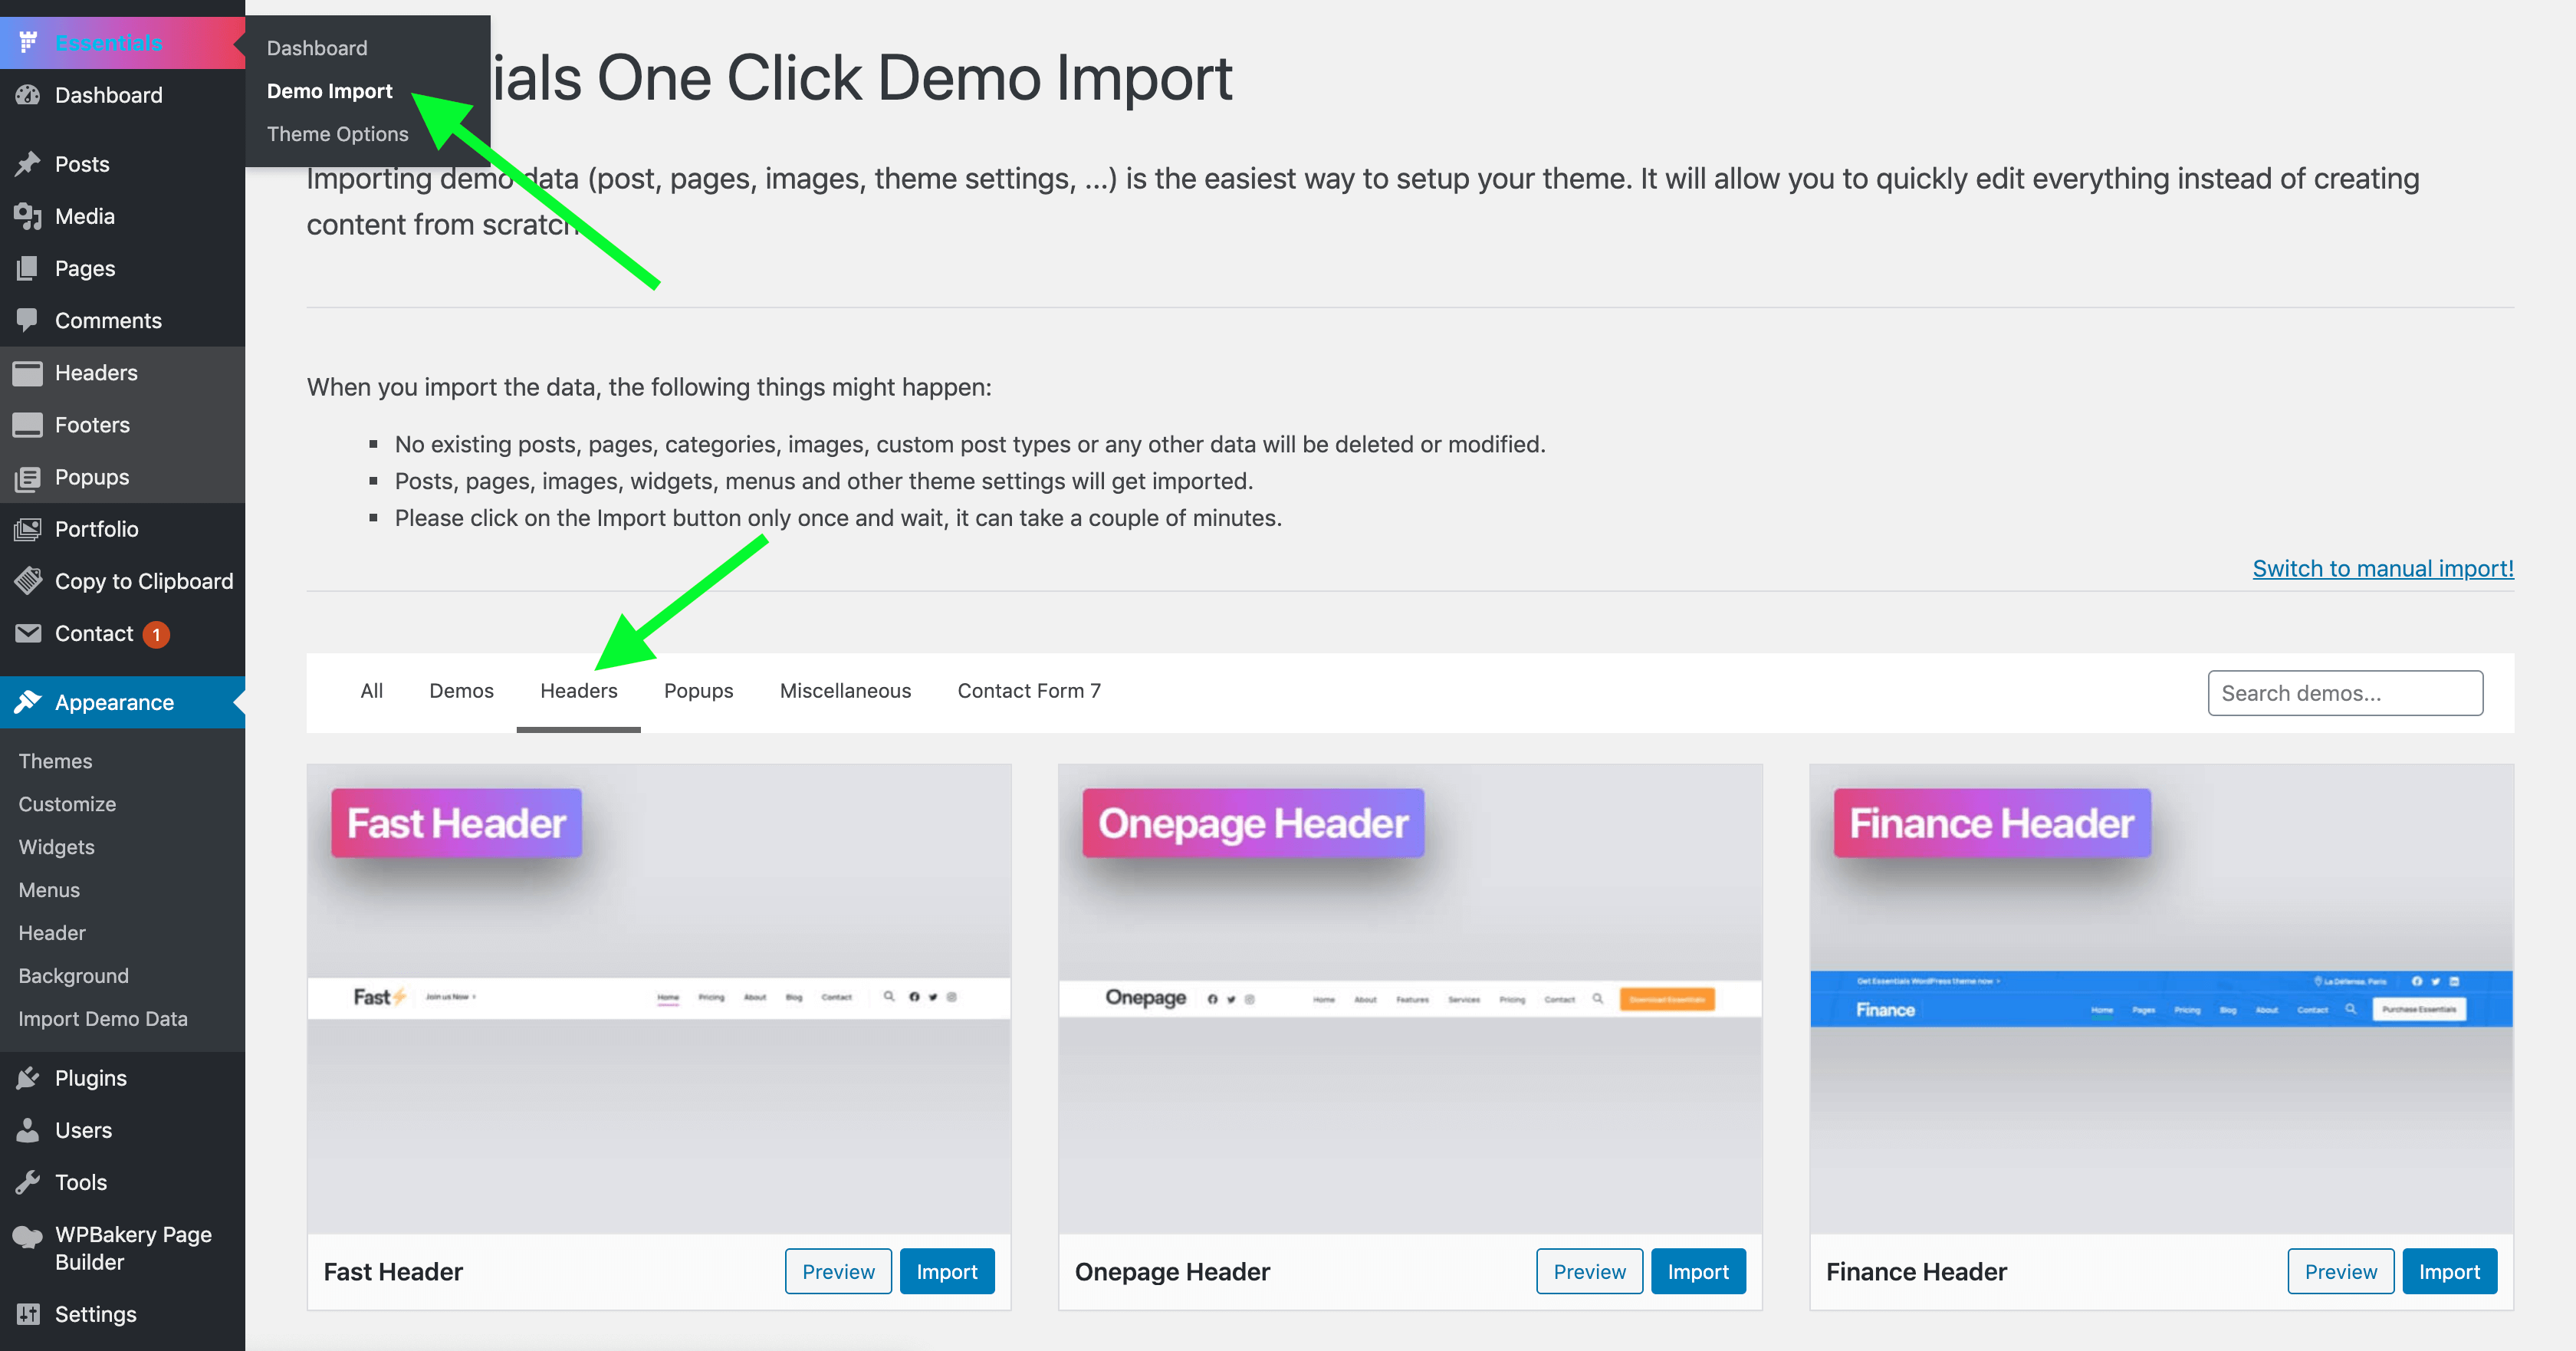
You can choose to import a header from the included premade header templates, to do this go to your WordPress Panel > Essentials Demo import > Headers (see below):
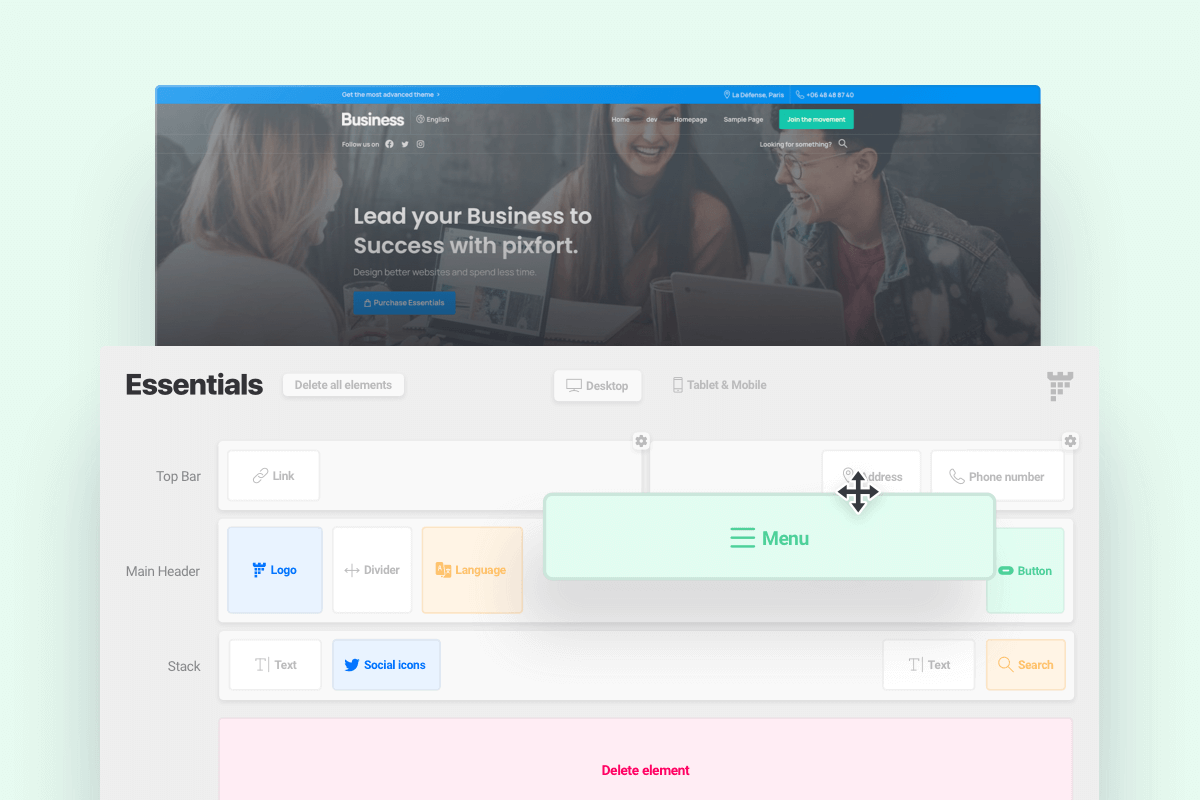
To create a new header for your website, open your WordPress admin panel, then go to Headers » Add new header and give the header a name.
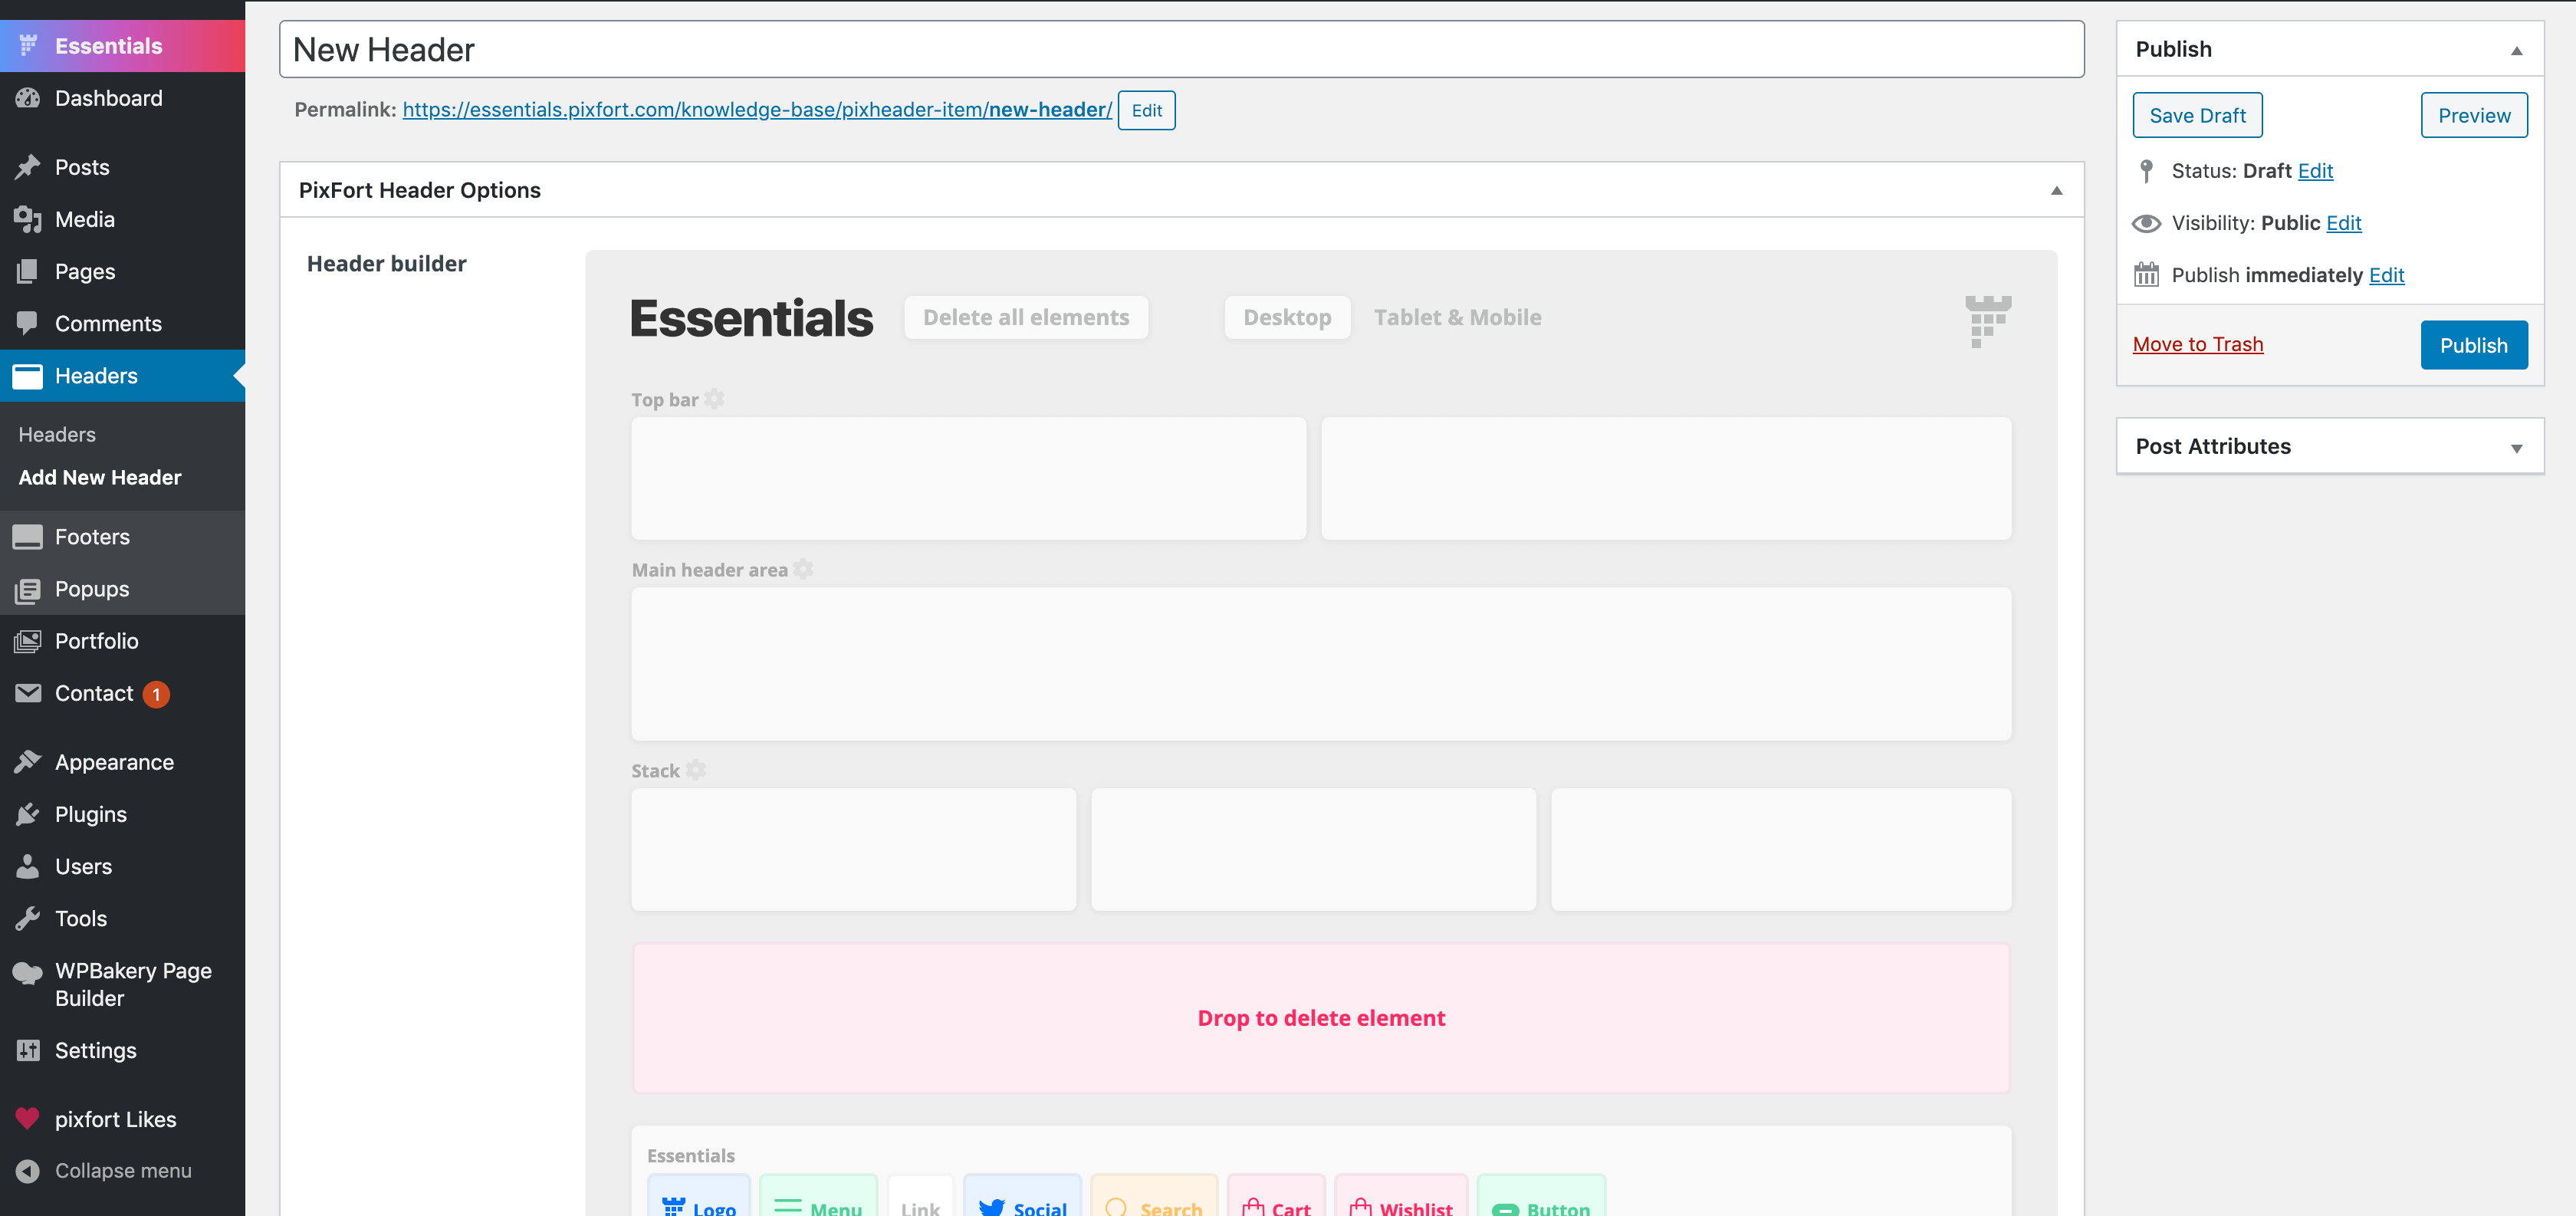
After that, start building the header using the drag and drop header builder.
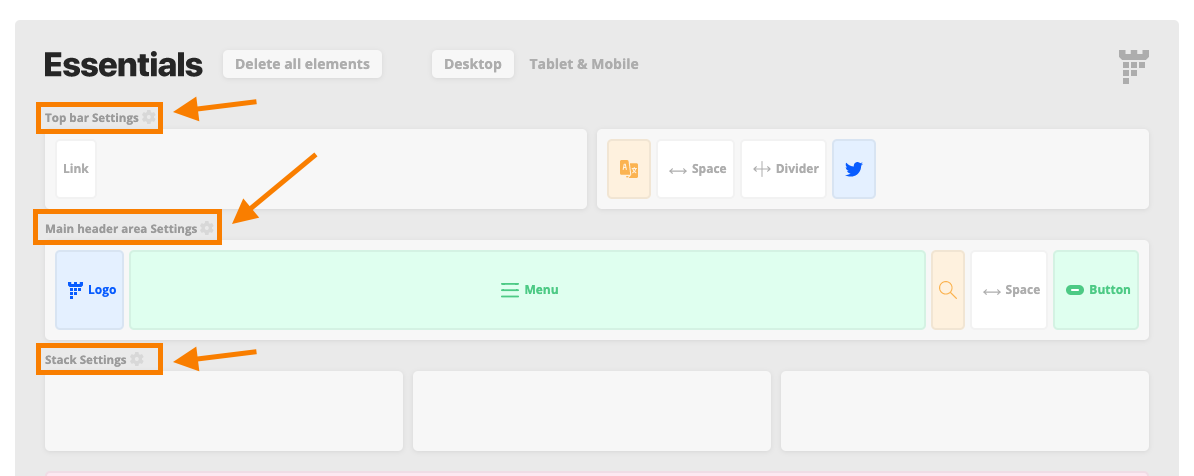
You can edit the elements by clicking on them, and you can edit the columns or header sections (background color, text color..) by clicking on the Settings icon.
For example, you can edit the Logo Element by clicking on it:
Another example is the Menu element, where you can open the Options panel by clicking on the Menu element:
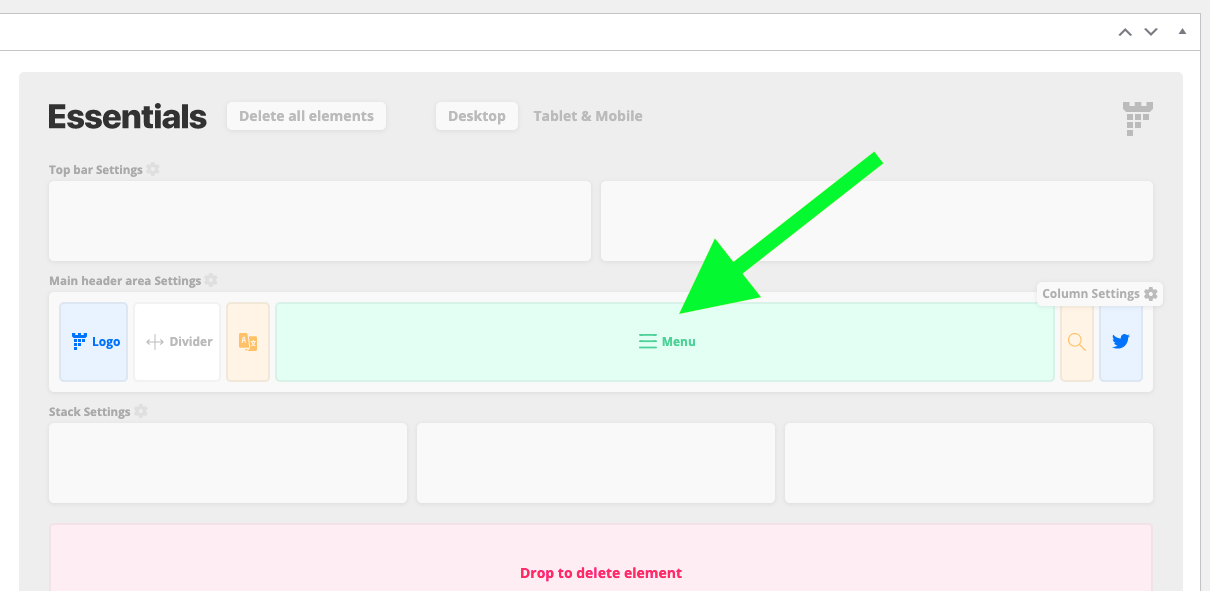
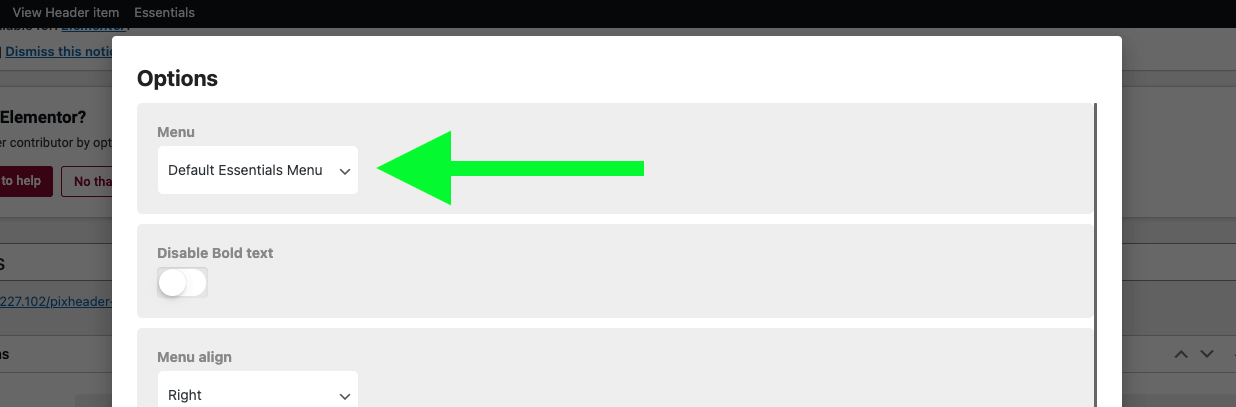
Then you can change the available options, for example:
How to create Menus?
For detailed information about creating and editing Menus you can check this article from our knowledge base:
How to change menu and dropdown colors?
For detailed information about changing menu and dropdown colors
you can check this article from our knowledge base:
How to add Social icons to header?
To add social icons in the header, first, you need to set your social network accounts links in the Theme options > Layout > Social icons.
After setting the links in the Theme options you will notice that the social icons will appear automatically in the header after adding the Social element in the header builder (WordPress admin panel > Headers > Edit your header) .
For more information about adding social icons to your website you can check this article:
Header logo
You can add your logo to the header by adding the Logo element.
The default logo of your website and the Scroll logo which are set in Theme Options > General Settings > General will appear automatically, however, you can always override these images (Default Logo and Scroll Logo) inside the header builder by clicking on the Logo element to open its options.
Header Options (Style and Sticky options)
Below the Header Builder you can find the options to control the Header Style (e.g. Transparent, Boxed, etc…) and the Sticky Header option (with Smart sticky option) for desktop and mobile, in addition to the option to choose the Heading (Secondary) font for the entire header elements:
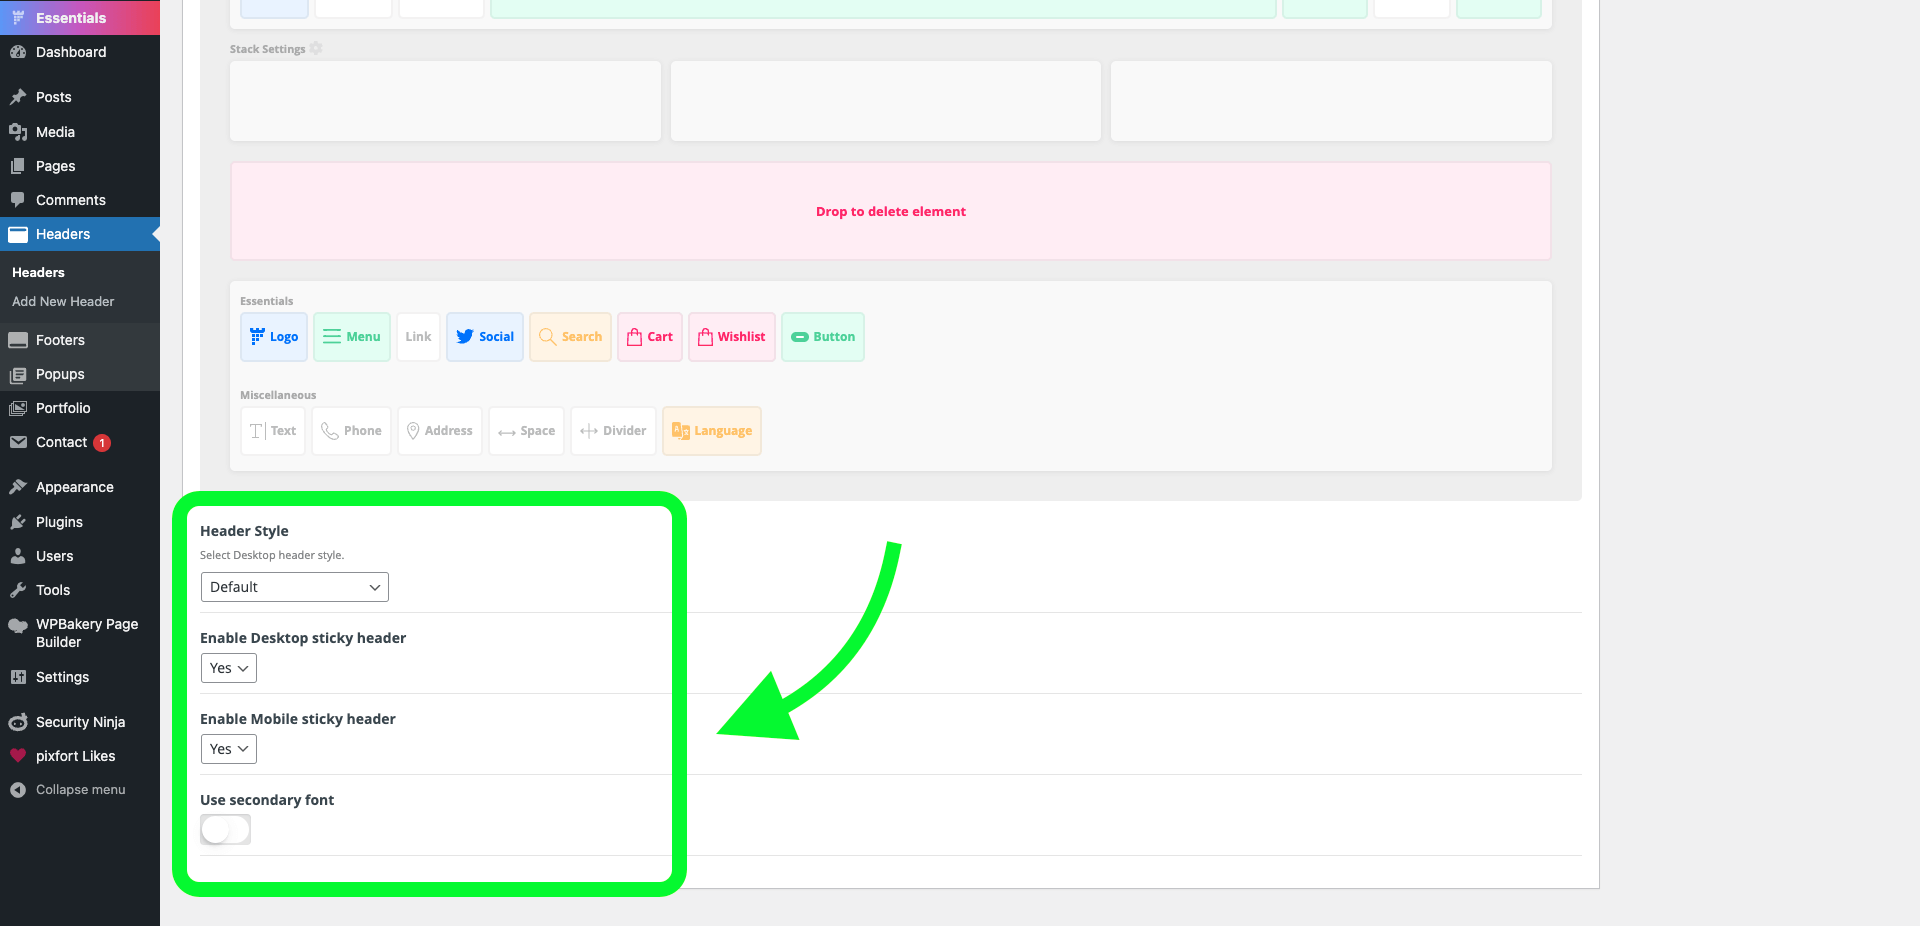
Important: If you choose the Transparent style for the header, please make sure that the header areas’ background are transparent to show the content beneath it. You can access the Area settings (e.g. Main header area) by clicking on the settings button.
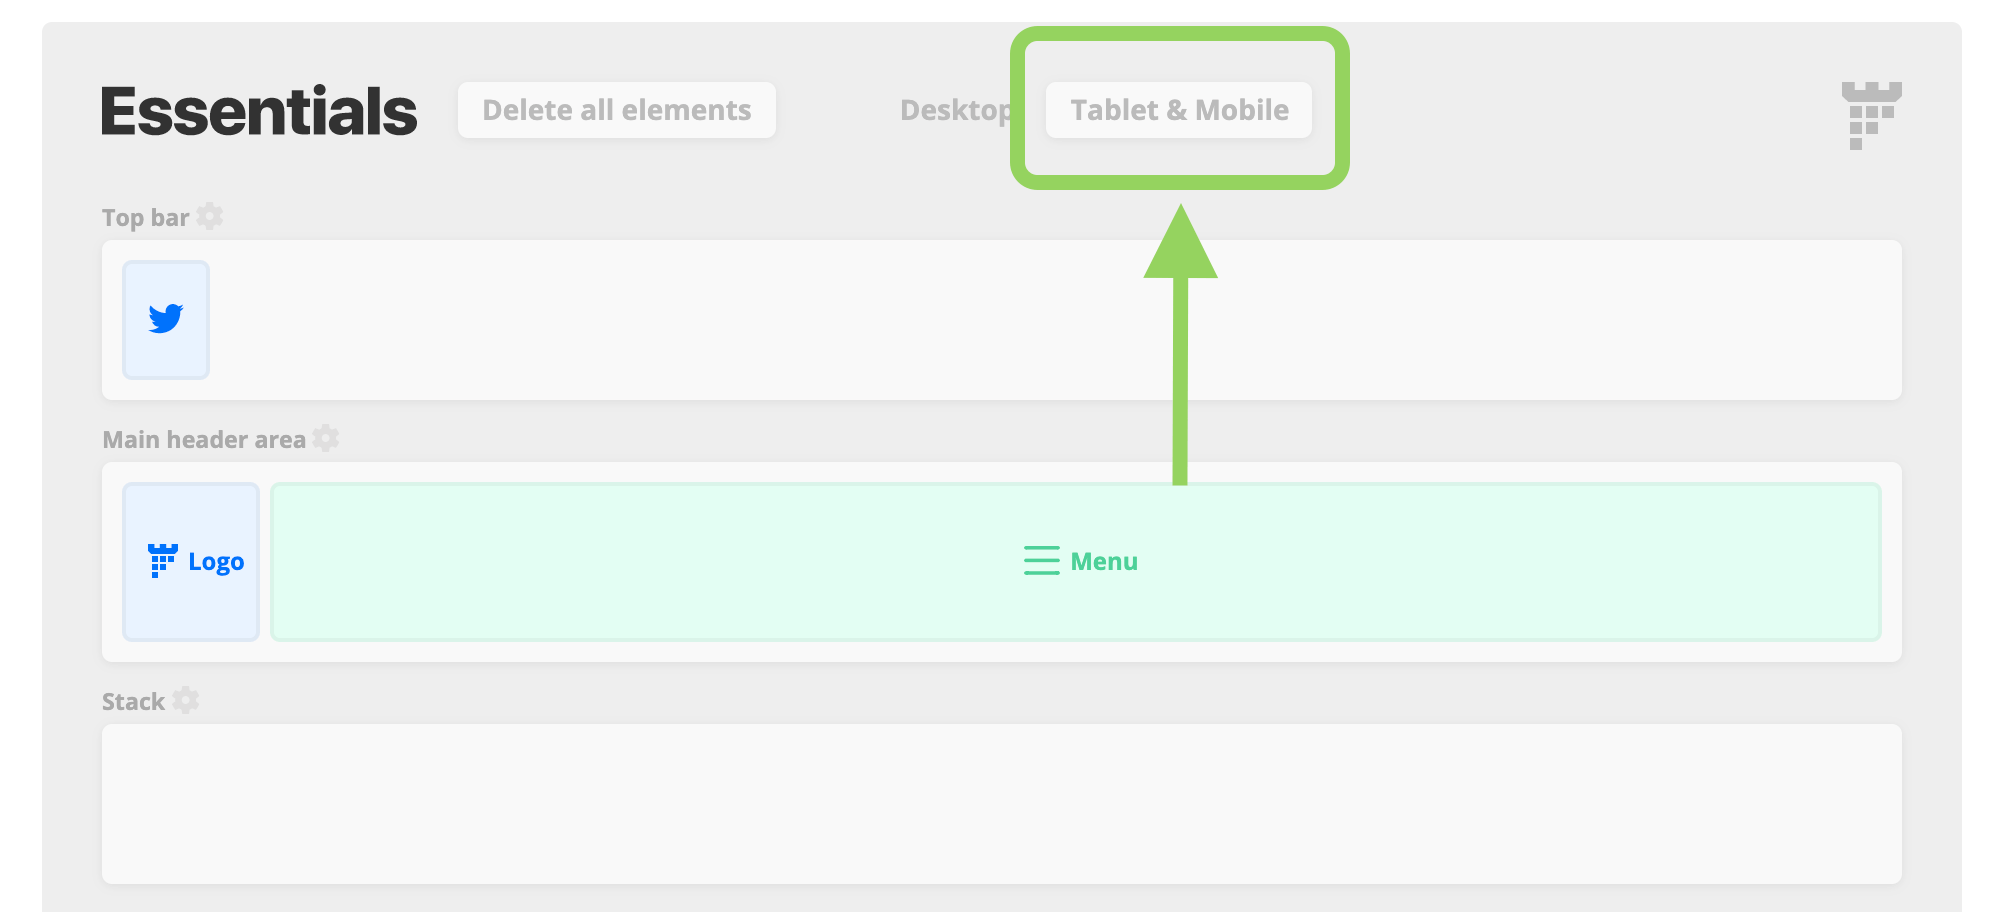
Tablet & Mobile Header Version
You can build the mobile header version by switching to the mobile mode and using the header builder in the same way.
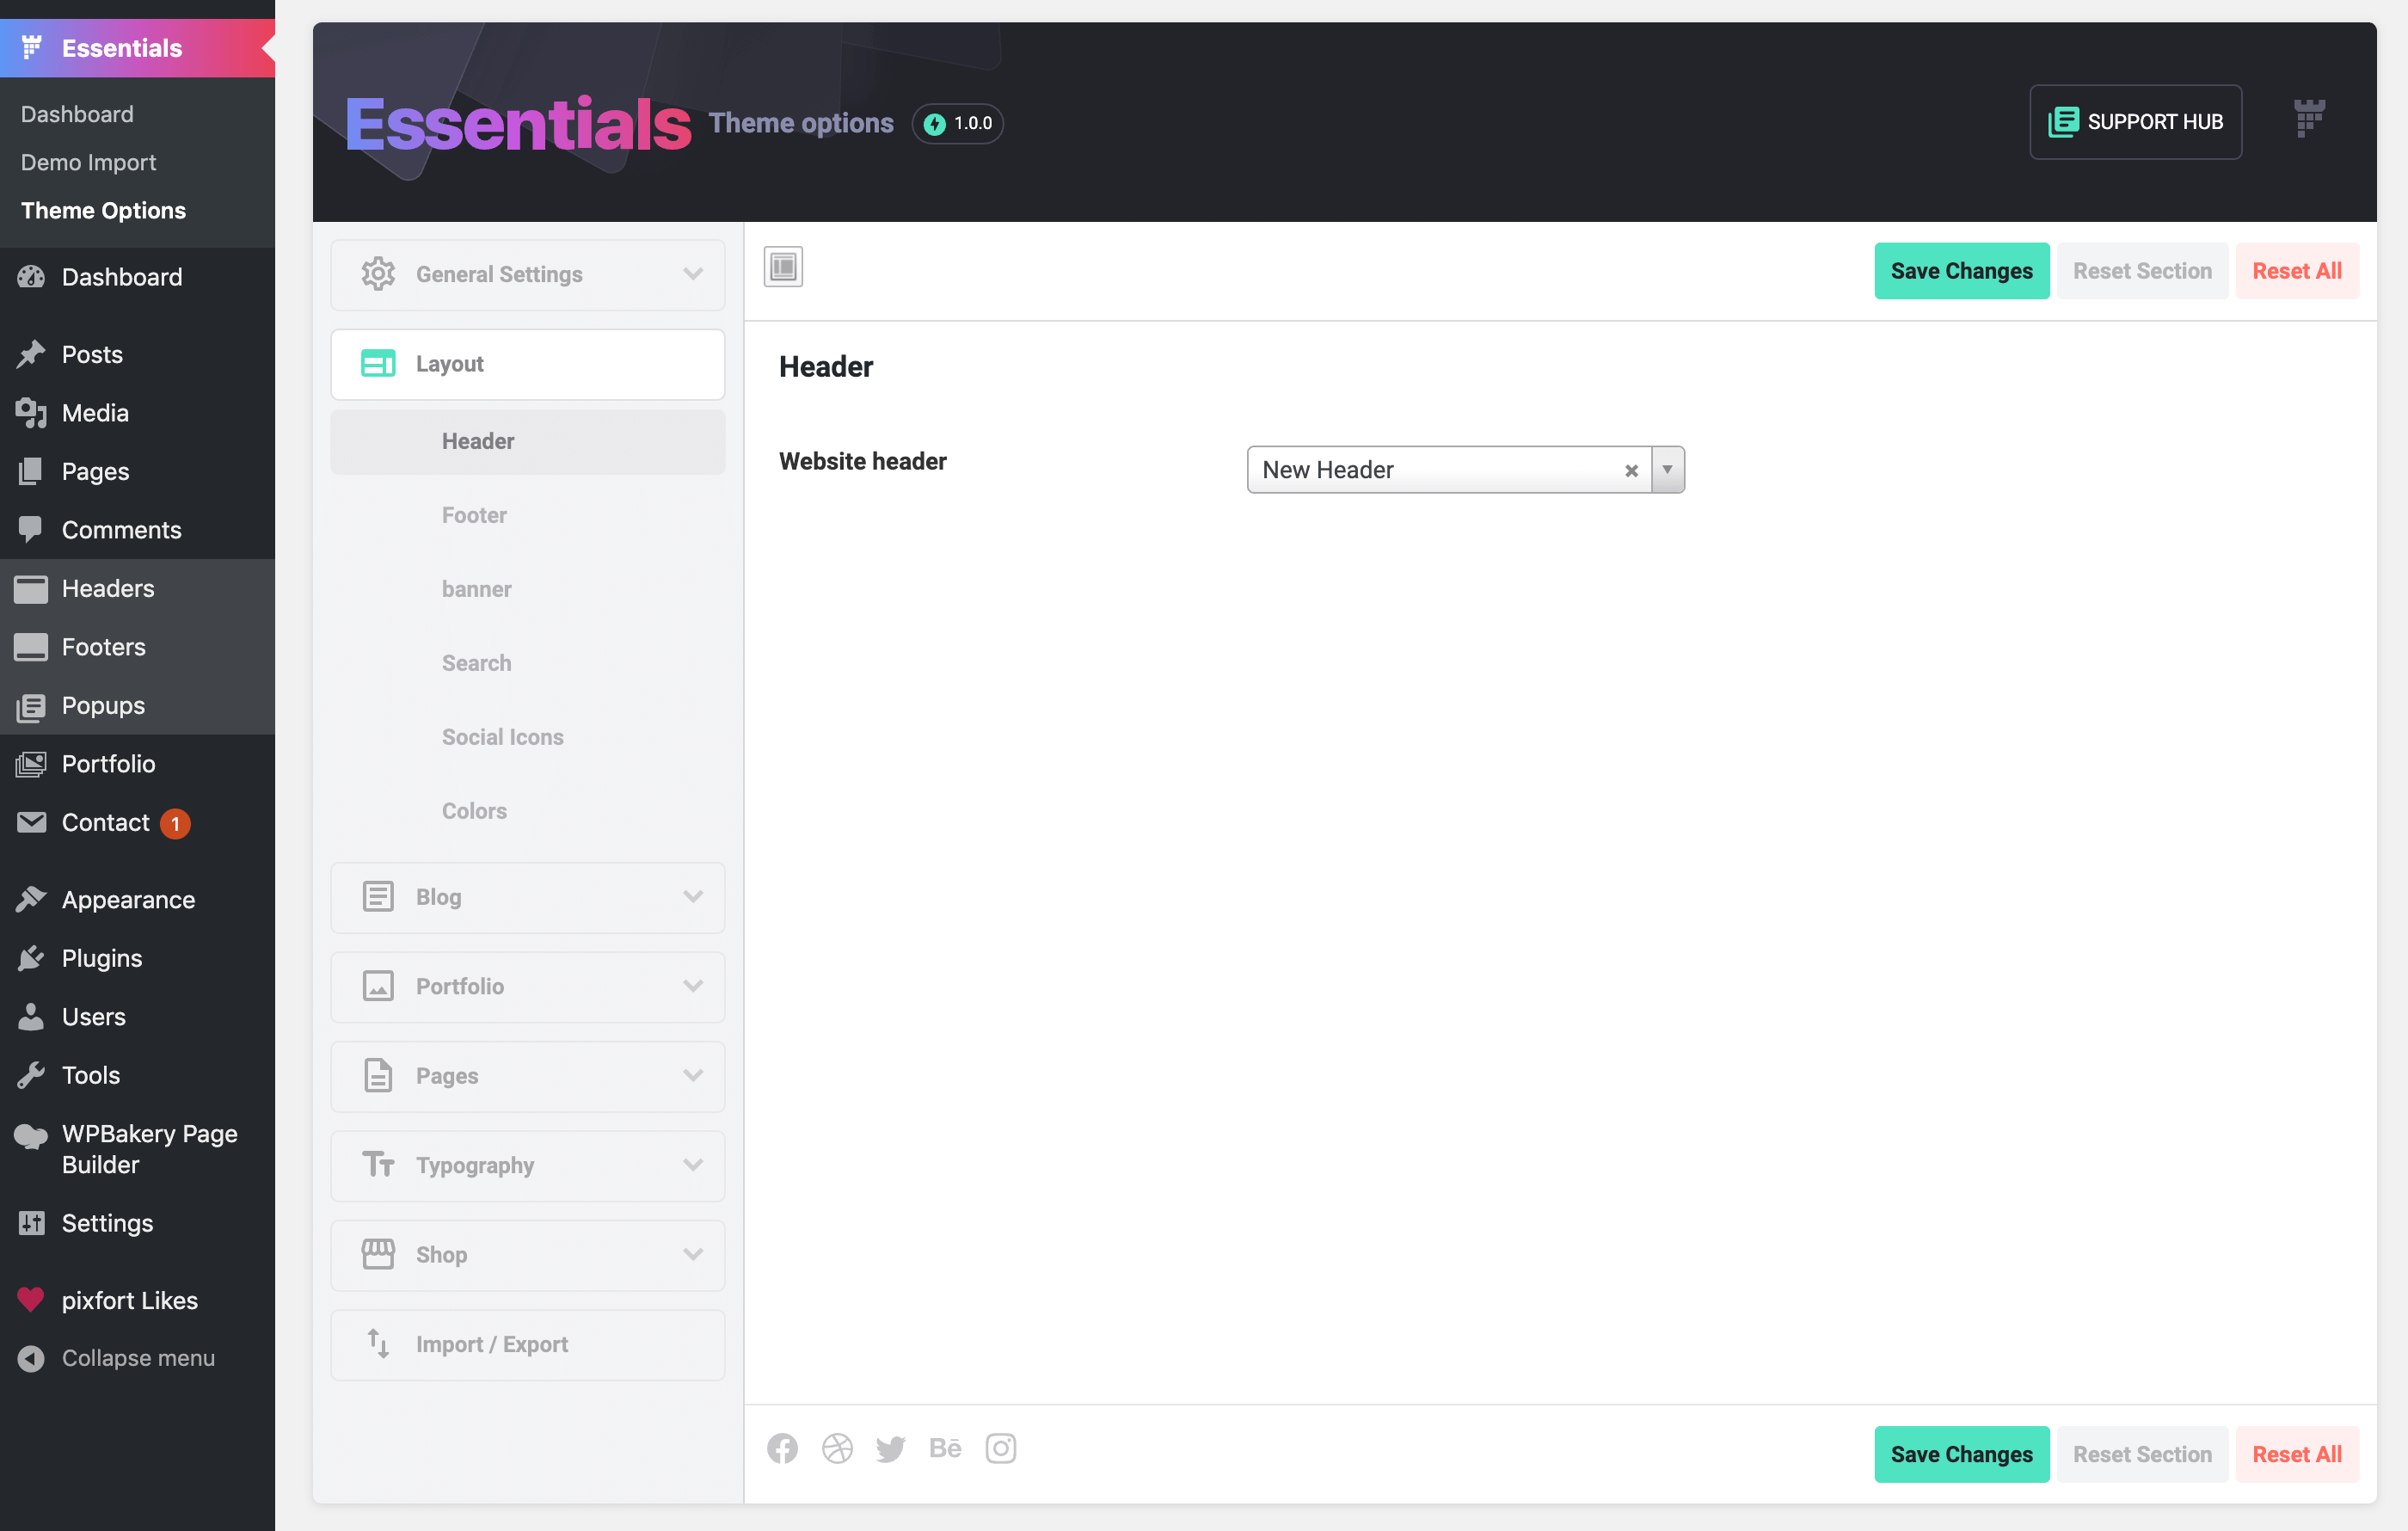
Choosing website header
After you finish building the header save the changes then go to Essentials theme options, and open Layout » Header and choose the header that you just created and save the changes, after that the header will be set as default header for your website.
Choosing a custom header for a specific page
Note: if you want to use the header in a specific page instead of setting it as default header for the whole website just open the page that you want to use the header in it (in the WordPress editing mode), then choose the header from the “Custom Header” option of the page and save the changes.